5.5 Taking a Measurement
Connect the sampling probe (Wand) to the blue Luer connector on the right side of the instrument and
screw hand tight. Connect the disposable filter and a needle to the sampling probe (Wand).
To take a measurement, follow the steps below:
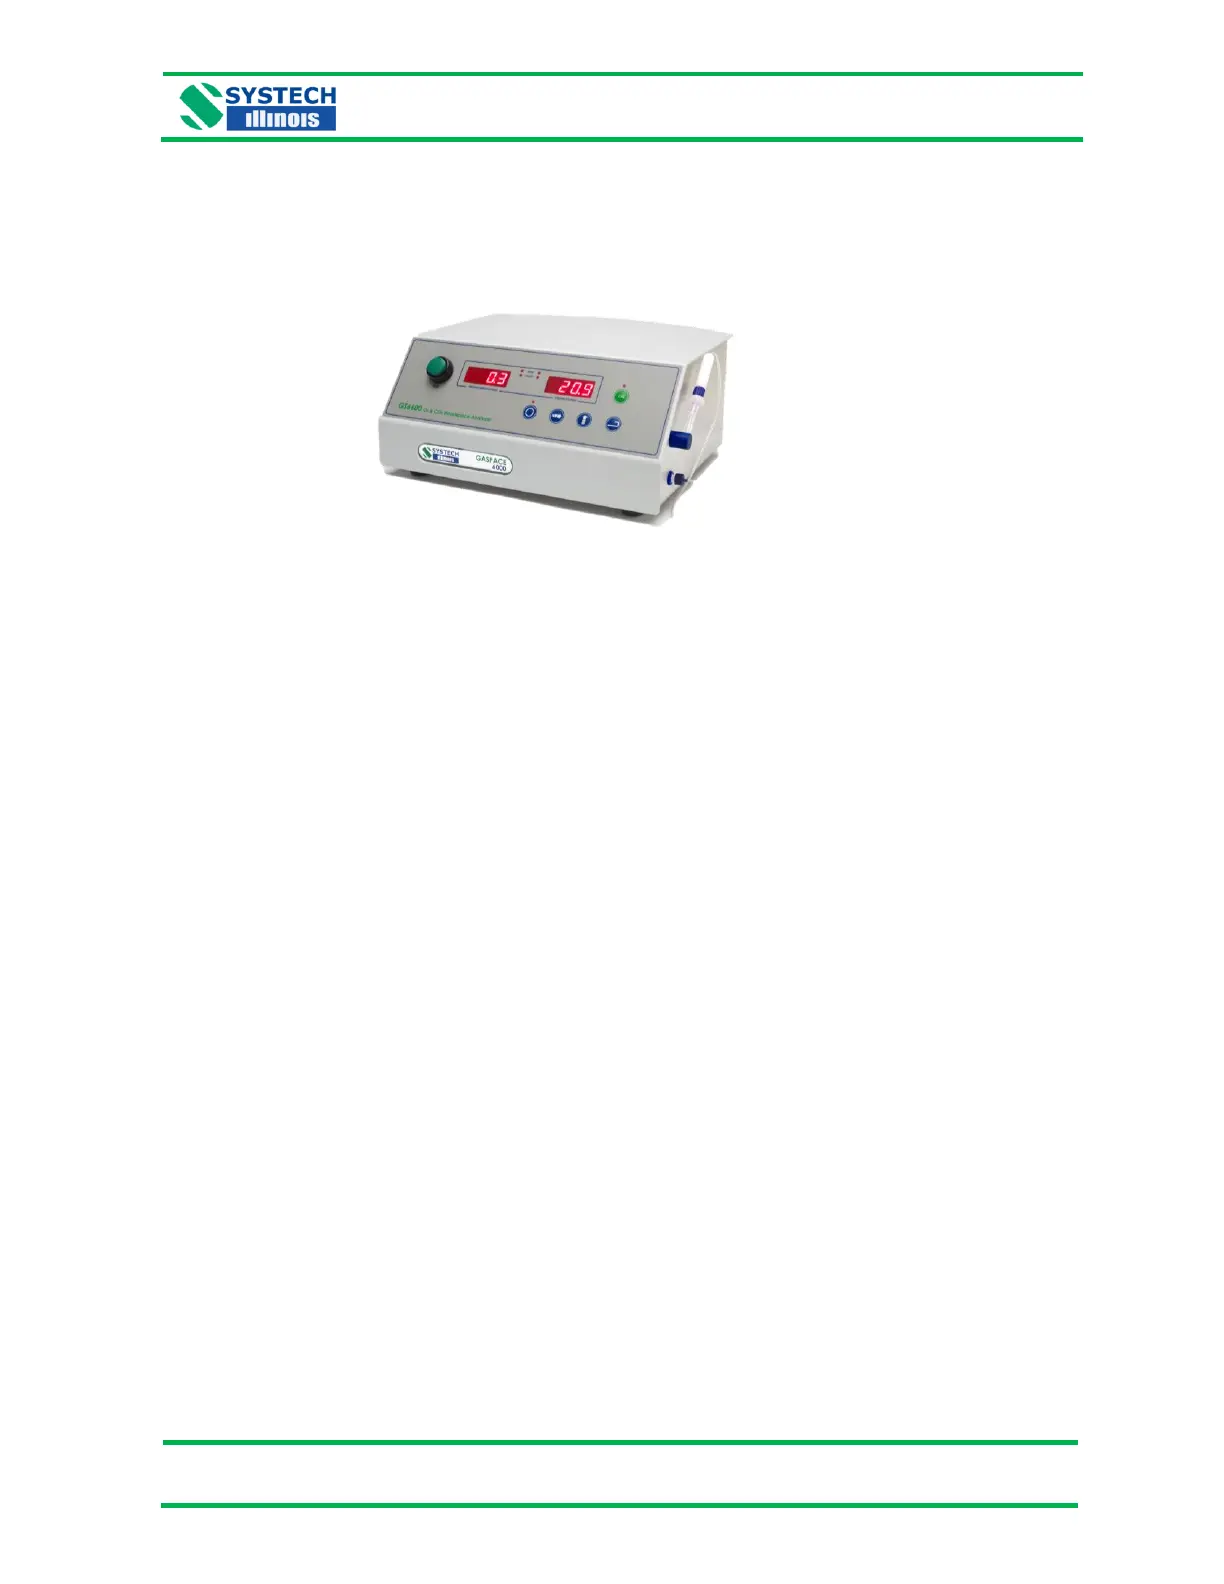
1. Ensure the GS6000 is operational and ready to use, that it has a clean filter, a needle in good
condition and sampling probe (wand) with no leaks.
2. Situate the package to be measured in such a way as to maximize the available headspace.
3. Pull the packaging away from its contents to create an area which will be used to accept the needle.
4. Apply an adhesive-backed septum to the area of the package through which the needle will be
inserted – ensure the package is clean and dry in the area where the septum is applied (the septum
creates a seal around the needle to avoid atmospheric oxygen ingress).
5. Pierce the septum with the needle and keep the needle in the area created, away from the product.
Do not allow the needle to exit the other side of the package (if this happens, discard the package
and start over with a new one).
6. Set the analyzer test time as mentioned in section 5.4.1. Initiate the measurement by pressing the
green ‘TEST’ button – do not move the needle during the measurement.
7. If the oxygen/carbon dioxide concentration reading is still changing after the test time expires,
consider extending the test time as mentioned in 5.4.1.
8. Once the measurement stabilizes, the test is complete. If connected, the external printer will
document the test results.
9. Withdraw the needle from the package and place back in the sample probe holder on the side of
the analyzer – dispose of tested packages as instructed.
10. Document test results in other ways if so instructed.
11. Visually inspect the upstream side of the filter after each test. If it begins to collect product,
exchange it for a new filter. Passing product through the filter may cause damage to the
analyzer which will not be covered under warranty.
12. Perform an Air Calibration at regular intervals, see section 6.1.
 Loading...