16
| Installation
Lifting
♦ Lift the fan unit slowly and carefully.
♦ Use hoisting gear permitted for the weight of the fan.
♦ Attach the hoisting equipment to flanges and foot bores or at the marked places.
♦ Use transport equipment (e.g. lifting eyes) if available.
♦ Please observe the marking “oben/top” on the fan.
Positioning
♦ Observe the arrows on the name plate or the housing of the fan. They show the direction of rotation and air flow.
♦ Position the fan unit so that it is standing in the planned direction of flow.
♦ Provide enough free space for inspection and maintenance work on the fan unit.
7.6.1 Anchor the fan
Anchor
♦ Use suitable fittings.
♦ Screw the fittings with the correct tightening torques, see Table 9 Tightening torques according to DIN 13, page 15
♦ If you are not sure, contact Systemair.
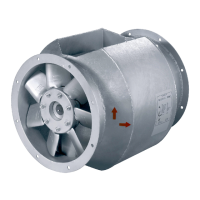
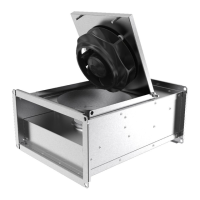
7.7 Installation axial fans/AXCBF
Installation is possible in any mounting position. From size 1250 and above, please contact Systemair if the mounting
position should be different to horizontal or vertical.
7.7.1 Installation of the ventilation system
7.7.1.1 Preconditions
♦ The air flow of the fan must be able to open the air operated damper (LRK).
7.7.1.2 Installation duct
♦ Do not place a duct bend directly before or after the fan!
• This can cause damage to the bearings or other parts of the fan.
• The duty point may not be reachable.
• The fan may make noise.
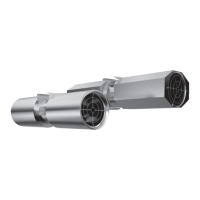
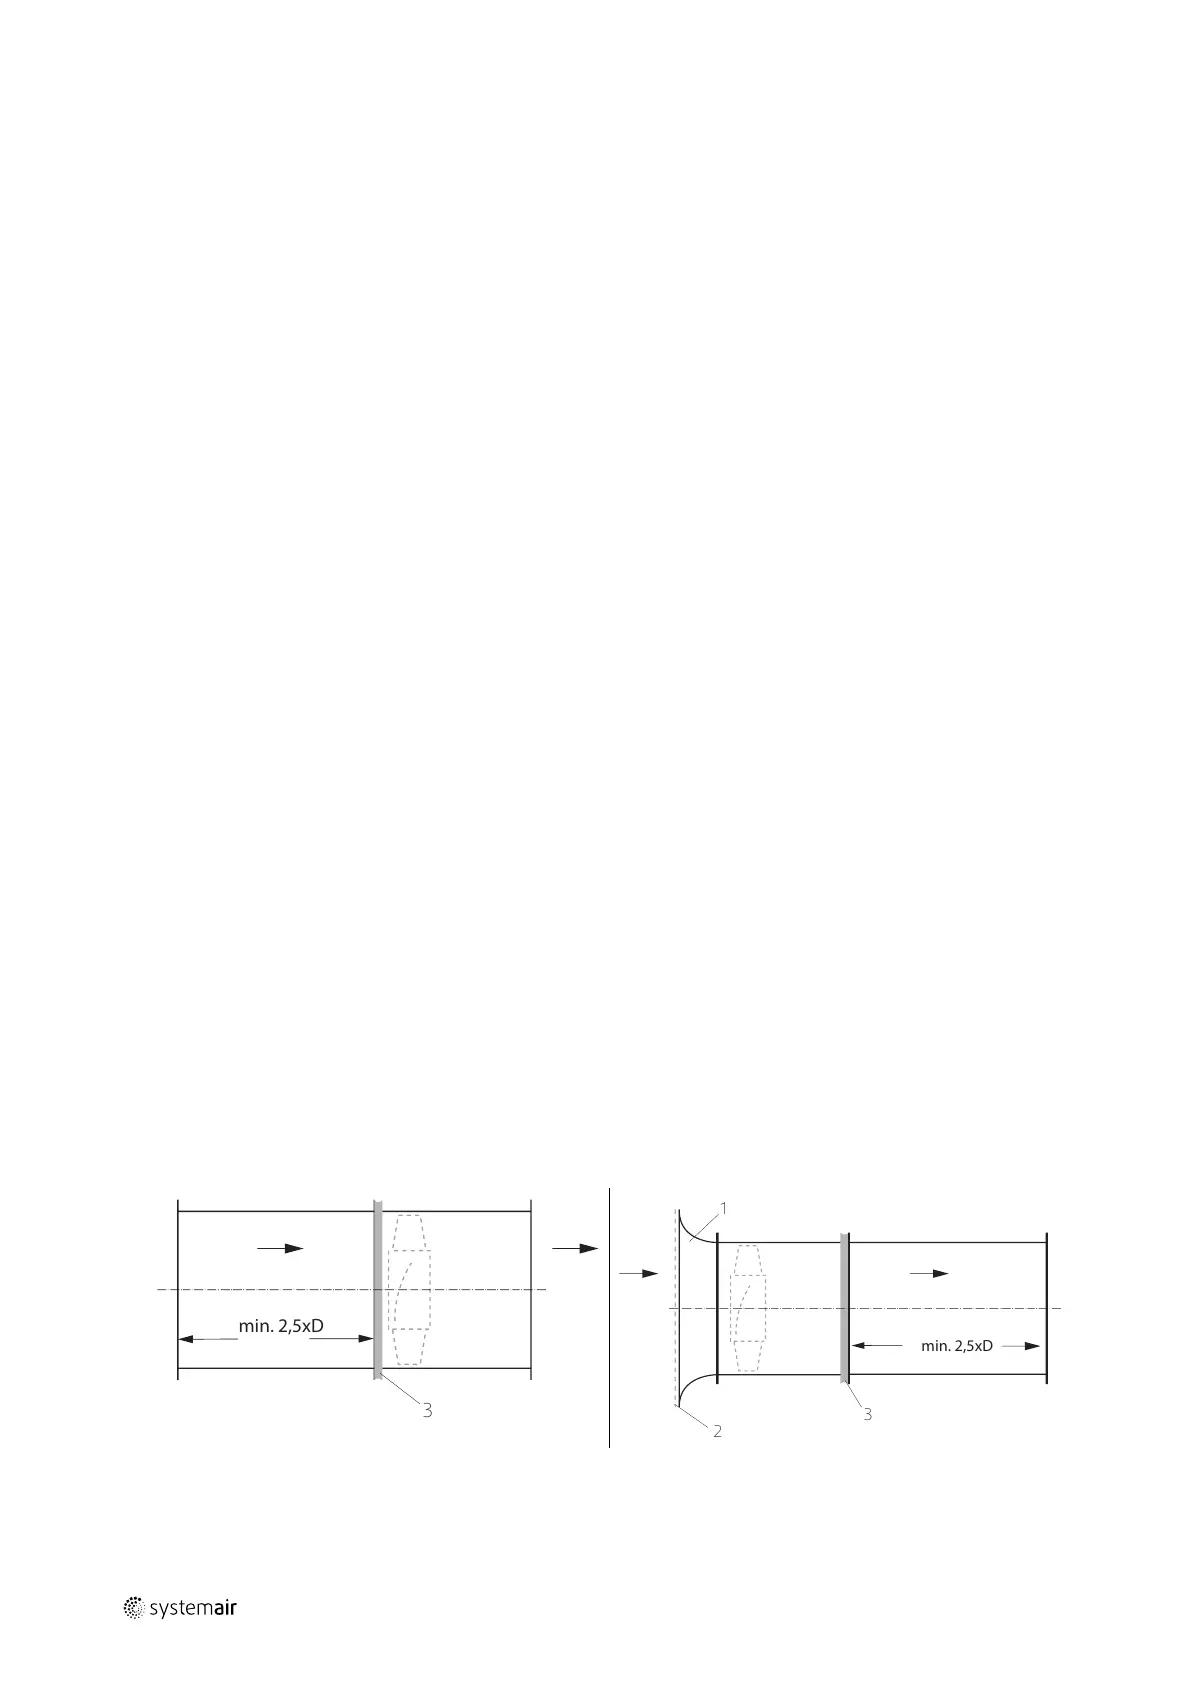
♦ Ensure a direct, smooth and constant air flow to the device. Ensure a free exhaust, see the following pictures.
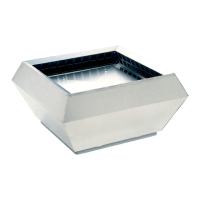
♦ Install an inlet cone or a channel section with a length of at least 2.5 x D
♦ To reduce transmission of vibration to the duct system, we recommend flexible connections from our accessory
range, see 5.2.4 Accessories, page 8.
D = nominal diameter
1
Inlet cone
2
Protective guard
3
Flexible connection
| 003
 Loading...