TB8100 Installation and Operation Manual Replacing Modules 97
© Tait Electronics Limited June 2005
6.8 Replacing the Module Guide Rails
The module guide rails are held in place by four hooks that fit through the
slots in the top and bottom of the subrack. There is also a locking tab which
prevents the guide rails from working loose.
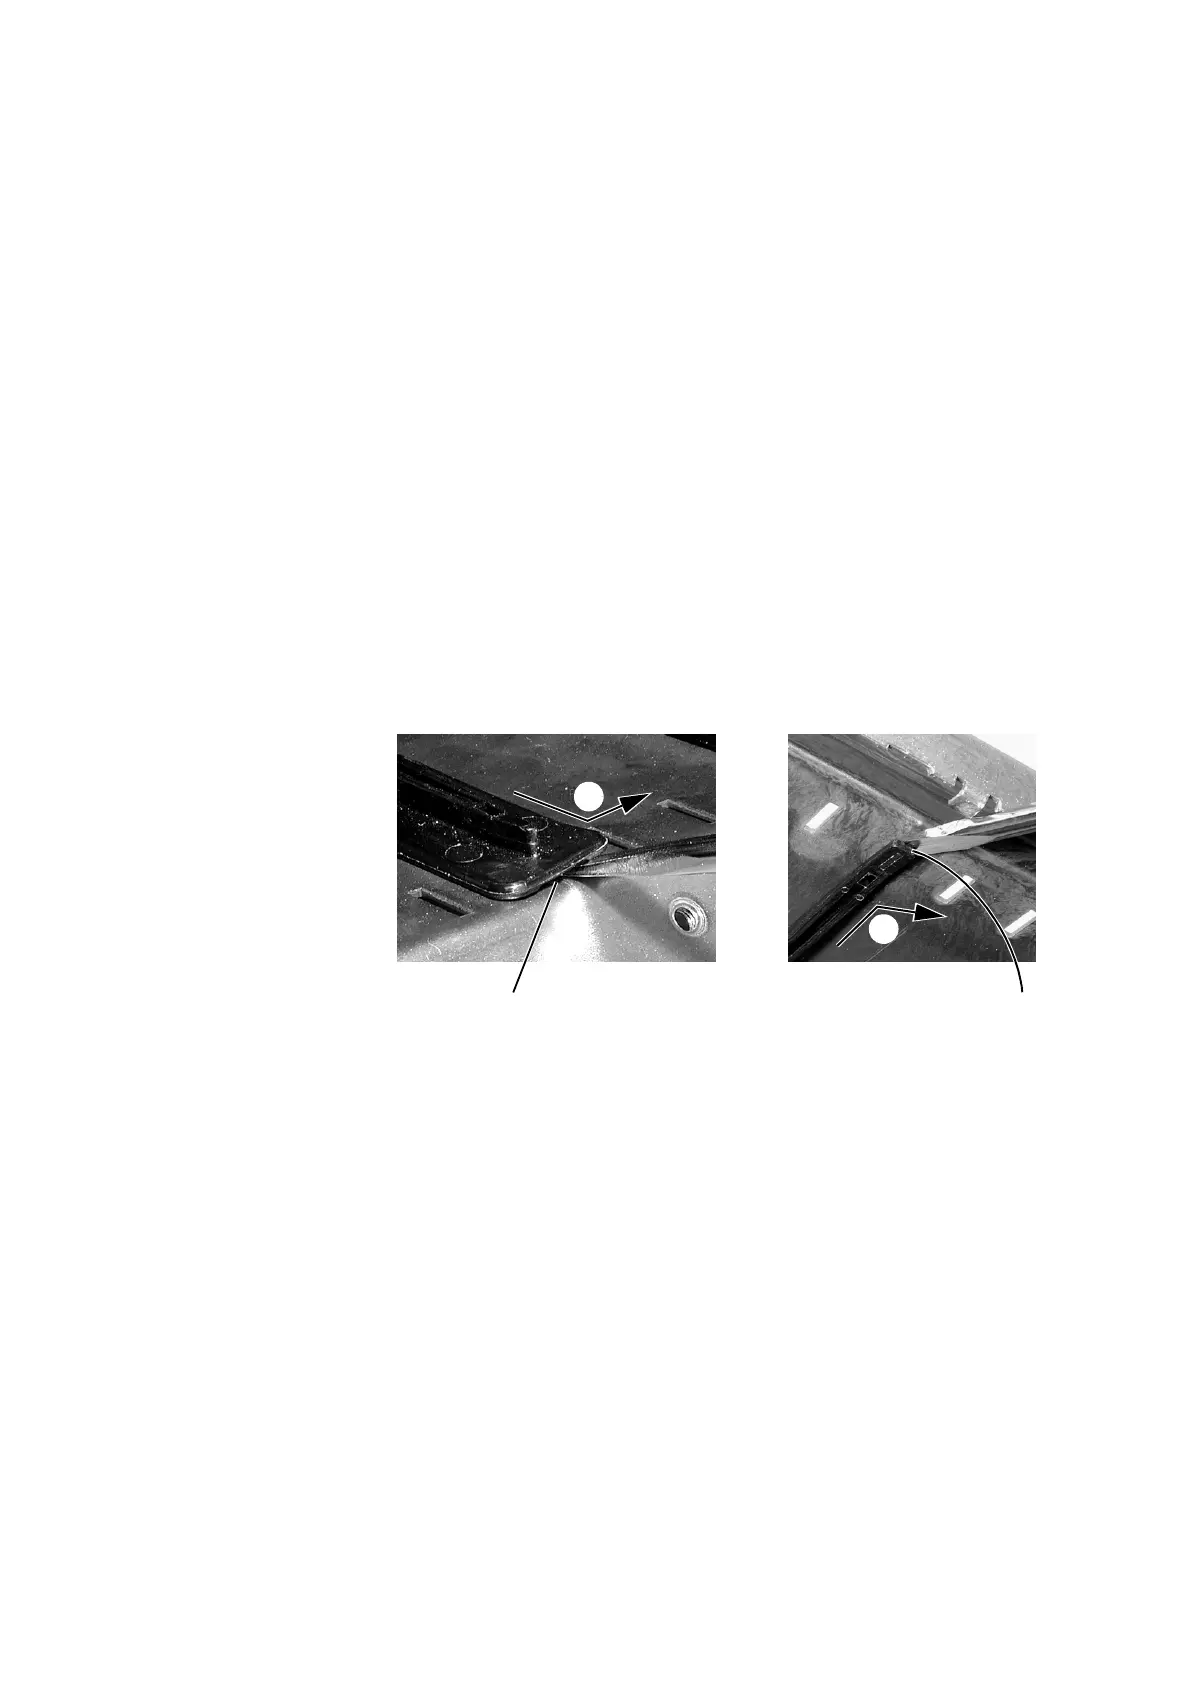
Removal 1. Bottom Guide Rails
a. Insert a small flat-blade screwdriver under the front end of the
guide rail and lift it slightly
b. This will ensure the small locking
tab is clear of the slot in the subrack.
b. Whilst holding the front end of the guide rail up, pull the guide
rail towards the front of the subrack
c and lift it clear of the slots.
2. Top Rails
a. Insert a small flat-blade screwdriver under the rear end of the
guide rail and lift it slightly
d. This will ensure the small locking
tab is clear of the slot in the subrack.
b. Whilst holding the rear end of the guide rail up, pull the guide rail
towards the rear of the subrack
e and lift it clear of the slots.
Refitting 1. Bottom Guide Rails
a. With the locating hooks pointing towards the rear of the subrack,
insert the hooks into the slots in the subrack.
b. Push the guide rail towards the rear of the subrack until you hear
the locking tab “click” into place.
2. Top Guide Rails
a. With the locating hooks pointing towards the front of the subrack,
insert the hooks into the slots in the subrack.
b. Push the guide rail towards the front of the subrack until you hear
the locking tab “click” into place.
bottom guide rail top guide rail
b
c
d
e

 Loading...


