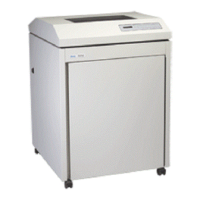
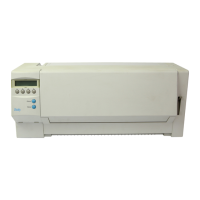
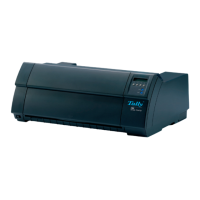
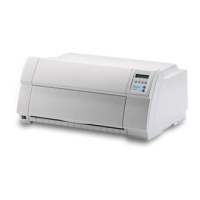
4–1
Chapter 4: Removing and Replacing Components
Introduction
This chapter covers removal and reinstallation of selected field replaceable compo-
nents and assemblies of your printer.
Unplug the printer and remove paper and ribbon for all procedures in this chapter.
Any time you remove a component that is involved in some aspect of the printing
process, perform a print test to ensure that print quality has not been affected.
Unless otherwise noted, reinstallation of components is in the reverse order of installa-
tion or removal.
Required Tools
This is a list of tools you will need to perform the procedures in this chapter. The tools
are available through the Tally Spares Department (see Appendix A for part numbers).
• Paper belt tension gauge
• T-Handle Allen Driver - 9/64"
• Platen Gap Shim Gauge - 0.011"
• Hammer Module Alignment tool
• Tractor Phasing Gauge
• Nut Driver - 11/32"
• Retaining ring pliers
• Hex Allen key - 3/32"
• Phillips screwdriver 6", #2
• Phillips screwdriver 3", #1
• Needle-nosed pliers
• Flat-head screwdriver
• Torx tool, size 9
 Loading...