The Looper
VL3X – Reference manual (updated 2015-07-16) 141
Importing loops
Organizing and naming loops properly
First, put the loops that you would like to import
onto a USB flash stick.
The USB flash drive needs to be formatted us-
ing the FAT32 file system. NTFS, HFS+ (the OSX
file system) or other file systems cannot be read
by VL3X.
You’ll need to create a folder called “VL3_Loops”
on this flash stick and put all of your loops there.
If you put your loop audio files in the root direc-
tory of the flash stick instead, they’ll be seen by
the Backing Track import screen instead. The
sub-folder simply allows you to organize things
a bit better.
You may want to name or rename the tracks in
a way that makes it easy for you to remember
where they should be going in your VL3X.
Of course, you’ll find your own way of making
it all work for you, but a logical, consistent file
naming system is something that to really should
consider – especially if you are working with a lot
of file imports or you have downloaded files from
multiple providers.
It can help to include Key and/or Tempo and bar
information in the file name too.
For example, if you plan to import three different
loops to tracks A, B, C respectively on Slot 1,
you may want to name the loops something like:
► “Drums 120BPM 4bars”
► “Bass 120BPM Bsharp 2bars”
► “Synth 120BPM Bsharp 8bars”
If you’re geeky, you can actually name your loops
such that the Import screen will automatically
populate with the correct slot, track and vocal/
guitar tags.
To do this, name your Loops as follows:
► SLOT#_TRACK_VOC_userinfo
for vocal loops or
► SLOT#_TRACK_GTR_userinfo
for guitar loops.
The Slot, track and vocal/guitar tags will deter-
mine what goes into the import screen. The last
underscore and text allows you to still amend a
useful name to the file (“userinfo”).
For example, if we wanted to import some drums
to Slot 20, Track B, Guitar and have VL3X name
that loop file “Electrodrum”, the correct file name
would be:
► SLOT20_B_GTR_Electrodrum.wav
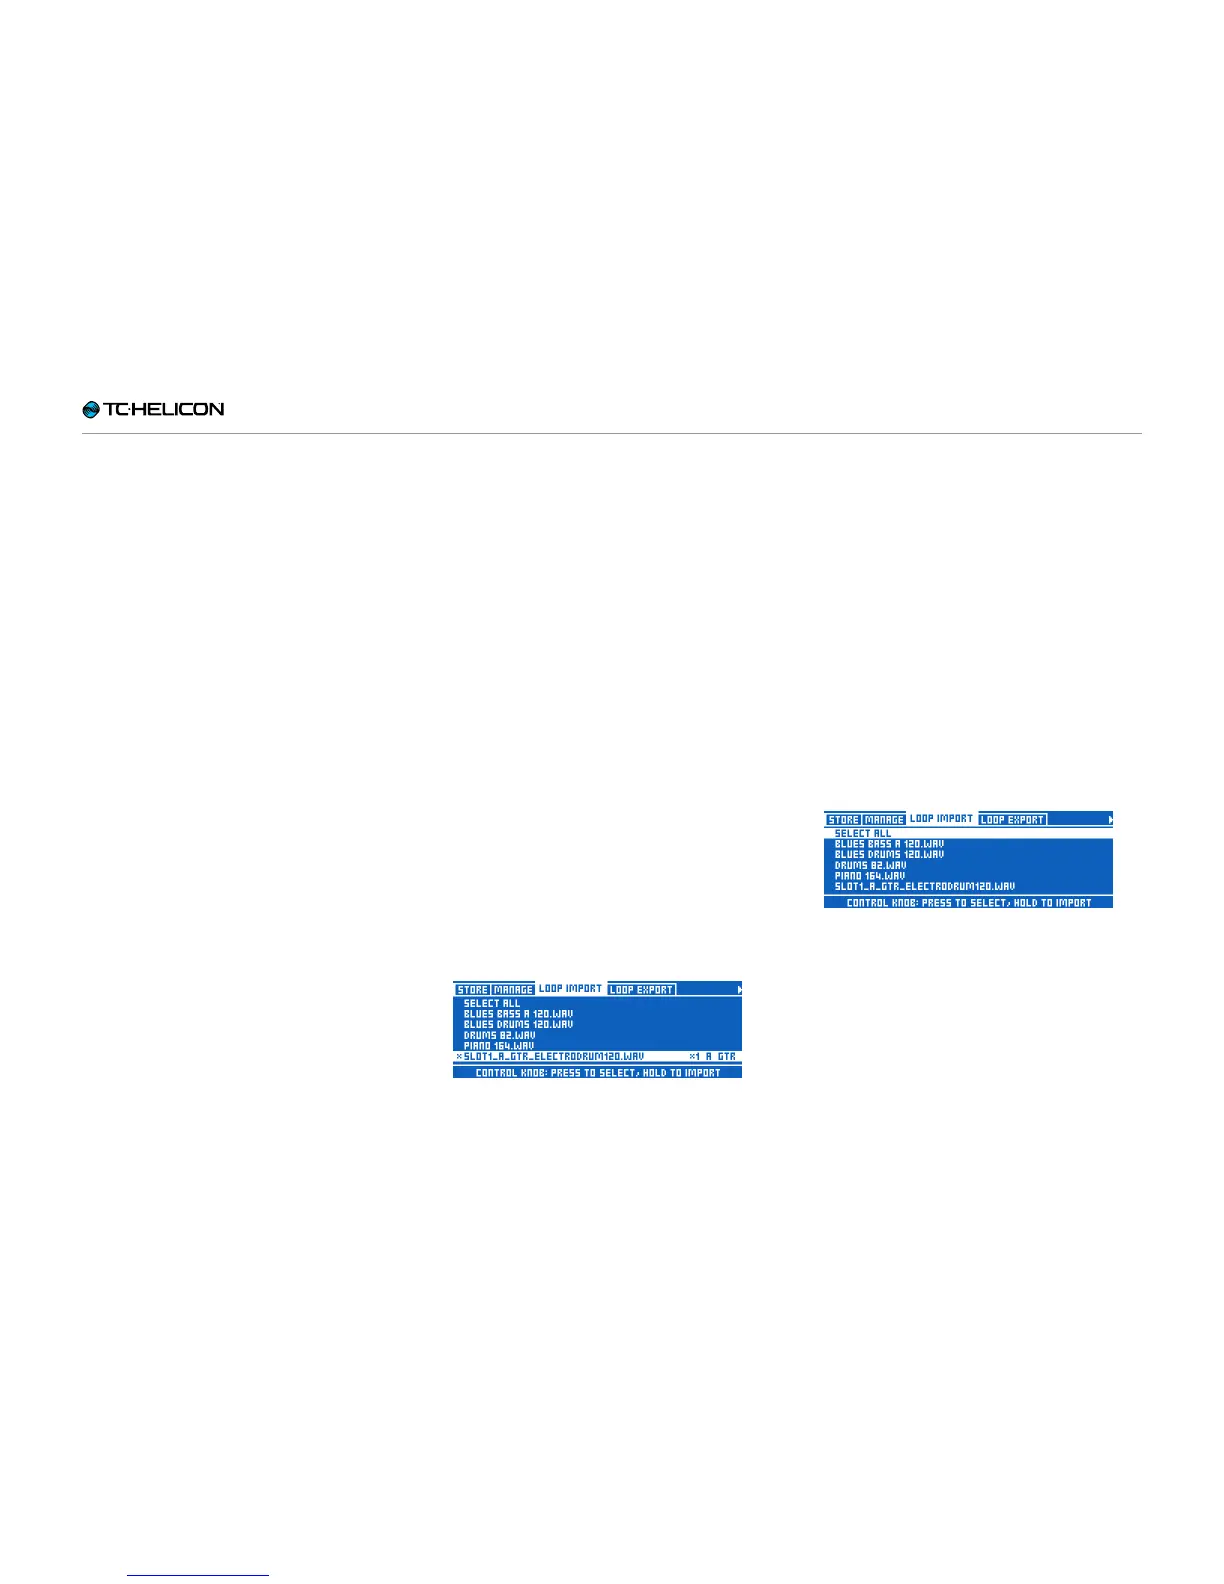
The Loop Import page with the “SLOT1_A_
GTR_electrodrum120.wav” file selected
► Once you have named and moved the tracks
onto your USB flash stick, plug the USB flash
stick into your VL3X.
► Press the STORE button and navigate to the
LOOP IMPORT tab using the < > arrows.
You’ll be presented with a screen showing a
list of all the compatible audio files available
for import.
If you have copied files from a Mac to the USB
flash stick, you may see files with a leading
dot on the Loop Import screen. These files
(usually invisible on a Mac) are created by Ap-
ple’s operating system. Ignore them; they can-
not be imported.
► Scroll up and down with the Control Knob to
select a file. Press to flag the file for import.
You can flag multiple files or choose “Select
All” at the top.
Loop Import page
Next to each selected audio file name, you’ll see
Slot and Track destination parameters along with
a “Vocal”/”Guitar” toggle.
 Loading...