THEORY OF
OPERATION-MAINTENANCE(continued)
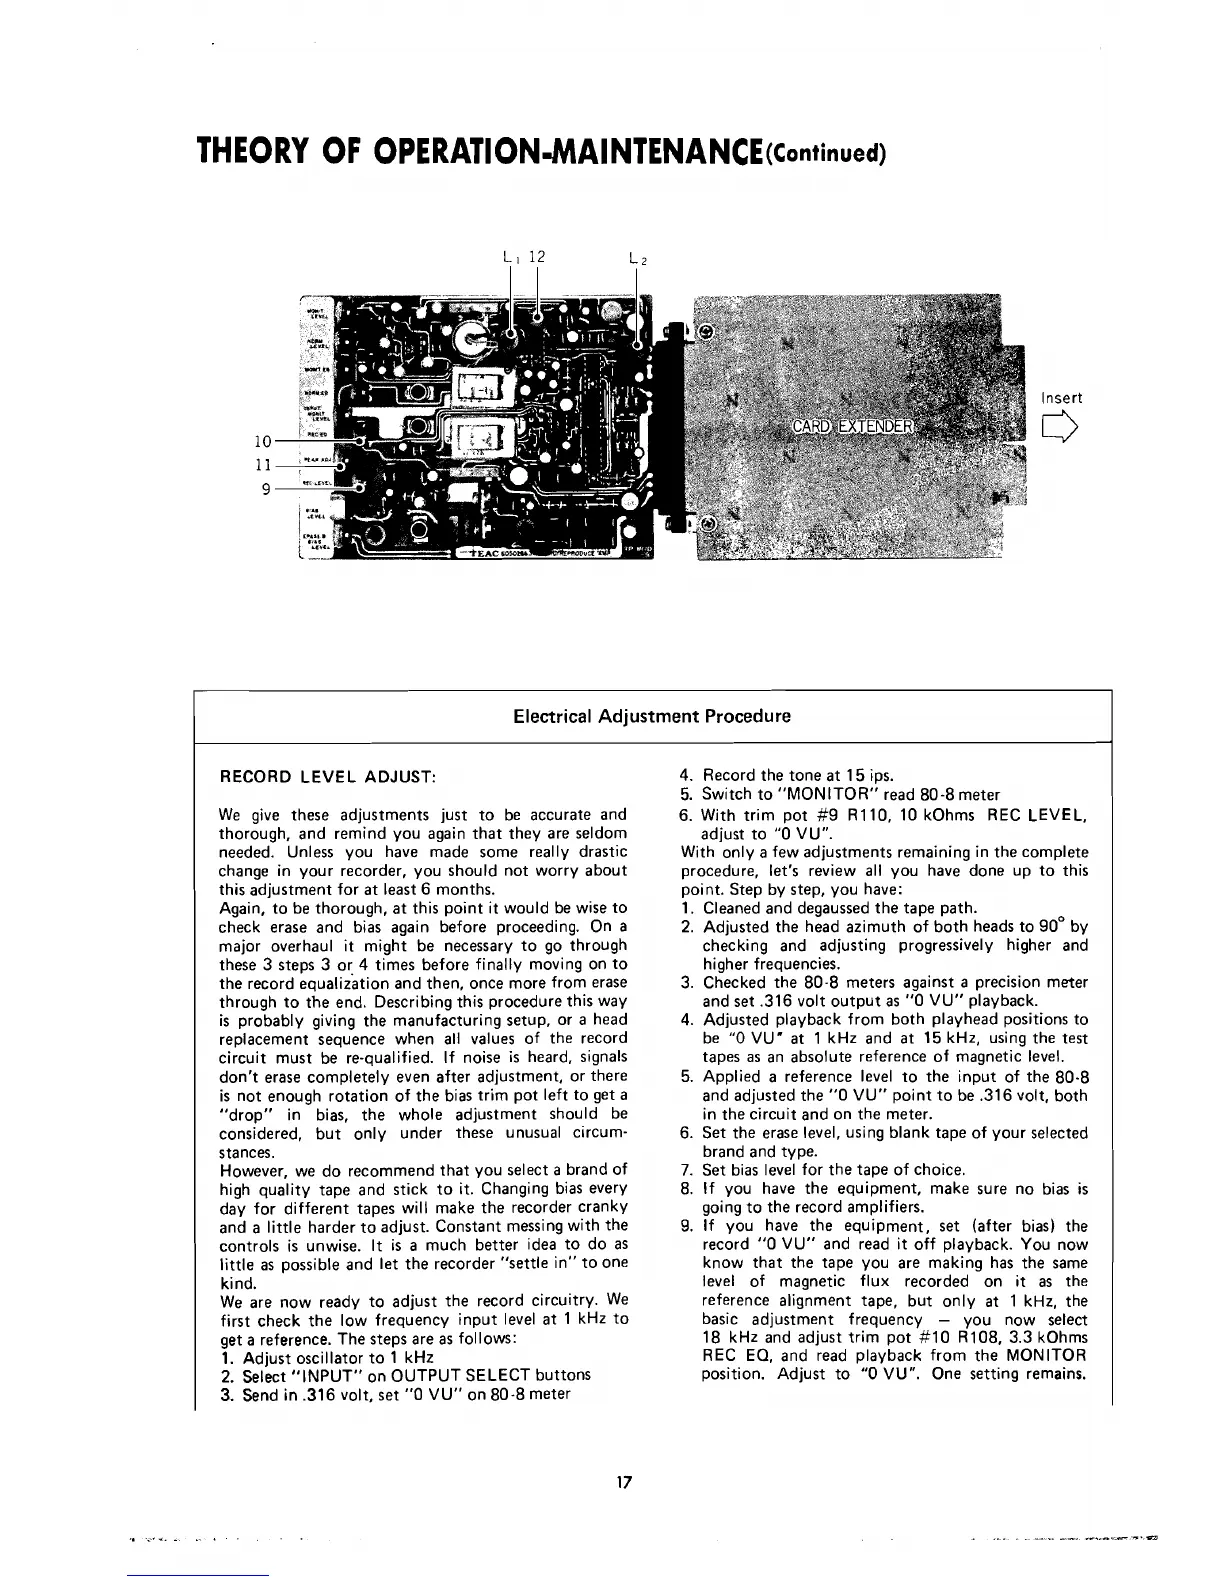
Insert
Electrical Adjustment Procedure
RECORD LEVEL ADJUST:
4.
Record the tone at
15
ips.
5.
Switch to "MONITOR" read
80-8
meter
We give these adjustments just to be accurate and
6.
With trim pot
#9 R110, 10
kOhms REC LEVEL,
thorough, and remind you again that they are seldom adjust to
"O
VU".
needed. Unless you have made some really drastic With only a few adjustments remaining in the complete
change in your recorder,
you should not worry about
procedure, let's
review
al1 you have done up to this
this adjustment for at least
6
months.
point. Step by step, you
have:
Again, to be thorough, at this point
it
would be wise to
1.
Cleaned and degaussed the tape path.
check
erase and bias again before proceeding. On a
2.
Adjusted the head azimuth of both heads to
90°
by
major overhaul
it
might be necessary to go through checking and adjusting progressively higher and
these
3
steps
3
or.
4
times before finally moving on to
higher frequencies.
the record equalization and then, once more from erase
3.
Checked the
80-8
meters against a precision meter
through to the end. Describing this procedure this way
and set
.316
volt output as
"O
VU" playback.
is
probably giving the manufacturing setup, or a head
4.
Adjusted playback from both playhead positions to
replacement sequence when
al1 values of the record
be
"O
VU" at
1
kHz and at
15
kHz, using the
test
circuit must be re-qualified. If noise
is
heard, signals
tapes
as
an absolute reference of magnetic level.
don't erase completely even after adjustment, or there
5.
Applied a reference level to the input of the
80-8
is
not enough rotation of the bias trim pot left to get a
and adjusted the
"O
VU" point to be
,316
volt, both
"drop" in bias, the whole adjustment should be in the circuit and on the meter.
considered, but
only under these unusual circum-
6.
Set the erase level, using blank tape of your selected
stances. brand and type.
However, we do recommend that you select a brand of
7.
Set bias level for the tape of choice.
high quality tape and stick to it. Changing bias every
8.
If you have the equipment, make sure no bias
is
day for different tapes will make the recorder cranky
going to the record amplifiers.
and a
little harder to adjust. Constant messing with the
9.
If you have the equipment, set (after bias) the
controls
is
unwise. It is a much better idea to do as
record
"O
VU" and read it off playback. You now
little as possible and let the recorder "settle in" to one
know that the tape
you are making has the same
kind. level of magnetic flux recorded on
it
as the
We are now ready to adjust the record circuitry.
We
reference alignment tape, but only at
1
kHz, the
first check the low frequency input
level at
1
kHz to basic adjustment frequency
-
you now select
get a reference. The steps are as follows:
18
kHz and adjust trim pot
#l0 R108, 3.3
kOhms
1.
Adjust oscillator to
1
kHz
REC
EQ, and
read playback from the MONITOR
2.
Select "INPUT" on OUTPUT SELECT buttons position. Adjust to
"O
VU". One setting remains.
3.
Send in
.316
volt, set
"O
VU" on
80-8
meter