Degaussing (Demagneti~in~)
A
little stray magnetism goes a long way.
A
long way
towards making trouble for your tapes.
It only takes a
small amount
(.2
gauss) to cause trouble on the record
head and playing 10 rolls of tape will put about that much
charge on the heads and other ferrous parts of the tape
path.
A
little more than that
(.7
gauss) will start to erase
high frequency signal on previously recorded tapes.
Demagnetize the whole tape path, including the tips of
the tension arms every six fully played 10%" reels. This
is
a fair "rule of thumb" even though
it
may be a bit hard to
keep track of. Fast motion isn't as significant to the
heads, so we don't give an hourly reference. It's the
recordlplay time that counts.
Degaussing is always
done with the recorder turned off. If
you try it with the electronics on, the 60 cycle current
pulses produced by the degausser will look
just like 60 Hz
audio to the heads, at about 10,000 VU and will seriously
damage the electronics
andlor .the meters. Turn off the
machine, turn on the degausser at least
3
feet away from
the recorder. Move slowly in to the tape path. Move the
degausser slowly up and down in close proximity to
al1
ferrous parts and, slowly move away to at least
3
feet
before turning off.
It's
a good idea to concentrate when you are degaussing.
Don't try to hold a conversation or think of anything else
but the job you are doing. If the degausser
is
turned off or
on by accident while
it
is
near the heads, you may put a
permanent charge on them that no amount of careful
degaussing will
remove
-
head replacement time again,
we're sorry to say. Make
sure you are wide awake for this
procedure.
A
clean and properly demagnetized tape recorder will
maintain its performance without any other attention for
quite some time. Even if
it
does drift as a recorder, it
won't ruin previously
recorded material, and getting
it
back in good shape will not be too difficult. To make
electronic adjustments, you
need test gear, so let's go over
what's necessary.
1)
Alignment Tapes
You
need one for each speed that the recorder operates
at. For the 80-8 the specs are:
Reference fluxivity: 250 nWb/m
Equalization standard: IEC
15 ips
m
&
35ps
(See page 10; Test Tapes)
These test tapes are made by
severa1 companies, but
there are many different tape specs. Be
sure you have
the right one.
Lets's talk about each
sDec separately.
Reference Fluxivity
-
How much magnetic energy
is
necessary on the tape to make the meter read
"O
VU"
in playback? This
is
the "benchmark" or standard you
tune your playback electronics to. 250 nano Webers
per meter
is
the correct value for the 80-8. If a lower or
higher "Reference
Fluxivity"
is
used to set up the
playback,
al1 your other measurements will be off.
IEC
Equalization
-
Here we have a lot to talk about.
The process of magnetic recording is far from "flat."
Every circuit in a tape recorder will alter the
leve1 of
signal with respect
to
its
frequency
-
some deliber-
ately, some unavoidably. The deliberate errors are used
to overcome the unavoidable problems. Here
is
a
selection of frequency response graphs at various
points in the recording process:
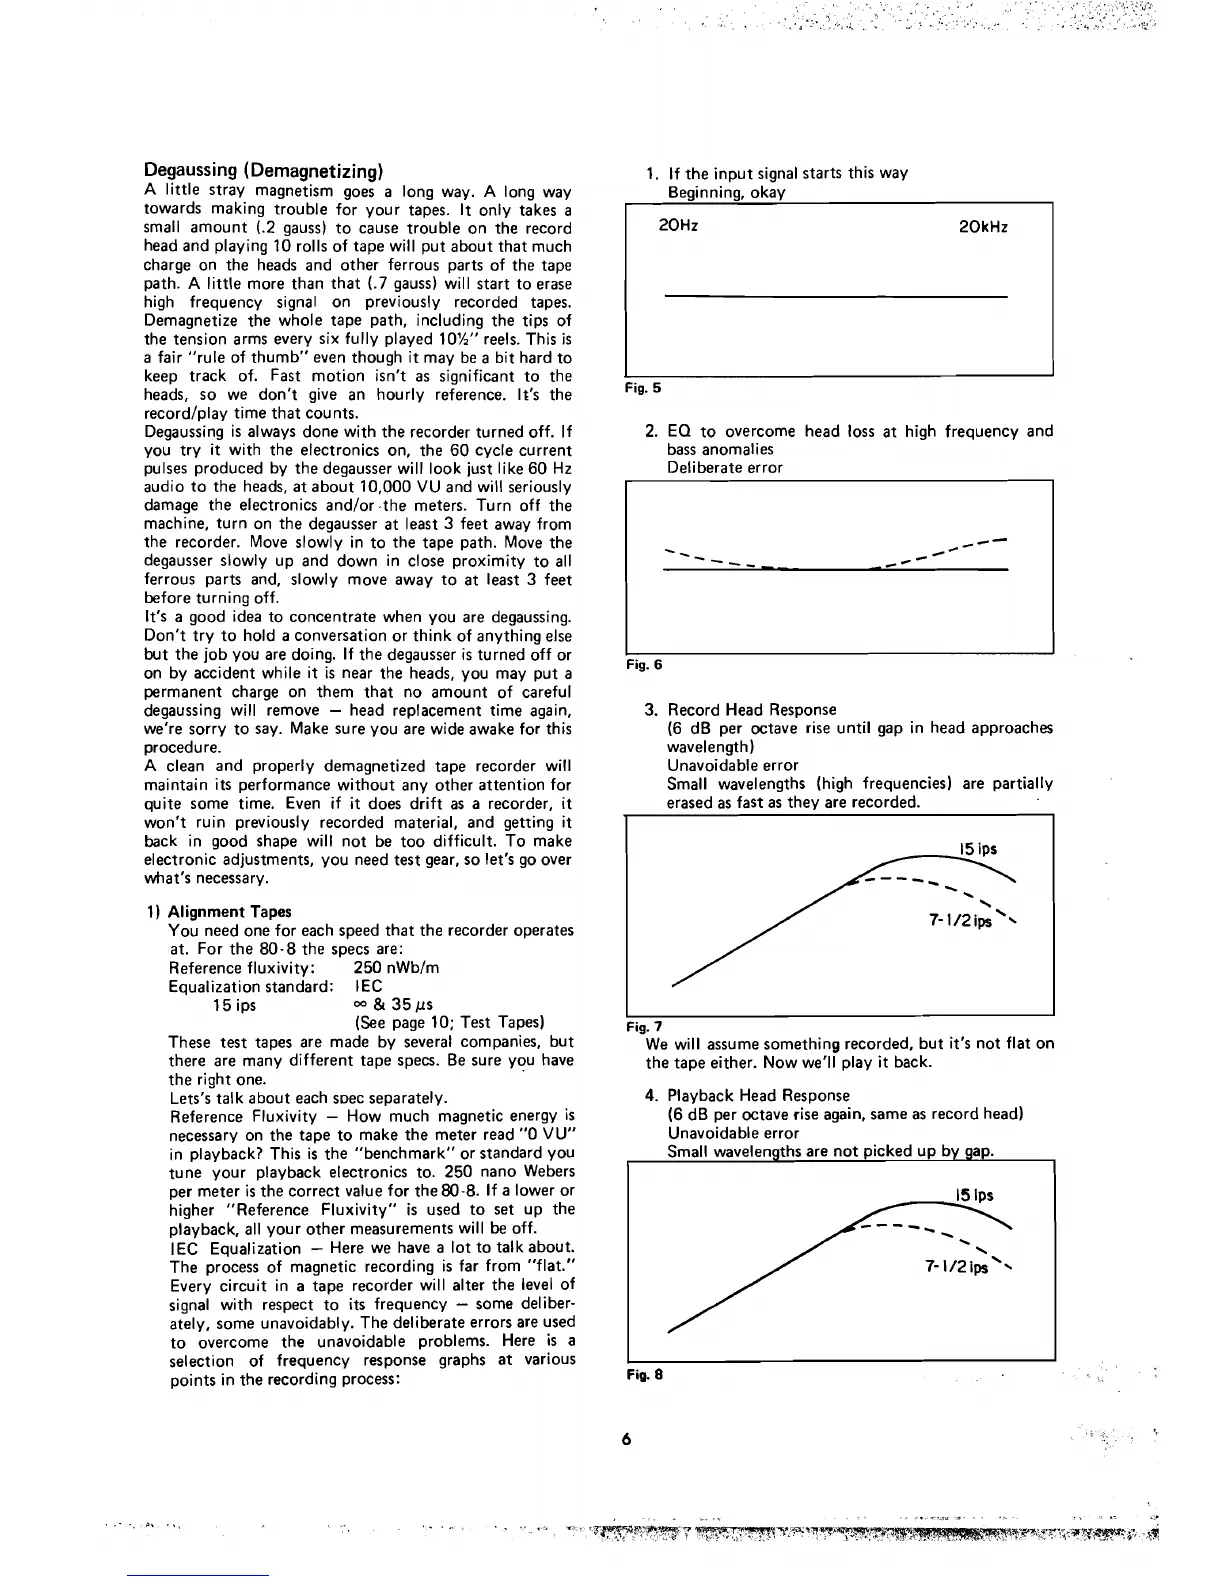
1.
If the input signal starts this way
Beginning, okay
20Hz 20kHz
Fig.
5
2.
EQ to overcome head loss at high frequency and
bass anomalies
Deliberate error
l
I
Fig.
6
3.
Record Head Response
(6
dB per octave rise until gap in head approaches
wavelength)
Unavoidable error
Small wavelengths (high frequencies) are partially
erased as fast as they are recorded.
Fig.
7
We will assume something recorded, but it's not flat on
the tape either. Now
we'll play
it
back.
4.
Playback Head Response
(6
dB per octave rise again, same as record head)
Unavoidable error
Small wavelengths are not picked up
by
gap.
1
I
I
Fig.
8