6.5 CONFIGURING THE DISPLAY
Tochangethedisplayseings,proceedasdescribedinparagraphs“6.5.1SKILLMILL(CONSOLE
AND CONNECT) DISPLAY CONFIGURATION PROCEDURE THAT DOES NOT ACTIVATE THE
KEY BACKLIGHTING”; “6.5.2 Skillmill (CONNECT) DISPLAY CONFIGURATION procedure
that activates the KEY backlighting”.
6.5.1 SKILLMILL (CONSOLE AND CONNECT) DISPLAY CONFIGURATION PROCEDURE
THAT DOES NOT ACTIVATE THE KEY BACKLIGHTING
• Update the SW with the most recent release (“9.1 SW update procedure”).
• Remember to disconnect the MINI USB connector from the console.
• Remember to connect the external power supply to the Connect version of the Skillmill. Make sure
the Console version of the Skillmill is switched on and fully charged.
• Turn the belt.
• Whenthetimestopsashing,thebuonsareactiveandcommandscannowbeentered.Forthe
details, see “6.5.3Combolist”. The keys are not backlit.
6.5.2 SKILLMILL (CONNECT) DISPLAY CONFIGURATION PROCEDURE THAT
ACTIVATES THE KEY BACKLIGHTING
This procedure only applies to the powered Skillmill (Connect version), whose keys light up and
become visible to the technician.
• Update the SW with the most recent release (“9.1 SW update procedure”).
• Remember to disconnect the MINI USB connector from the console.
• Disconnect the external power supply (Connect version).
• Power the display from the MINI USB Port, with a PC or a power bank.
• Thekeyslightup.Rotatethebelt.Whenthetimestopsashing,pressthekeys(inthiscase,thekeys
are not backlit) according to the command you want to give to the equipment. For the details, see
“6.5.3Combolist”.Ifthecomboisnotacquiredbythedisplay,rotatethetreadmillandrepeatthe
operation (in this case the keys are not backlit).
Thebuonsarealwaysactive.ItisusefultopowertheconsoleviatheMINIUSBsockettoseethe
correctpositioningofthebuons.
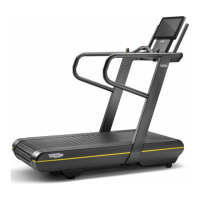
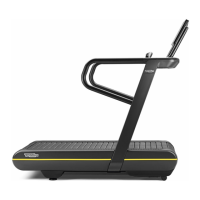
Figure 31
Skillmill
Technical Service Guide - Rev. 3.5
Page 62
email: support@technogym.com