- 11-
Turning on the instrument
(1) The TC-720 plus should be placed on a clean, flat, stable surface. It should not be place in an
area exposed to direct sunlight, moisture, or electromagnetic interferences.
(2) Testing area should meet all operational conditions stated in Chapter 2 including, humidity,
power, temperatures, and pressure.
(3) The TC-720 plus should be kept clean and should be protected from dust and erosion
(4) Connect the power chord to the power adapter
(5) Connect the power adapter to the power outlet on the back of the instrument
(6) Plug in the TC-720 plus securely and safely to appropriate power outlet (make sure power
switch is in the off position)
(7) Turn own power by flipping power switch to on position.
Set-Up
(Ⅰ) Installation of the apparatus
Once the instrument has been turned on, it will go through a series of self diagnostic checks. During this
time a malfunction code may arise if there are any problems with the instrument. At this time any
troubleshooting needed should be done.
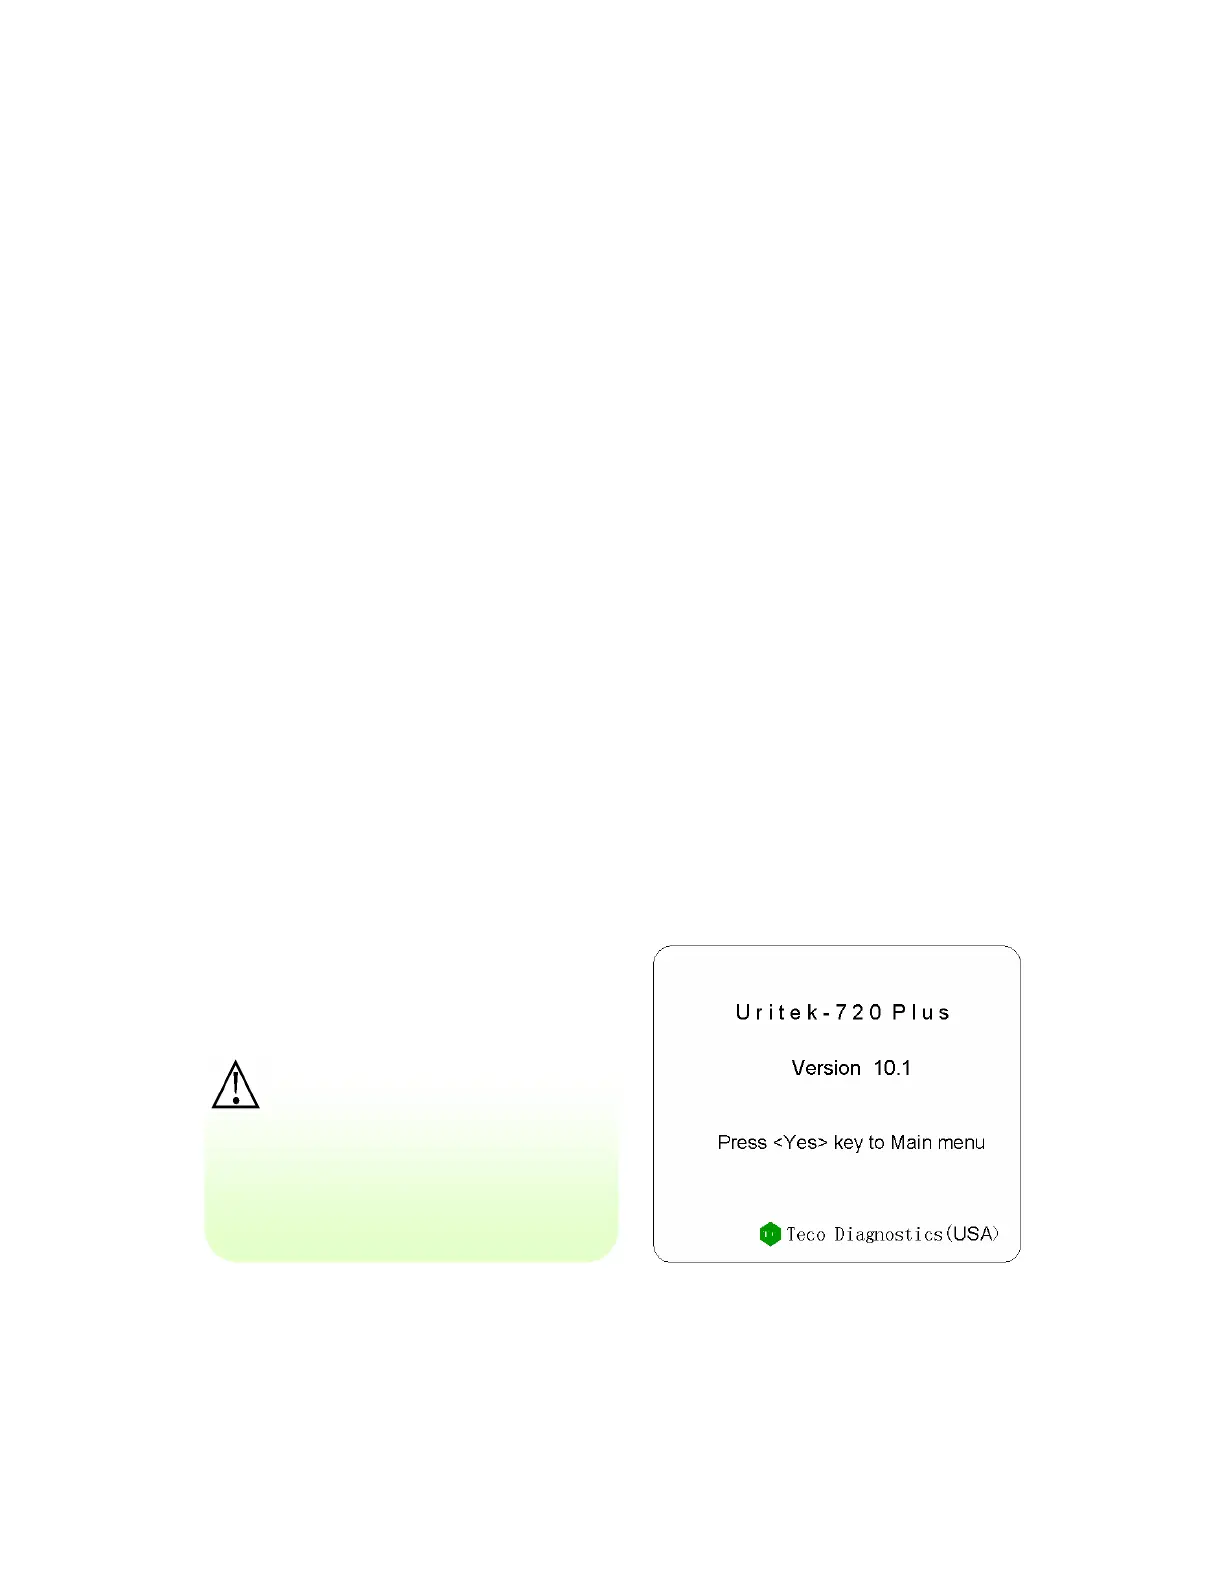
Once the instrument has started up normally and the screen in figure 4 appears then a standard strip
should be run to make sure that the optics and printer are working properly. The calibrator kit comes with
two standard strips and the values that should come from running the strip as a sample. If there is a
deviation in the results the standard strip and that on the values on the standard kit then there may be a
problem with the instrument.
Figure 4: Startup Interface
Caution:
Make sure that the current and
voltage of the power supply is
stable before use or the
instrument may be damaged.