EAR-Controlled Technology Subject to Restrictions Contained on the Cover Page.
Page 53
Step 1 –Setup
The training probe should be used for the first 2 to 3 casts every day to ensure proper setup and function-
ality.
1. Perform detailed inspections:
a. Line is routed correctly through LevelWind, tension arm, and pulley block.
b. Line is tight on the spool and not tangled.
c. LevelWind is in sync with line.
d. Line is not damaged and the loop splice is in good condition.
e. Tension arm moves smoothly when tension is applied to line.
f. Tailspool shackle is free from defects, scratches, or anything that may damage the line.
2. Attach the desired tailspool to the line, see Installing and Connecting the Probe
3. Slowly lower the probe into the water by holding the line and slipping it out by hand
4. Check that swivel is locked or unlocked in the desired position
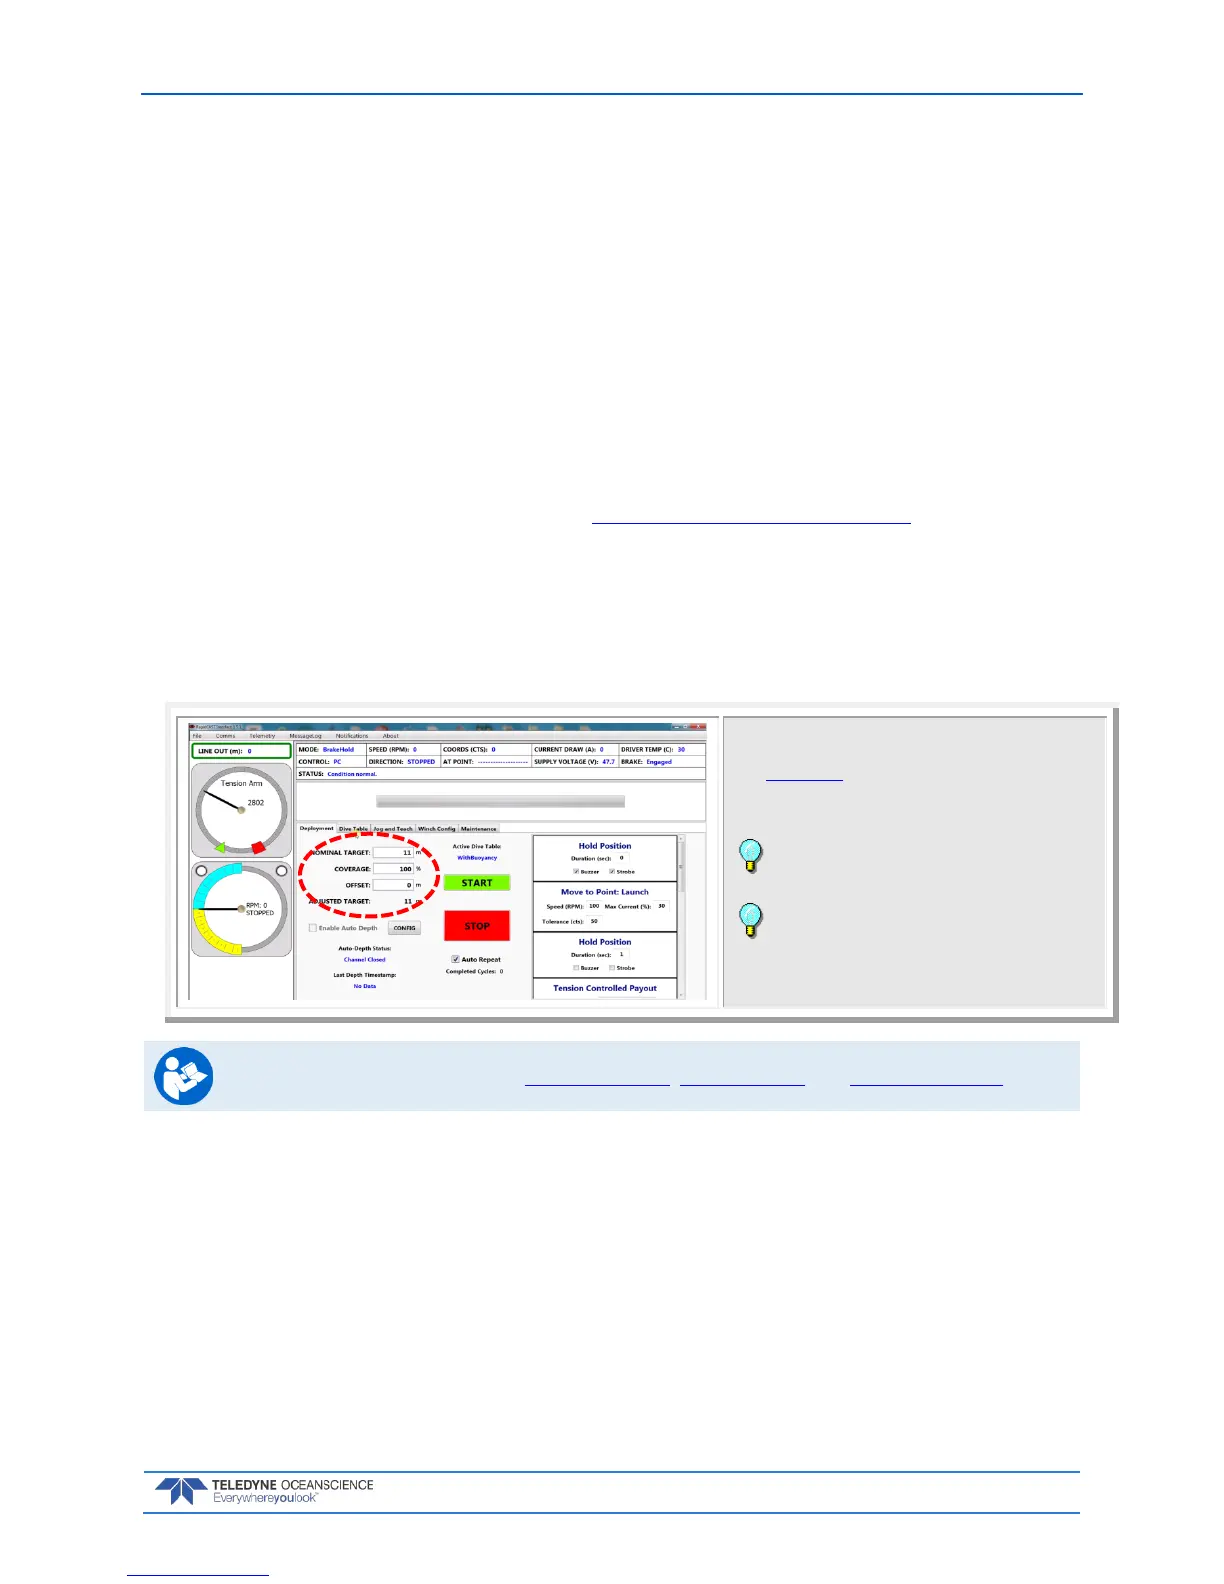
Step 2 – Set Target Depth
Start the rapidCAST system and verify that the Home,
Dock, Comm, Launch, and Recovery positions are set
(see Initial Setup). Check the selected Dive Table.
Click the Deployment tab.
Enter the Target Depth for the probe.
Leave the Offset set to zero and Coverage set to
100% for the first casts.
When Auto Repeat is checked, once the start
button is checked, the deployment sequence will
automatically repeat at the conclusion of each cast
until Auto Repeat is unchecked.
For more information, see Using Auto-Depth, Using Coverage, and Using Auto-Repeat.