EasyManuals Logo

Teltonika RUT9 Series Manual

Teltonika RUT9 Series
155 pages
To Next Page IconTo Next Page
To Previous Page IconTo Previous Page
Page #14 background imageLoading...
Page #14 background image
14
3. Click “View network connections”
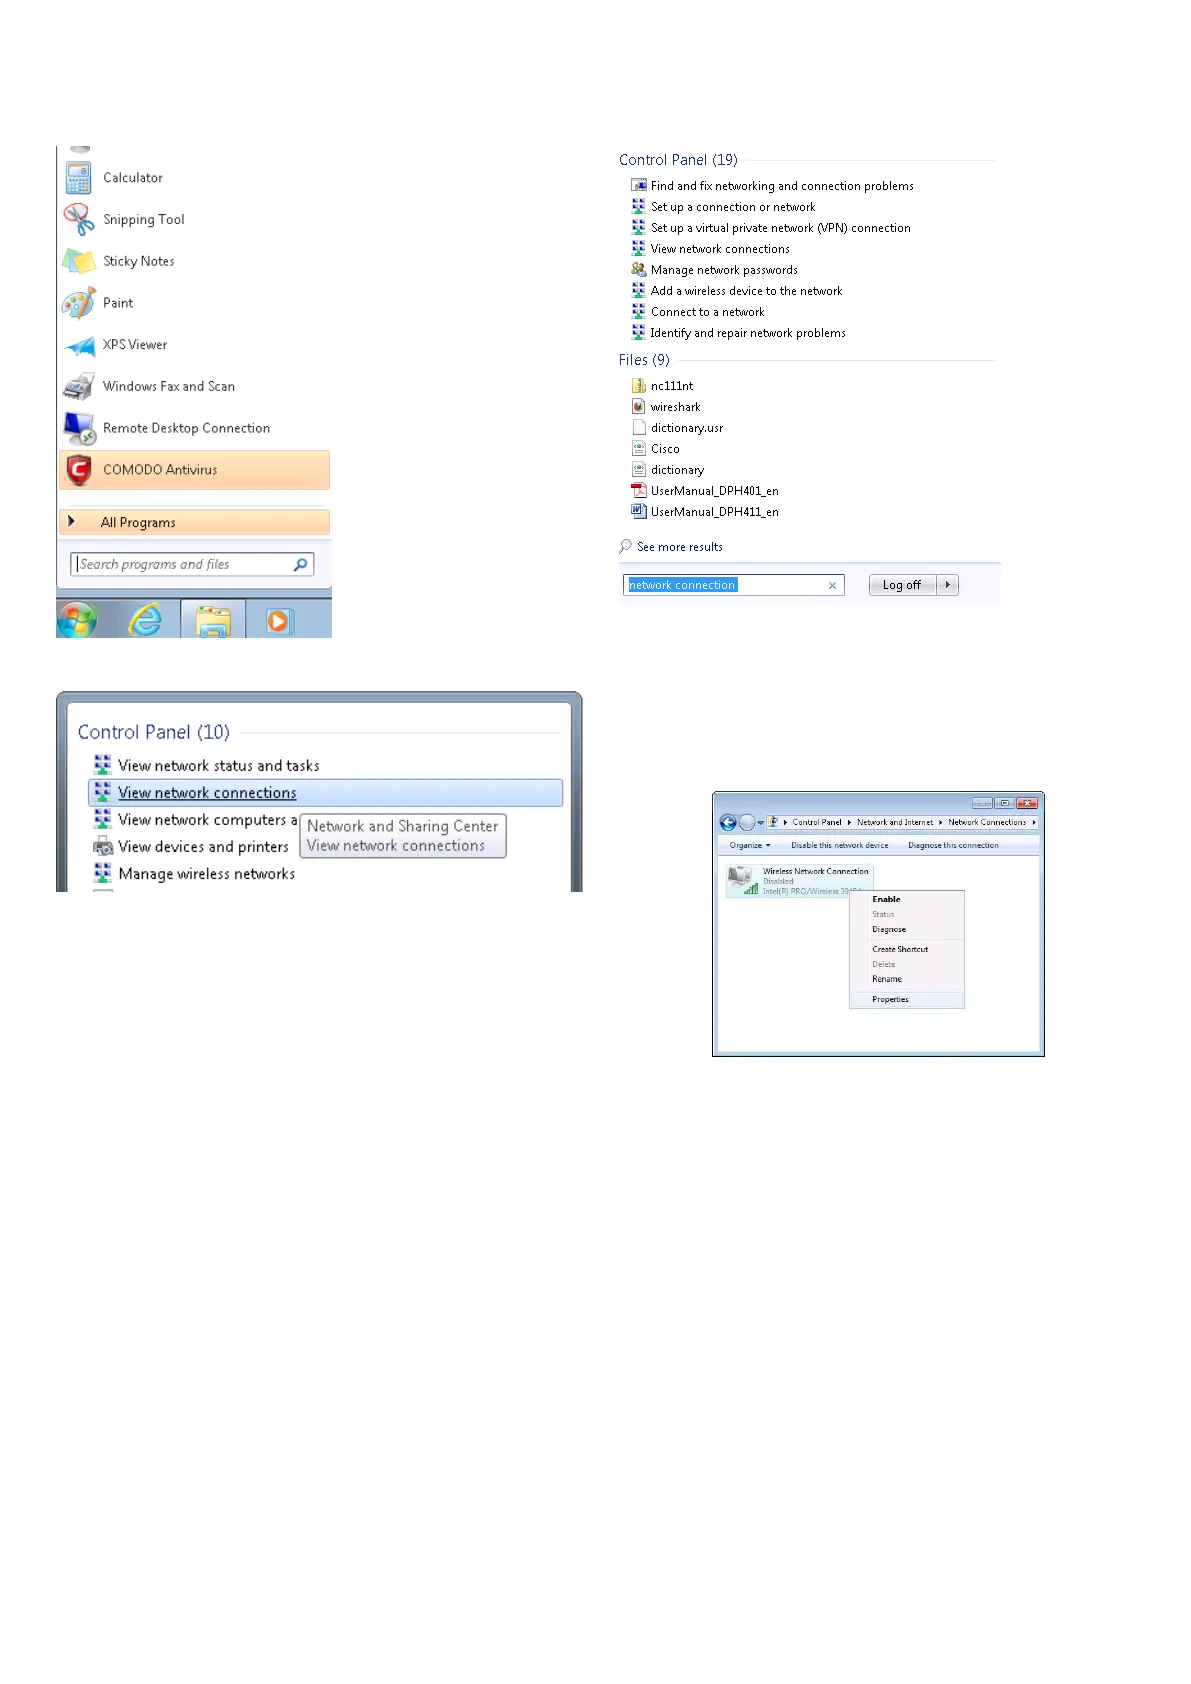
4. Then right click on your wireless device that you use to
connect to other access points (It is the one with the name
“Wireless Network Connection” and has signal bars on its
icon).
5. Select Internet Protocol Version 4 (TCP/IPv4) and then click
Properties
6. By default the router is going to have DHCP enabled,
which means that if you select “Obtain an IP address
automatically” and “Obtain DNS server address
automatically”, the router should lease you an IP and you
should be ready to login.

Table of Contents

Other manuals for Teltonika RUT9 Series

Questions and Answers:

Question and Answer IconNeed help?

Do you have a question about the Teltonika RUT9 Series and is the answer not in the manual?

Teltonika RUT9 Series Specifications

General IconGeneral
BrandTeltonika
ModelRUT9 Series
CategoryNetwork Router
LanguageEnglish

Related product manuals