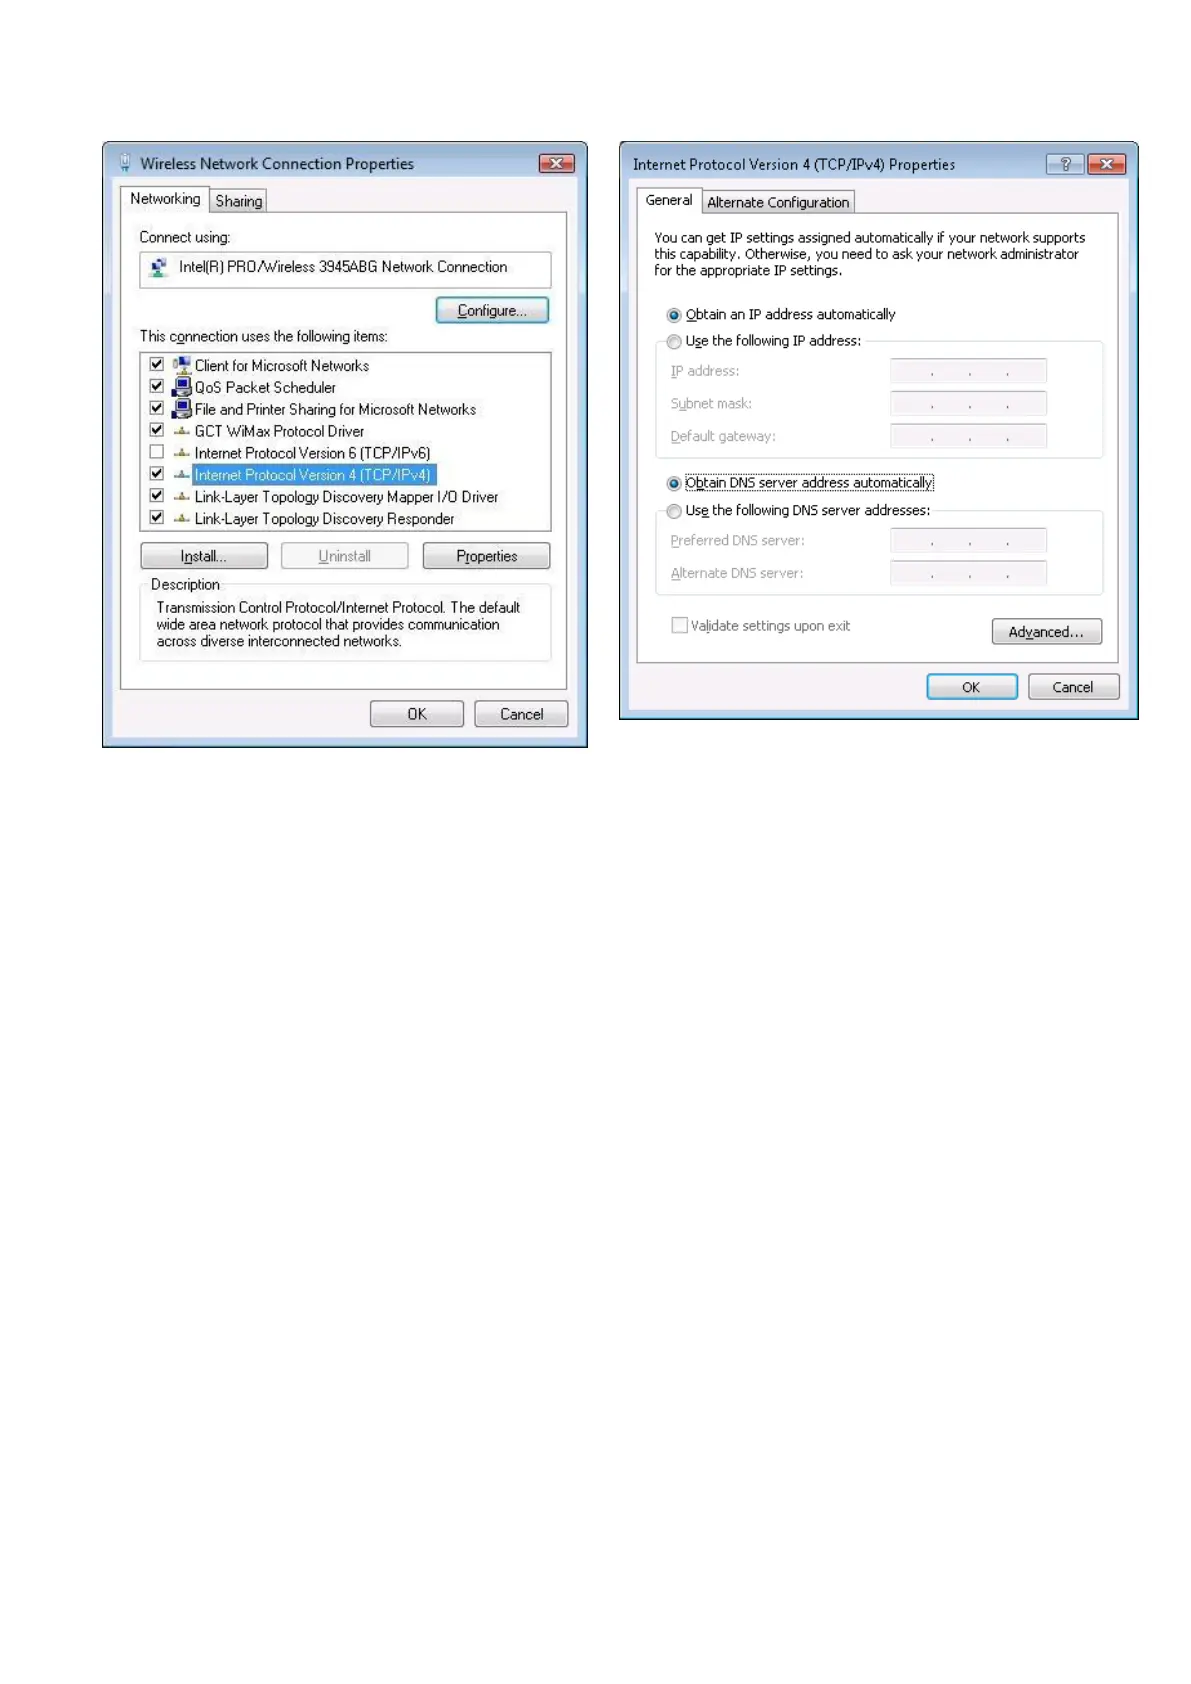
7. If you choose to configure manually here’s what you have to do:
First select an IP address. Due to the stock settings that your router has arrived in you can only enter an IP in the
form of 192.168.1.XXX , where XXX is a number in the range of 2-254 (192.168.1.2 , 192.168.1.254 , 192.168.1.155 and
so on… are valid; 192.168.1.0 , 192.168.1.1 , 192.168.1.255 , 192.168.1.699 and so on… are not). Next we enter the
subnet mask: this has to be “255.255.255.0”. Then we enter the default gateway: this has to be “192.168.1.1”. Finally we
enter primary and secondary DNS server IP’s. One will suffice, though it is good to have a secondary one as well as it will
act as a backup if the first should fail. The DNS can be your routers IP (192.168.1.1), but it can also be some external DNS
server (like the one Google provides: 8.8.8.8).
 Loading...