The Telstra Gateway Pro™ Quick Start Guide provides a full set of instructions on how to set up your
Gateway. Please refer to the link below to access the Telstra Gateway Pro™ Quick Start Guide:
http://business.telstra.com.au/t5/DOT-Bundle-Help/ct-p/bundles_and_dot
This section will provide detailed information on setting up your Telstra Gateway Pro™ for a variety of
internet connection types.
2.1. Alternative placement methods for the Gateway
The Gateway’s mounting location can affect wireless connections. For best results, place your Gateway:
• Near an AC power outlet, close to computers you plan to connect with Ethernet cables, and near
locations where you use wireless computers.
• In an elevated location, keeping the number of walls and ceilings between the Gateway and your
wireless computers to a minimum.
• Away from electrical devices that are potential sources of interference, such as ceiling fans,
security systems, microwaves, or the base for a cordless phone.
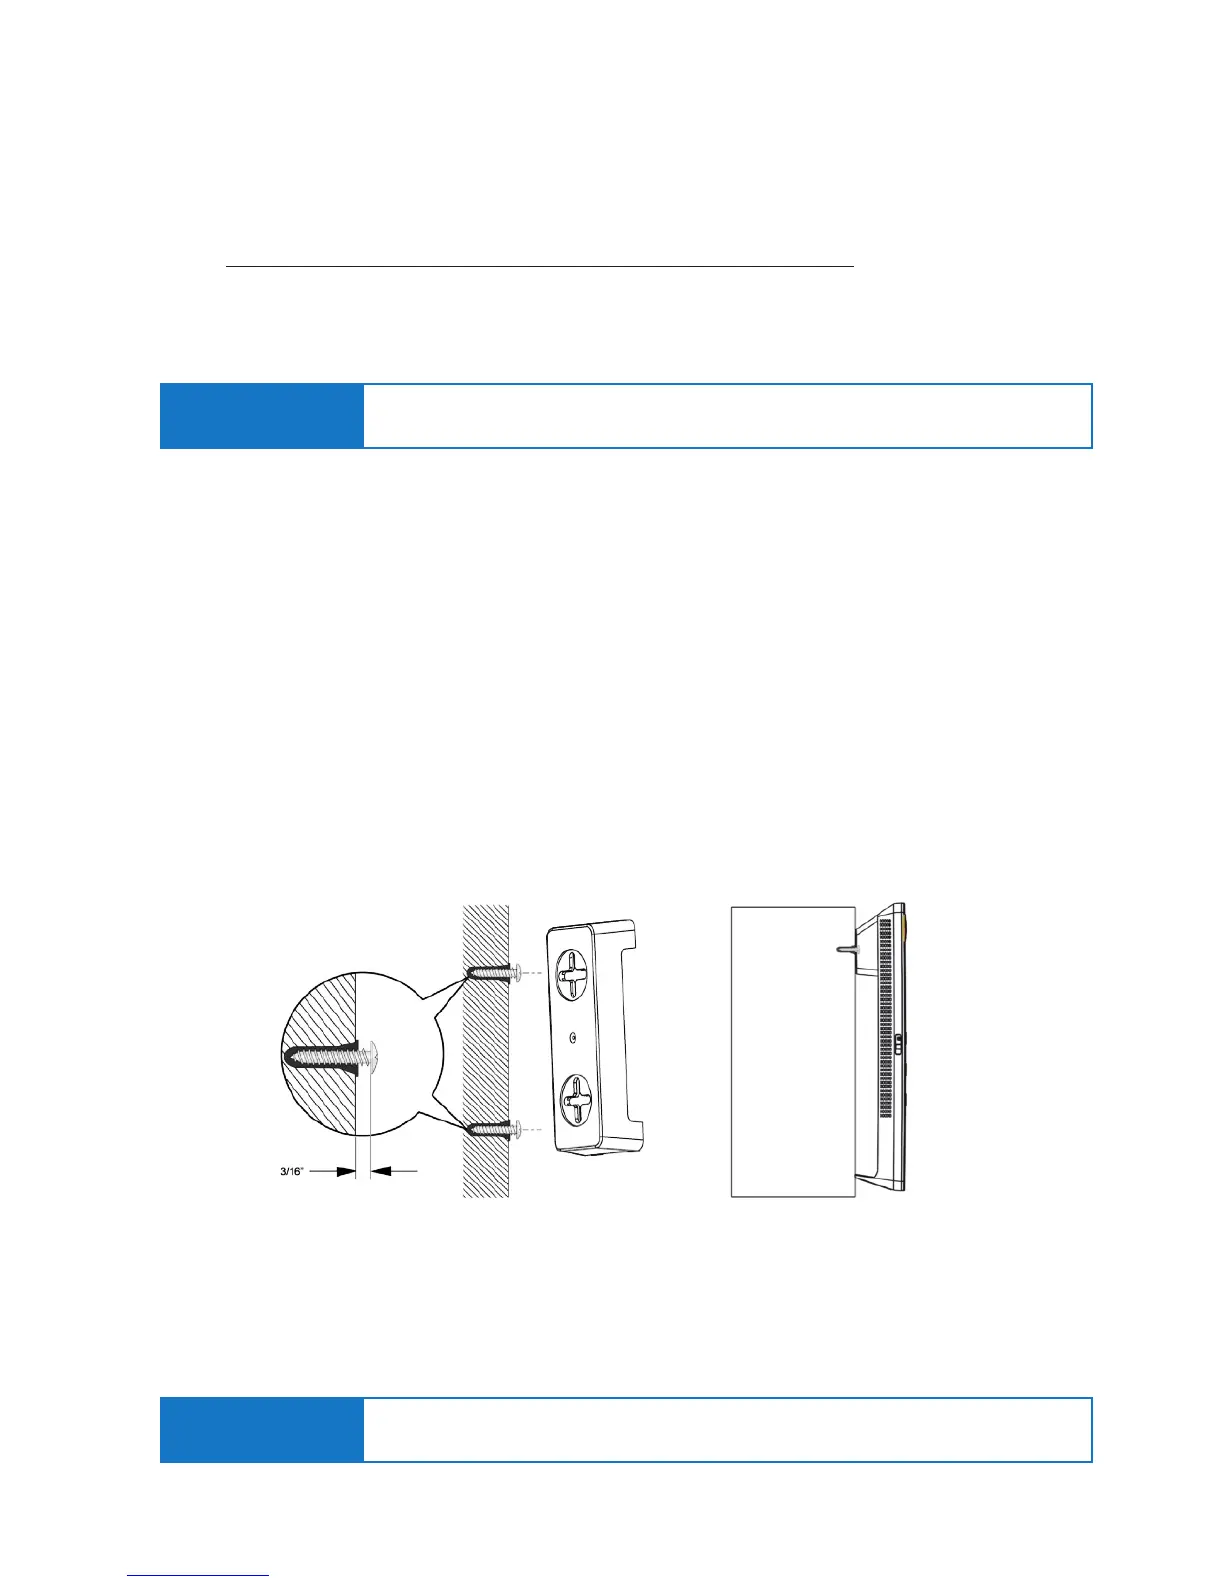
2.1.1. Wall Mount the Gateway
• Drill holes in the wall where you will wall-mount the Gateway. Put wall anchors in the holes.
• Insert screws into the wall anchors, leaving 3/16 in. (0.5 cm) of each screw exposed.
2. SETTING UP YOUR TELSTRA GATEWAY PRO™
Important Note:
Place your Telstra Gateway Pro™ vertically on a surface in a central location to your other Wi-Fi
devices to optimise Wi-Fi performance.
• Attach the mounting plate securely to the Gateway and attach to the wall. The Gateway should be
mounted securely and ush against the wall.
Figure 6: Gateway Wall Mounting and Adaptor Plate
Important Note: It is recommended that the Gateway is not placed in a horizontal position.
2.1.2. Horizontal Mounting