You may need to setup or recongure your Telstra Gateway Pro™, for example when moving
premises, connecting to a new internet service, or after a factory reset. The Telstra Gateway
Pro™ can be congured in 2 ways:
• Using the Installation Wizard immediately after setup.
• Manually through the Control Panel Graphical User Interface (GUI).
In this section, step by step instructions are provided for both methods of setting up the Telstra
Gateway Pro™. The Telstra Gateway Pro™ Control Panel (GUI) is a site that allows you to manage
and customise Gateway settings and features.
3. INITIAL TELSTRA GATEWAY PRO™
CONFIGURATION
When the Telstra Gateway Pro™ is rst set up, either out of the box or after a factory reset (see
Section 6.4), it will detect which network you are on and present you with an installation wizard
that guides you through your internet setup. If you have previously congured your Gateway you
will be presented with a login in screen to the Gateway control panel.
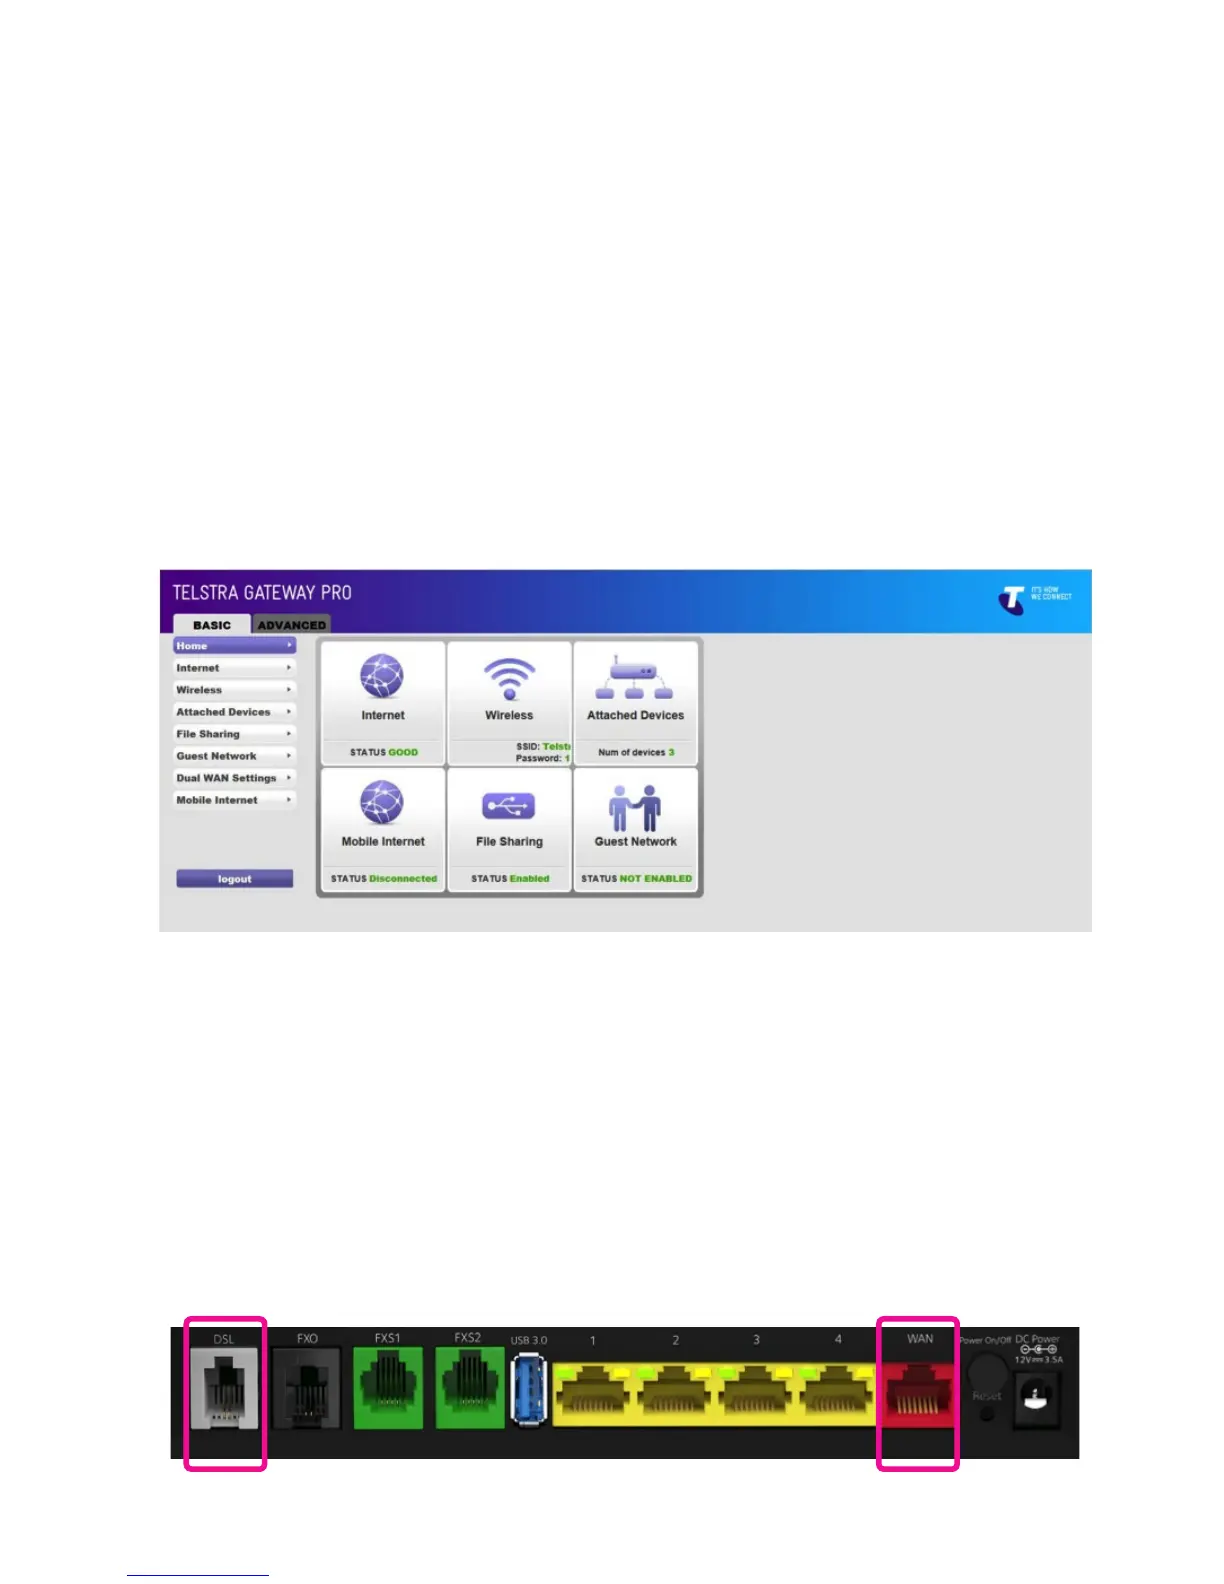
For either an ADSL or VDSL connection ensure your DSL line is plugged into the grey DSL port on
the back of the Telstra Gateway Pro™ and check for sync, the blue WAN LED on the front of the
Gateway should be lit.
For an NBN connection, ensure you have connected your NBN box to the red WAN port on the
back of the Telstra Gateway Pro™ and check the blue WAN LED on the front of the Gateway is lit.
Figure 11: Telstra Gateway Pro™ Control Panel
Figure 12: Telstra Gateway Pro™ WAN and DSL Ports