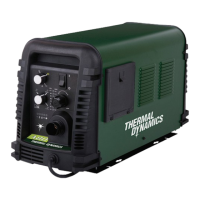
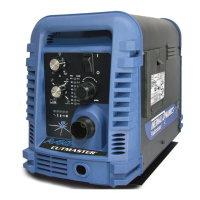
cutmaster a120
OPERATION 4T-2 Manual 0-4989
4T.02 Automation Torch Parts
Selection
Check the torch for proper consumable parts. The
parts supplied in the torch may not be correct for the
operator’s chosen amperage level. The torch parts
must correspond with the type of operation.
Torch parts:
Shield Cup, Cutting Tip, Electrode and Starter
Cartridge
NOTE
Refer to Sections 4T.08 and following for
additional information on torch parts.
Change the torch parts for a different operation as
follows:
WARNING
Disconnect primary power at the source be-
fore assembling or disassembling torch parts,
or torch and leads assemblies.
NOTE
The shield cup holds the tip and starter cartridge
in place. Position the torch with the shield cup
facing upward to keep these parts from falling out
when the cup is removed.
1. If attached, remove the ohmic clip then
unscrew and remove the shield cup assem-
bly from the torch head. Wipe it clean or
replace if damaged
2. Remove the Electrode by pulling it straight
out of the Torch Head.
Art # A-04173
Electrode
Start Cartridge
Tip
Ohmic Clip
(If Installed)
Torch Head
Shield Cup Body
Shield Cap
Deflector
Automation Torch Parts
3. Install the replacement Electrode by push-
ing it straight into the torch head until it
clicks.
4. Install the starter cartridge and desired tip
for the operation into the torch head.
5. Hand tighten the shield cup assembly until
it is seated on the torch head. If resistance
is felt when installing the cup, check the
threads before proceeding
6. If used, attach the ohmic clip to the shield
cup.
4T.03 Machine and Hand Torch Parts
Selection
Depending on the type of operation to be done
determines the torch parts to be used.
Type of operation:
Drag cutting, standoff cutting or gouging
Torch parts:
Shield Cup, Cutting Tip, Electrode and Starter
Cartridge