2
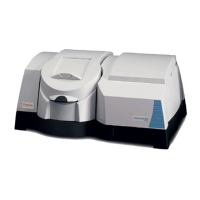
Evolution One Series Spectrophotometers
Installing and Removing Accessories
20 Evolution One Series Spectrophotometer User Guide Thermo Scientific
To remove a Smart Accessory
1. Open the sample compartment door. See Opening and Closing the Sample and
Reference Compartment Doors.
2. Remove the sample compartment front panel. See Sample Compartment Front Panel.
3. Grasp the handles and pull the accessory up and out of the sample compartment.
The software confirms the accessory has been removed.
4. Replace the sample compartment front panel. See Sample Compartment Front Panel.
5. Close the sample compartment door. See Opening and Closing the Sample and Reference
Compartment Doors.
Related Topics
Installing a Liquid Thermostatted Accessory
Installing a Manual Accessory
Installing a Reference Cell Holder
Installing a Liquid Thermostatted Accessory
A liquid thermostatted accessory has ports and internal chambers for circulating fluids
through the unit for temperature-controlled measurements. Other accessories circulate fluids
to cool heated components.
The Recirculator Tubing Kit provides parts for connecting an accessory to a temperature
controller or fluid recirculator. The accessory connects to the internal fluid chambers on
the instrument.
To install a thermostatted accessory
1. Install the accessory.
See Installing a Manual Accessory or Installing a Smart Accessory.
2. Remove the tubing access panel. See Tubing Access Panel.
3. Use 1/4-inch internal diameter tubing to connect the temperature controller, water
supply or recirculator to the internal chambers on the instrument.