18 HA0365T Rev D Jan 2017
Chapter 3
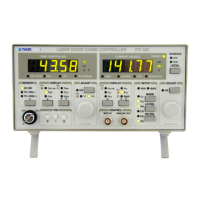
3.4 Connect The Hardware
1) Perform the mechanical installation as detailed in Section 3.2.
2) Install the APT Software.
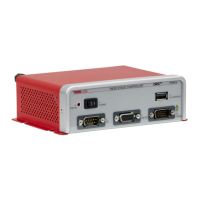
3) Connect the Controller unit to your PC.
(Note. The USB cable should be no more than 3 metres in length. Communication
lengths in excess of 3 metres can be achieved by using a powered USB hub).
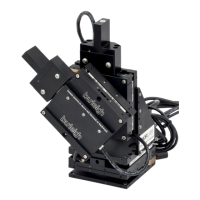
4) Connect the piezo actuator to the Controller unit - see Section 3.3.1.
5) Connect the Controller unit to the power supply - see Section 3.3.2.
6) Connect the PSU to the main supply.
7) Switch ‘ON’ the unit using the switch on the front panel.
The unit takes about 5 seconds from pow er application until warm up is fi nished,
during which time the software revision is displayed. Windows
TM
should detect the
new hardware. Wait while Windows
TM
installs the drivers for the new hardware.
8) The unit starts up with the HV output disabled. This must be enabled before any
further settings can be adjusted - see Section 4.4.2..
Caution
During items (3) to (6) the instructions should be followed strictly in the
order stated. Problems may occur if the process is not performed in the
correct sequence.
Caution
During item (4) ensure the power supply unit is isolated from the mains
before connecting to the K-Cube unit. Always power up the K-Cube unit
by connecting its power supply to the mains. DO NOT connect the K-Cube
unit to a 'live' external power supply. Doing so (i.e. “hot plugging”) carries
the risk of PERMANENT damage to the unit. Similarly, to power down the
unit, disconnect the power suply from the mains before disconnecting
the K-Cube unit.
Note
If any problems are encountered during the connection and power up
process, power cycle the unit, which should clear the error.
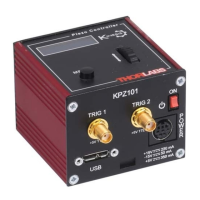
Thorlabs KPZ101
SwRev 010001
Output inactive
75V N V