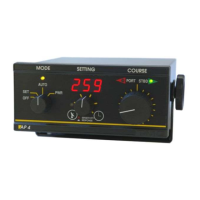
TMQ AP4 Autopilot (AP4S10) 28 of 62 Version 4.96 9/10/2017
Note: the rudder feedback unit is factory aligned. The arm should not be
removed or loosened unnecessarily. If the arm is loosened or removed,
voltage alignment should be checked before using the autopilot. This
must be done by a competent technician.
Mounting
Refer to the installation diagrams on pages 30 or 31 for the relevant rudder
feedback unit.
The rudder feedback unit is water resistant. However, if it is to be mounted in a
wet position some protection will be necessary to ensure the unit does not
become immersed in water.
Position
Select a position adjacent to the tiller arm
Install the mounting bracket to accommodate the rudder feedback unit
with its arm parallel to and pointing in the same direction as the tiller
Attach the rudder feedback to the bracket. (For RFUS arm is
uppermost. For RFUH shaft is lowermost)
Drill a hole in the tiller arm for the linkage arm connection block (1/4”
diameter)
Attach the linkage swivel block to the tiller
Attach the linkage ball joint to the rudder feedback arm
Fit the linkage arm through the swive block and attach the other end to
the ball joint
Remove the top of the feedback (RFUH only)
Connect 3 core cable to the RFU terminal strip (RFUH only)
Route the rudder feedback cable to the AP4 position
Connect the RFU cable to the RUDDER socket of the AP4
Installation Checks
Turn the helm slowly from hard over to hard over and observe the
movement of the rudder feedback arm
Ensure the feedback arm or linkage does not foul in any position
Ensure there is no strain on the feedback arm or linkage