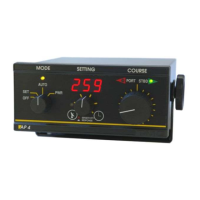
TMQ AP4 Autopilot (AP4S10) 32 of 62 Version 4.96 9/10/2017
Installation of Remote Units
Hand and Active Remotes use a small clip bracket for mounting.
Steering Levers are normally mounted in-dash. For a TMQ steering lever this
will require a 90mm hole to be cut for mounting plus a position for a push
button selection switch (if used). Other steering levers as required.
The units are very robust and either of these may be mounted where it is subject
to occasional splashes of water. If mounted in direct sunlight, the decal may
fade.
Hand Remote
Select a position for the Hand Remote bracket
Install the bracket and attach the remote
Route the cable to the AP4 control position
Plug the remote cable into REMOTE socket of AP4
When the AP4 is switched on, test the remote operation
Active Remote
Select a position for the Hand Remote bracket
Install the bracket and attaché the remote
Route the cable to the AP4 control position
Plug the remote cable into REMOTE socket of AP4
When the AP4 is switched on, test the remote operation
Steering Lever (TMQ)
Select a position for the Steering Lever
Cut a 90 mm clearance hole for mounting the Lever
Secure the steering lever with two screws
Fit selection switch adjacent to lever (if used)
Route the cable to the AP4 control position
Plug the cable into the REMOTE socket at the rear of the AP4
Remotes Calibration
The remotes can be calibrated if required; this allows the full range of the
steering input to be used. Each remote fitted has to be calibrated.