Setting up from TopAccess 179
4
Click [Save].
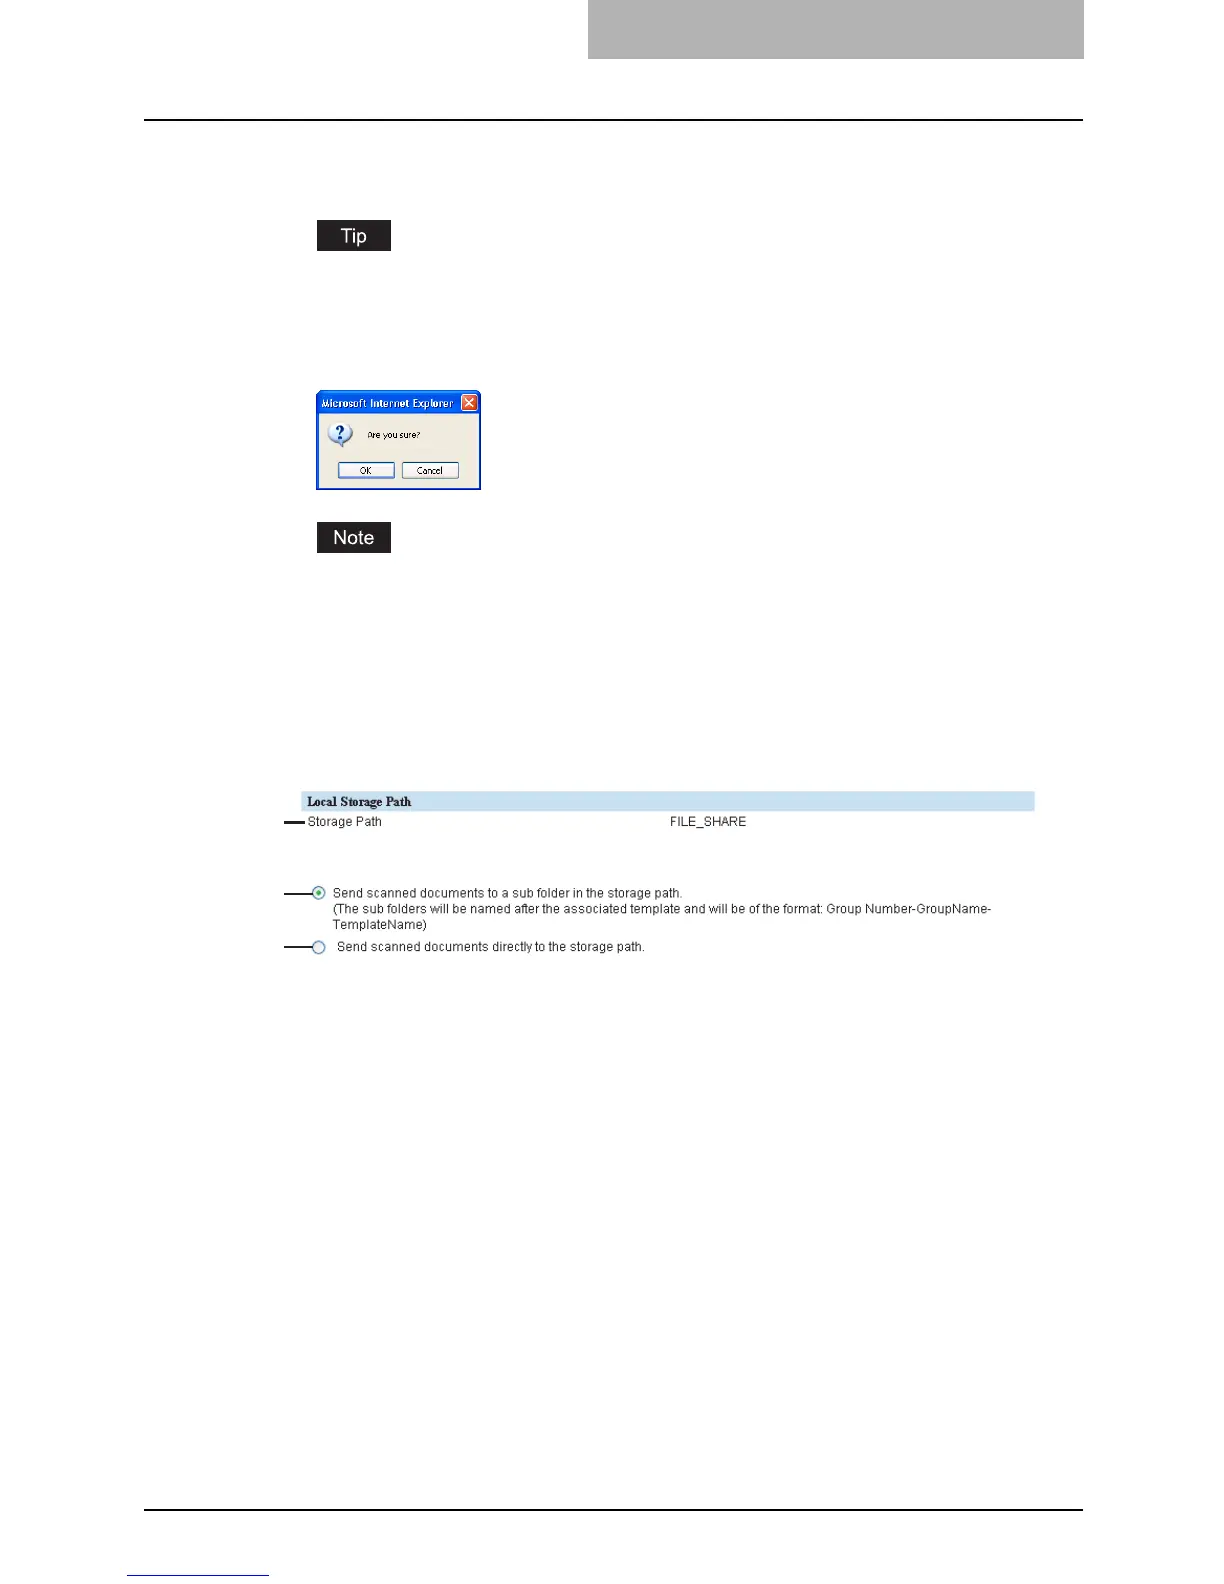
y The confirmation dialog box appears.
If you want to restore the current settings without saving the changes, click [Cancel].
Clicking [Cancel] cannot restore the defaults. This can only clear the changes and
restore the current settings before saving the changes.
5
Click [OK] to apply the changes.
When using Internet Explorer, the settings that are displayed in each field may not be
changed if too much time has passed before clicking [Save]. However, the settings have
been changed in the equipment. If this occurs, click the Save as File submenu to confirm
the current settings in each field.
Setting up the Local Storage Path
You can see the folder path where files are stored by the Save as file to local folder.
1) Storage Path
This displays the local storage path where files are stored when files are saved to the local
folder by the Save as file functions.
2) Send scanned documents to a sub folder in the storage path
Select this to save the files in the sub folder that is named as “Group Number-Group Name-
Template Name”.
3) Send scanned documents directly to the storage path
Select this to save the files directly in the storage path.
1
2
3

 Loading...


