Error! No text of specified style in document. Error! No text of specified style in document. 4
Replacement Procedures
[CONFIDENTIAL] Metis 10F/10FG Maintenance Manual 4-21
4.7 Logic Upper Assembly
Removing the Logic Upper Assembly
Remove the logic upper assembly according to the following procedures and Figures 4-10 and
4-11.
1. Turn the laptop upside down.
2. Remove the M2.5×6 (for H7 model: seventeen screws and for H95 model: nineteen
screws---two more red mark screws) and one M2.0×4 screws securing the logic upper
assembly.
3. Disconnect the speaker cable (mark a in Figure), backlight cable (depend on model) (mark
b in Figure), keyboard FFC (mark c in Figure) and TPC FFC (mark d in Figure) from the
connector on the motherboard
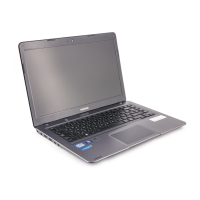
Figure 4-10 Removing screws from the bottom of the laptop
 Loading...