49
Chapter 8
Customize Your Network
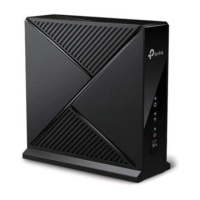
4. Enter a new IP Address appropriate to your needs.
5. Select the
Subnet Mask from the drop-down list. The subnet mask together with
the IP address identifies the local IP subnet.
6. Keep the rest settings as default.
7. Click
OK to make the settings effective.
8. 4. 2. Use the Router as a DHCP Server
You can configure your Controller to act as a DHCP server to assign IP addresses to
its clients. To use the DHCP server function of the Controller, you must configure all
computers on the LAN to obtain an IP Address automatically.
Follow the steps below to configure DHCP server.
1. Visit
http://tplinkwifi.net, and log in with the password you set for the Controller.
2. Go to Settings > Advanced Settings > DHCP Server.
3. Select IPv4 and click the edit icon in the Modify column.
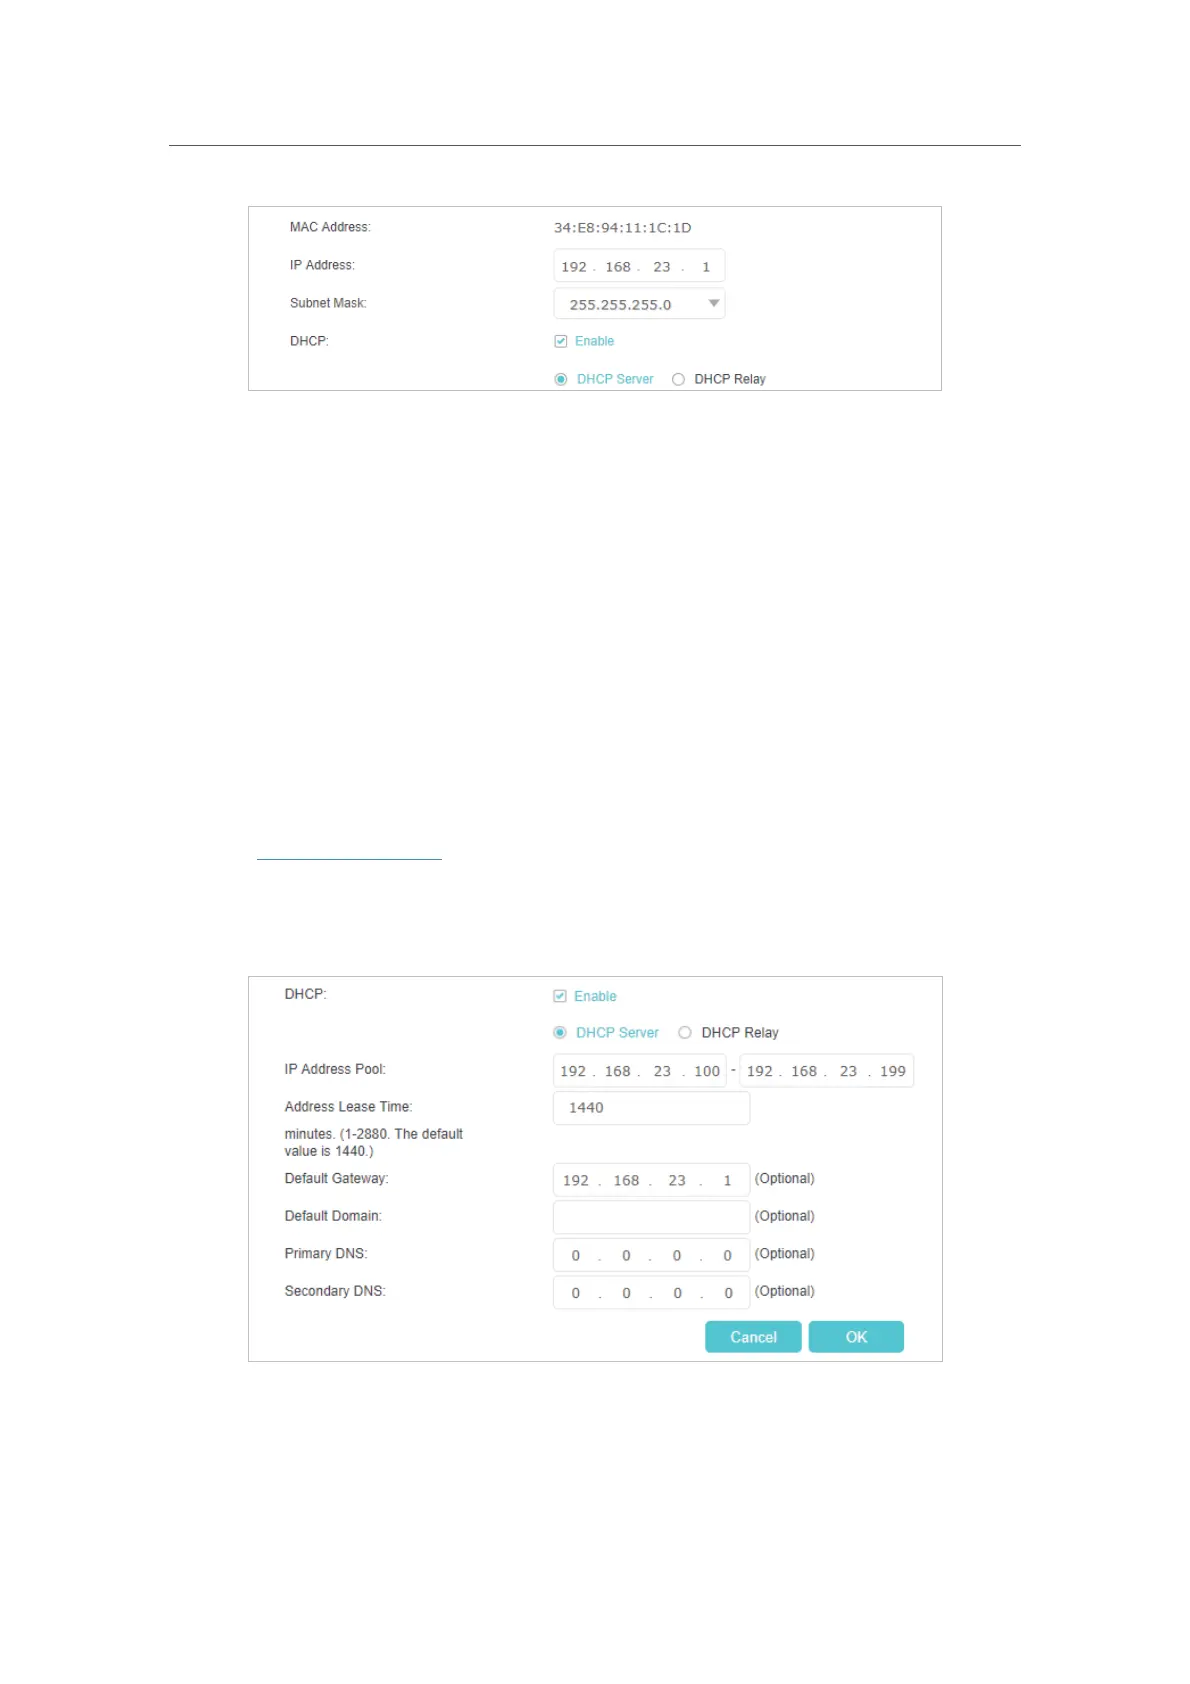
4. Enable DHCP function and select DHCP Server.
5. Specify the IP Address Pool, the start address and end address must be on the
same subnet with LAN IP. The router will assign addresses within this specified
range to its clients. It is from 192.168.23.100 to 192.168.23.199 by default.
 Loading...