60
Chapter 9
Manage Your Controller
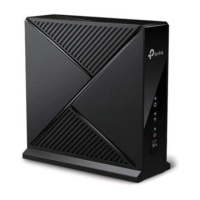
3. Enable Remote Management and Remote Management via HTTPS to allow for
HTTPS connection. Keep the
Port as the default setting.
4. Set the client device allowed for remote management. Select All to allow all remote
devices to manage the Controller. If you just want to allow a specific device to
manage the Controller, select
Only the Following IP/MAC Address and enter the IP/
MAC address of the remote device.
5. Click
Save.
All devices or the specific device on the internet can log in to your controller using
the address displayed on the
Manage This Router via the Address field to manage the
router.
Tips:
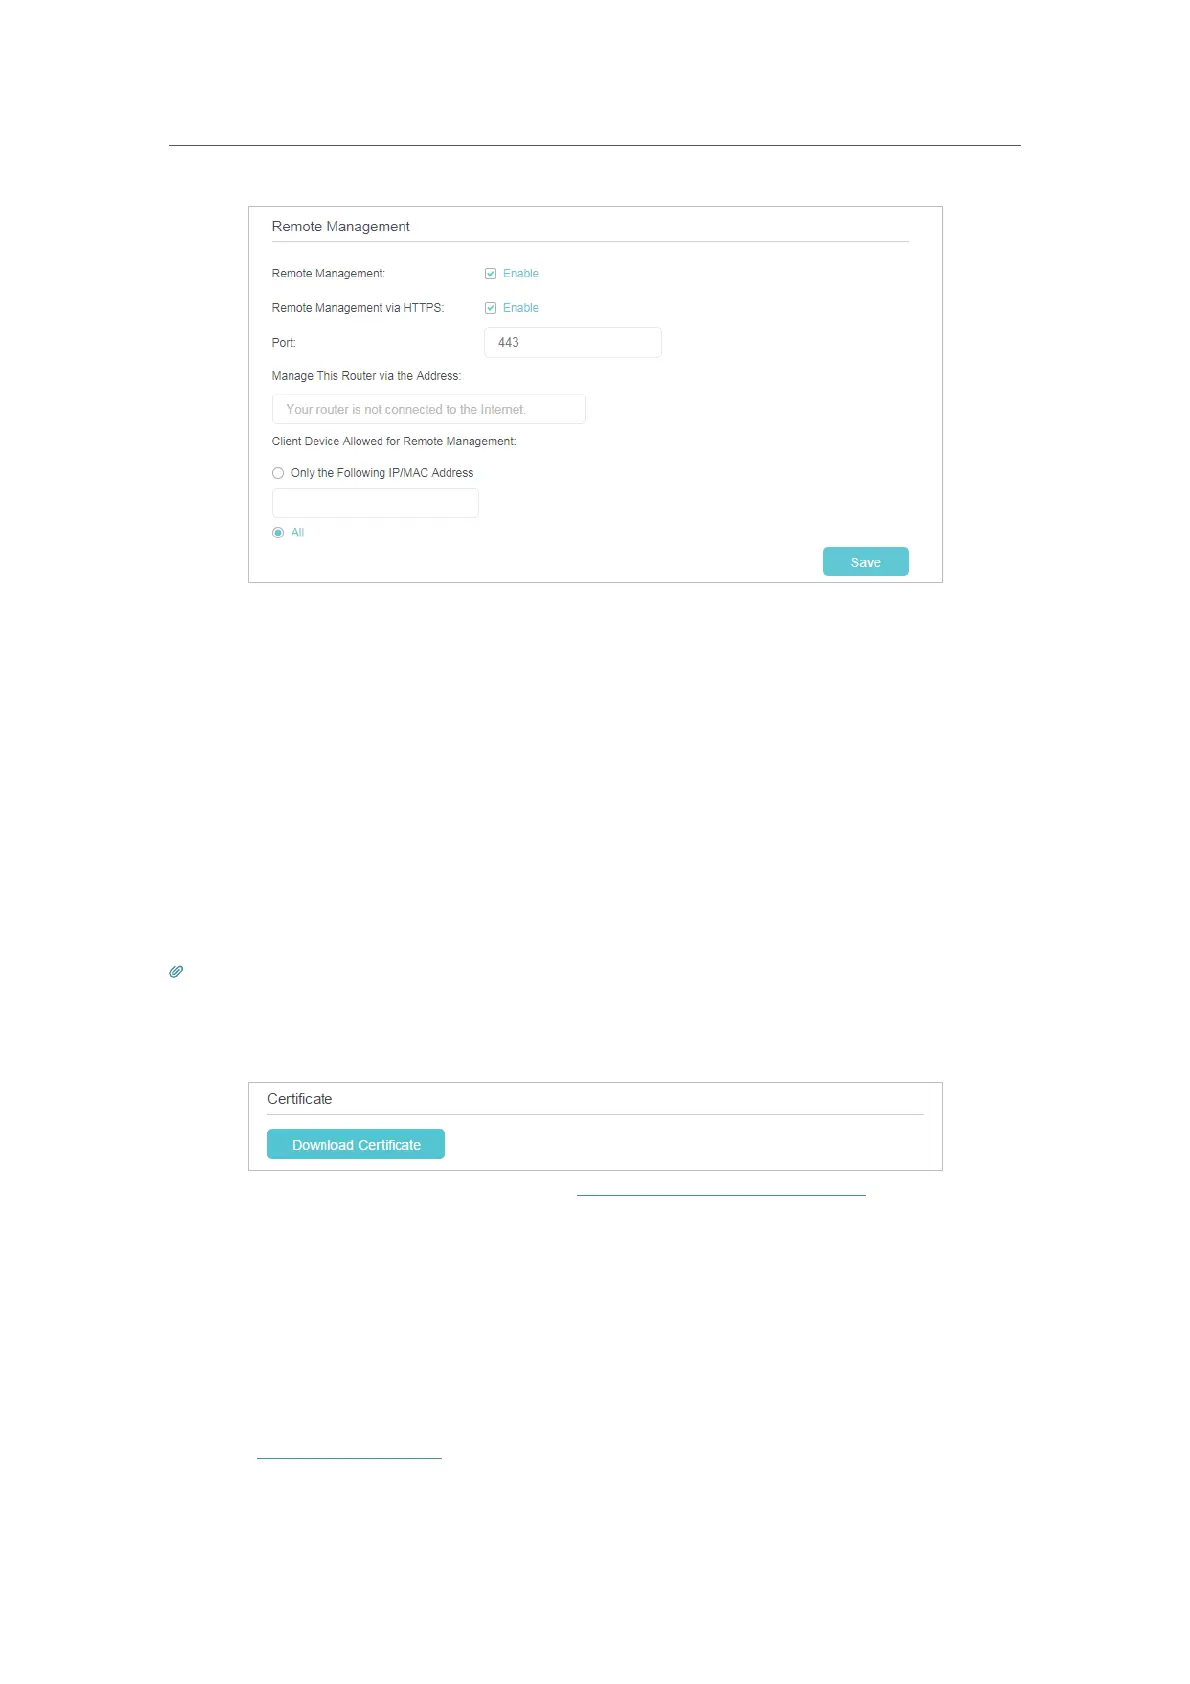
1. If you were warned about the certificate when visiting the web management page remotely, click Trust (or a similar option)
to continue. To avoid this warning, you can download and install the certificate on the Controller’s web management page at
Settings > System Tools > Administration.
2. The router’s WAN IP is usually a dynamic IP. Please refer to Set Up a Dynamic DNS Service Account if you want to log in to
the router through a domain name.
9. 8. System Log
System log can help you know what happened to your router, facilitating you to locate
the malfunctions. For example when your router does not work properly, you may need
to save the system log and send it to the technical support for troubleshooting.
1. Visit
http://tplinkwifi.net, and log in with the password you set for the Controller.
2. Click Advanced > System Tools > System Log page.
 Loading...