51
Chapter 8
Customize Your Network
5. Specify the IP address which will be reserved by the Controller.
6. Select the Enable This Entry checkbox and click OK to make the settings effective.
8. 5. Configure IPv6 LAN Settings
Based on the IPv6 protocol, the Controller provides two ways to assign IPv6 LAN
addresses:
• Configure the RADVD (Router Advertisement Daemon) address type
• Configure the DHCPv6 Server address type
8. 5. 1. Configure the RADVD Address Type
1. Visit http://tplinkwifi.net, and log in with the password you set for the Controller.
2. Go to Settings > Advanced Settings > DHCP Server.
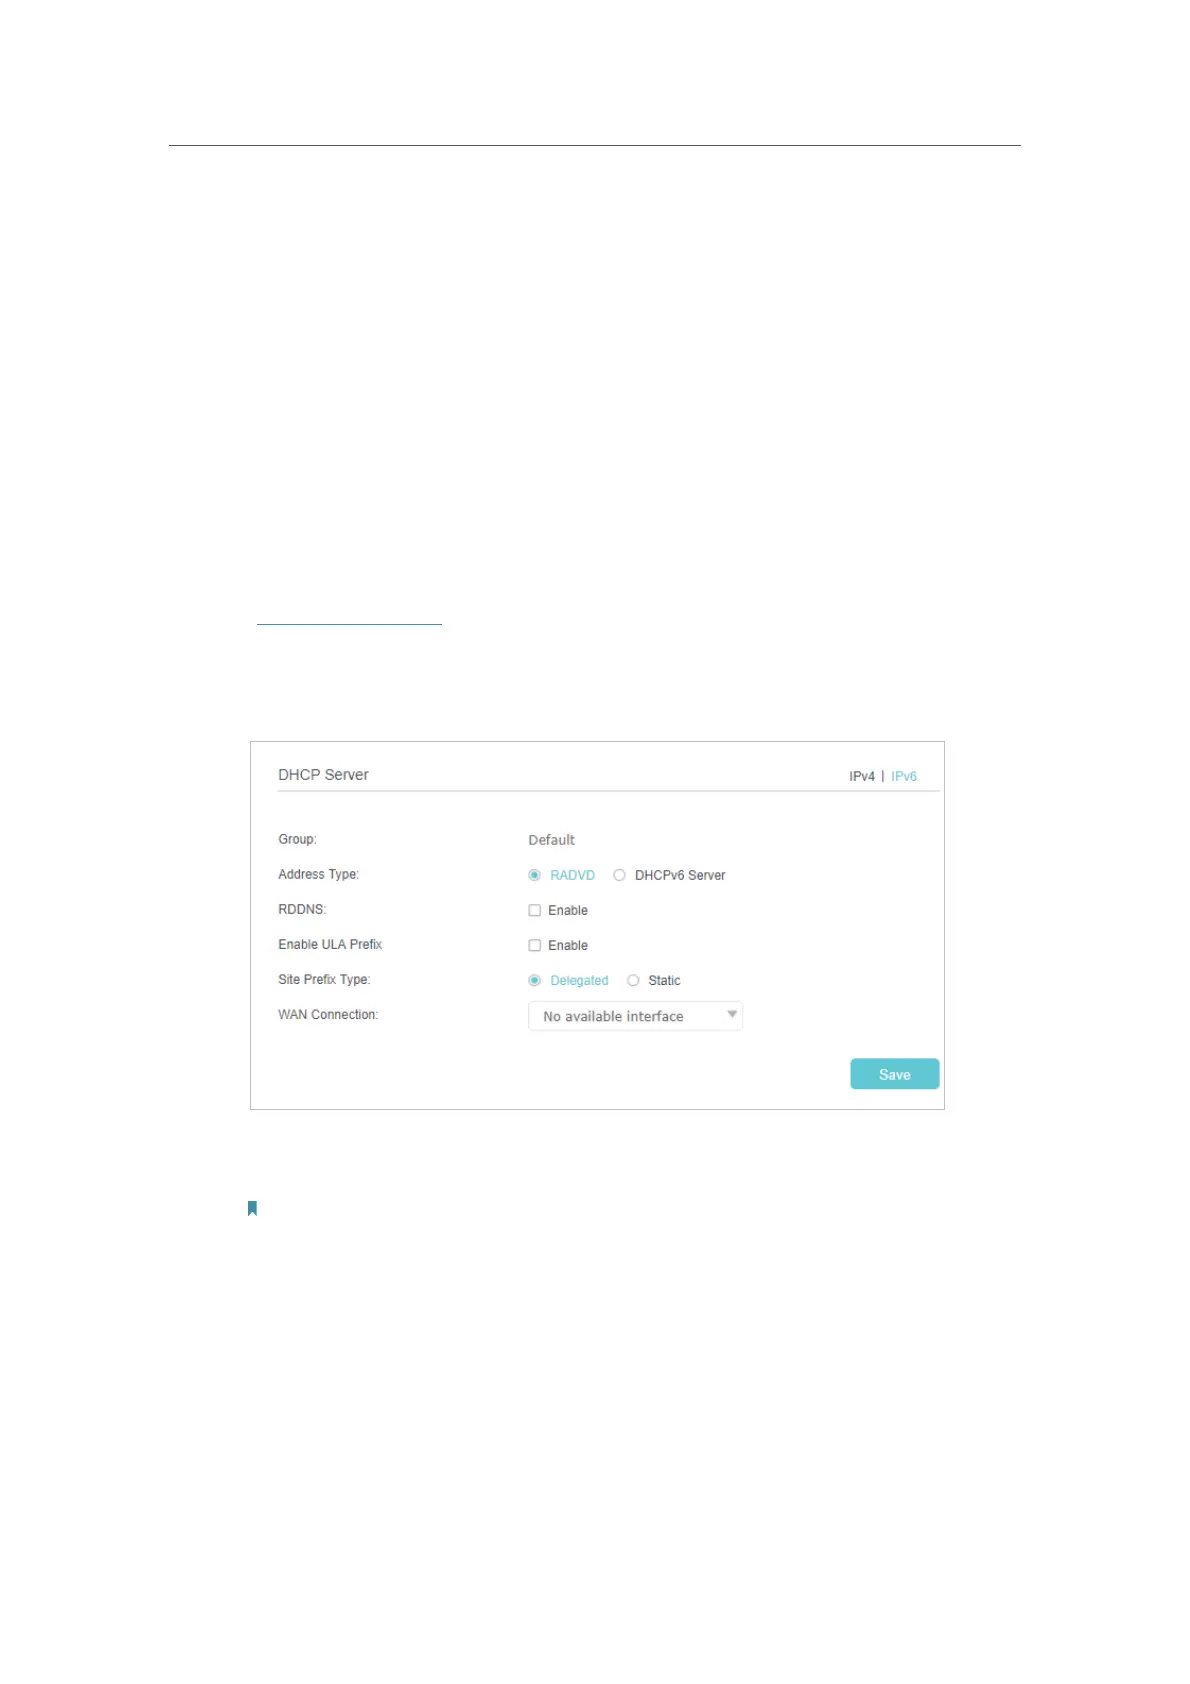
3. Select IPv6 to configure IPv6 LAN parameters.
4 ) Select the RADVD address type to make the router assign IPv6 address prefixes
to hosts.
Note:
Do not select the Enable RDNSS and Enable ULA Prefix check boxes unless required by your ISP. Otherwise
you may not be able to access the IPv6 network. For more information about RDNSS and ULA Prefix, contact
our technical support.
5 ) Keep Site Prefix Type as the default value Delegated. If your ISP has provided a
specific IPv6 site prefix, select
Static and enter the prefix.
6 ) Keep
WAN Connection as default.
4. Click Save to make the settings effective.
 Loading...