13
Chapter 2
Connect to the Internet
1. Connect the power adapter to the router.
2. Connect the router to your existing host router’s Ethernet port via an Ethernet
cable as shown above.
3. Connect a computer to the router via an Ethernet cable or wirelessly by using the
SSID (network name) and password printed on the bottom label of the router.
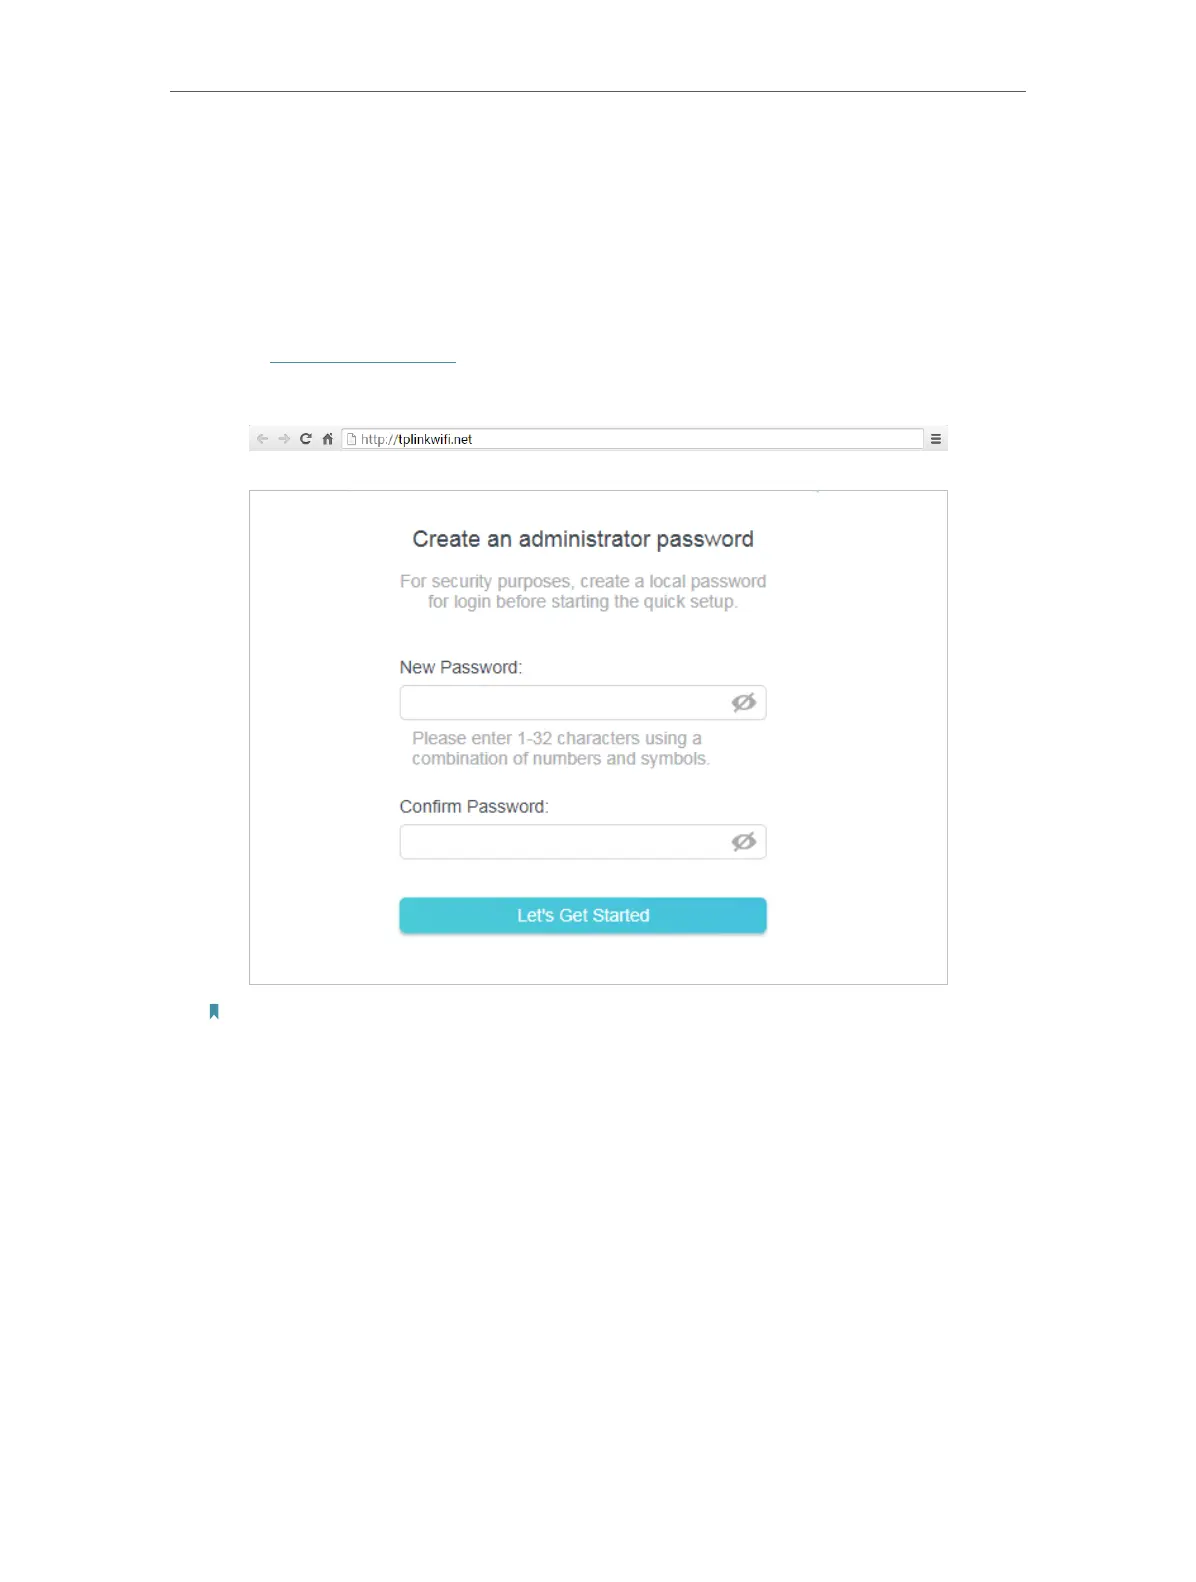
4. Enter http://tplinkwifi.net in the address bar of a web browser. Create a password
to log in.
Note:
If the above screen does not pop-up, it means that your IE Web-browser has been set to a proxy. Go to menu Tools
> Internet Options > Connections > LAN Settings, in the screen that appears, untick the Using Proxy checkbox,
and click OK.
5. Click Change Mode in the top right corner and select Access Point Mode. Wait for
the router to reboot.
6. Follow the Quick Setup to set up the internet connection.
7. Enjoy! Connect to the wireless network by using the SSID (network name) and
password of the router.
 Loading...