7 Getting Connected
82 Juno Series User Guide
Connecting to a wireless LAN access point
To connect to a wireless LAN access point, you must:
1. Set up the wireless LAN connection
2. Connect to the wireless LAN network or access point.
Note – If you have installed a personal certificate on the handheld, you do not need to set
up the wireless connection manually as described in Step 1. To connect to the network or
access point go to Step 2: Connecting to the network or access point.
Step 1: Setting up the wireless LAN connection
1. Make sure that the Juno series handheld’s wireless LAN radio is enabled (see
page 76).
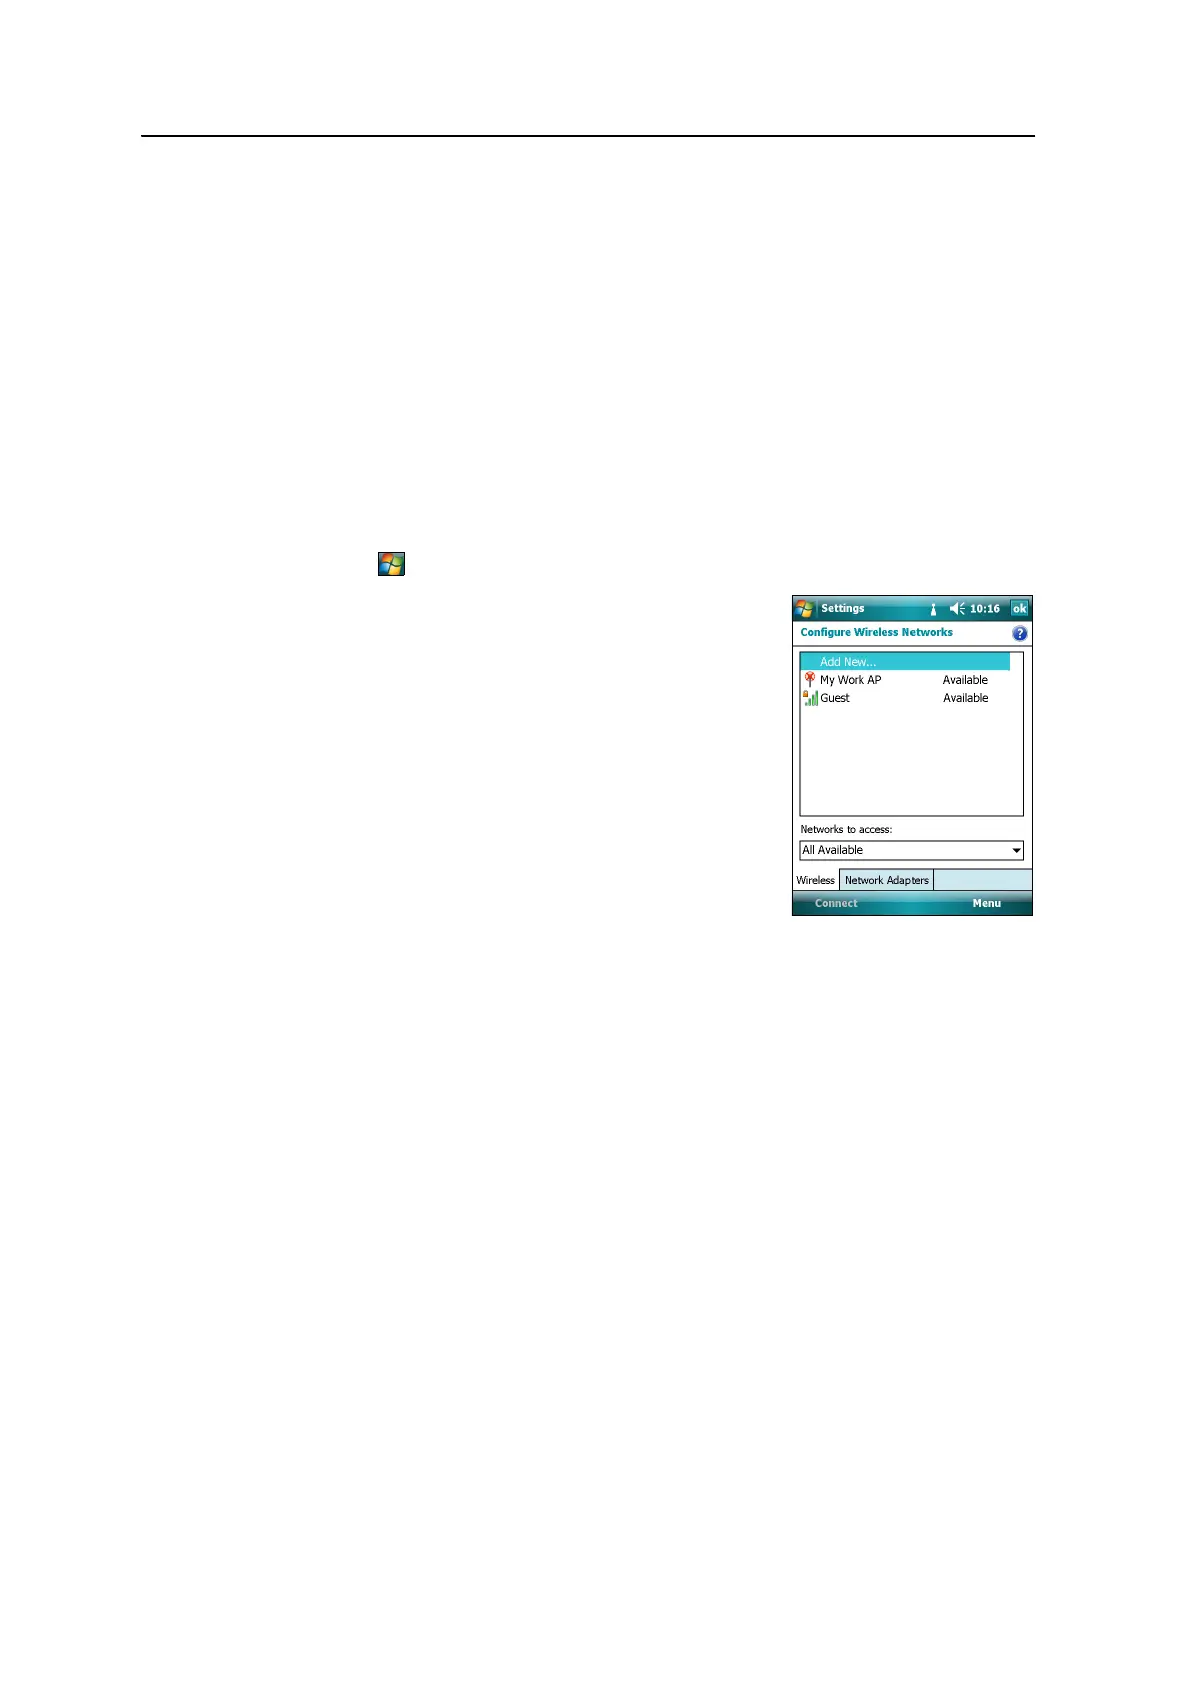
2. Tap / Settings / Connections / Network Cards.
3. Select the Wireless tab.
Any networks that you have already configured
are displayed in the list of preferred networks.
4. To add a new network, tap Add New. To change
the settings for an existing network, tap the
network.
5. Enter the name of the network and other
connection details and then tap
Next.
6. Do one of the following:
– To use authentication, select the
authentication method from the
Authentication list.
– To use data encryption, select an encryption method from the Data
encryption list.
– To automatically use a network key, select the check box for The key is
automatically provided. Otherwise, enter the network key.
7. Tap
Next.
8. For increased security, select the Use IEEE 802.1x network access control check
box and then configure additional authentication information.
9. Tap
Finish.
Step 2: Connecting to the network or access point
1. Disconnect the USB data cable as the handheld prioritizes a USB connection
over a wireless LAN connection.
2. Bring the handheld within range of the network or access point.