9-1
CLASS C & B
+
MOTORHOME
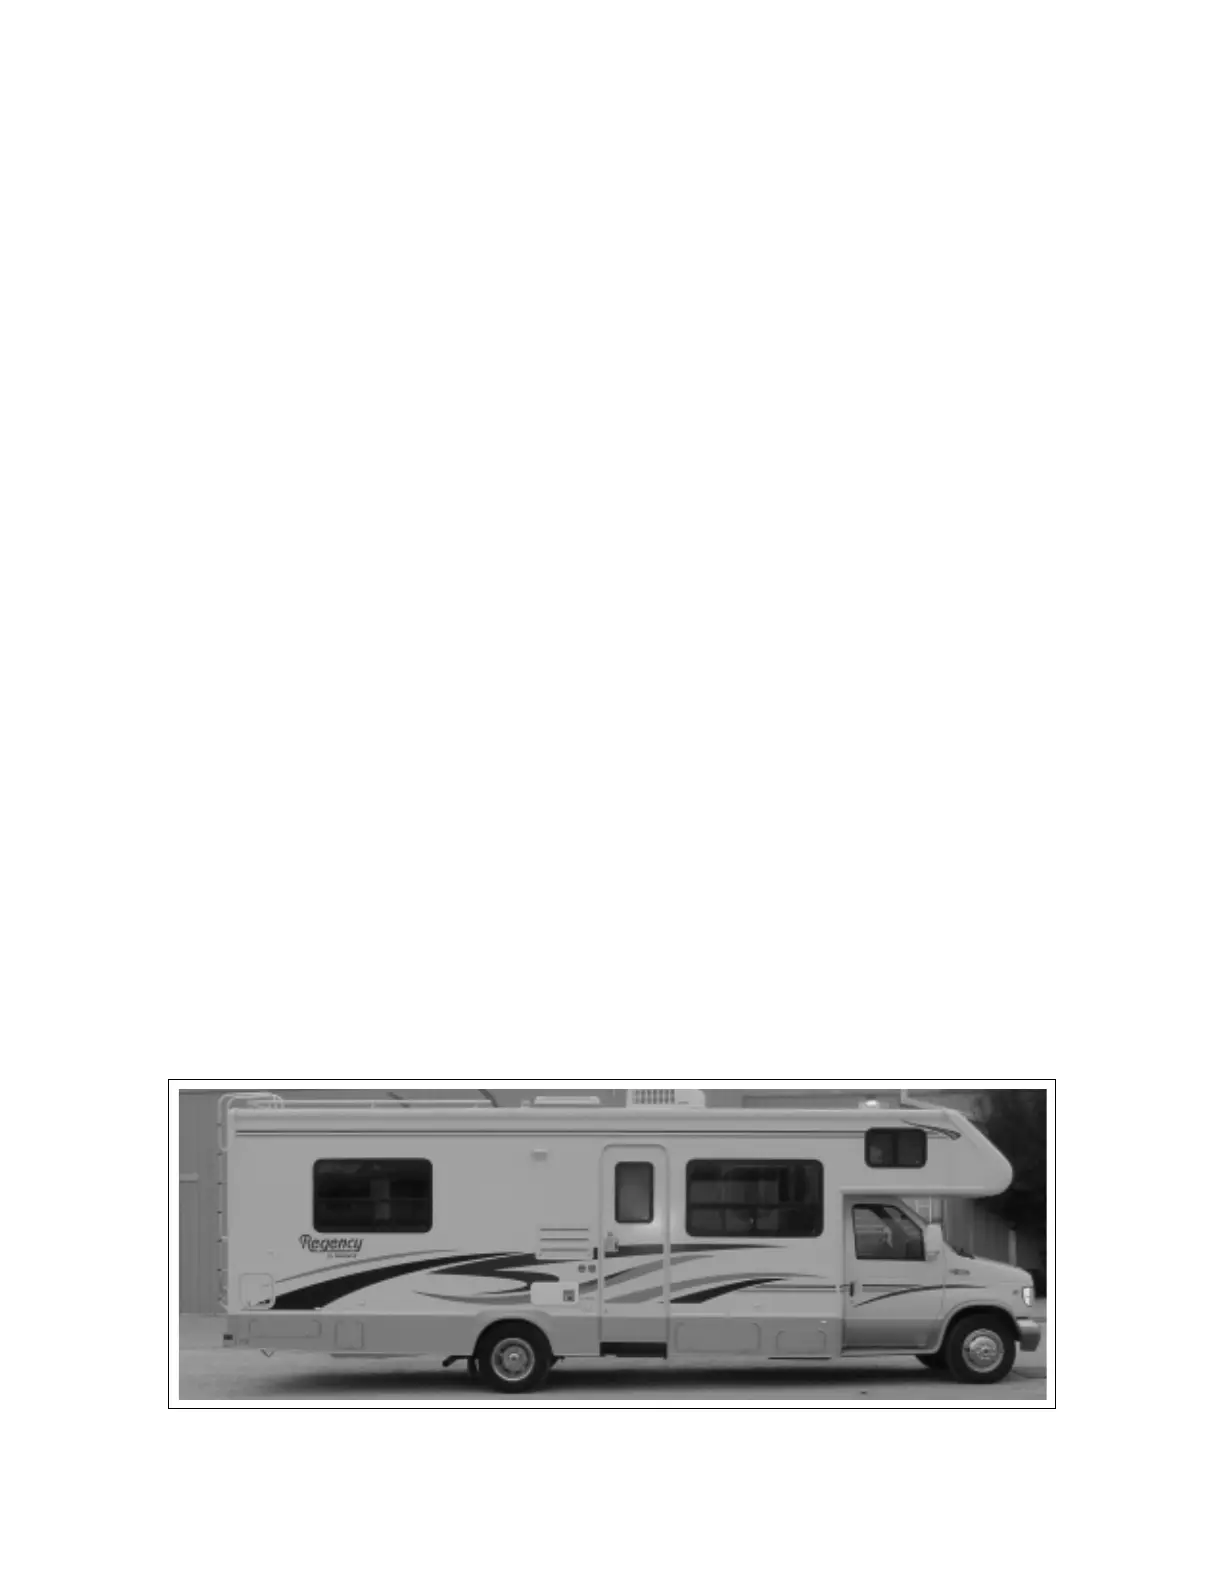
9 HOME USE
The motorhome is designed to be your home on
wheels while traveling in comfort. This section will
cover items that must be done or considered in order
to obtain the maximum satisfaction from your unit.
9.1 PARKING
1. Parking
The motorhome requires more stopping distance
and parking space than an automobile. Always
remember that the unit is longer, wider, higher
and heavier than a car and more room and
clearance must be provided.
2. Backing Up:
a. Mirrors:
Large mirrors are mounted on both sides of
the cab to provide rearward visibility for the
drivers. However, they do not provide
visibility directly behind or on top (clearance)
of the unit.
b. Spotters:
The best results are obtained when another
person helps guide the driver in backing the
unit into position. The driver and spotter
should agree to the meaning of hand signals
before starting the backing process. The
spotter should always be in a position that
is visible to the driver while backing.
3. Always set the parking brake and place chocks
in front of and behind the wheels to prevent the
unit from rolling.
9.2 MOTORHOME LEVELLING
SYSTEM
Your motorhome must be level for some appli-
ances to function properly.
IMPORTANT
When parking your motorhome on a uneven site,
always park with the front of your motorhome
facing downhill. This allows you to raise the front of
your motorhome in order to level it. When you
place your transmission lever in PARK, this locks
only the rear wheels. If you raise the rear wheels
with levelling jacks your vehicle could roll off the
jacks or cause undue pressure on the jacks.
1. Inspect the area where the motorhome will be
parked. Select if possible an area that has a
firm prepared surface. Most campgrounds
provide this type of parking area for
motorhomes.
2. Select an area that is level or as near to level
as possible.
3. Use a carpenters level on the floor to determine
where to place blocks to level the frame.
4. Level from side to side first. Place planks under
the low side and drive the motorhome forward
until the tires are resting on the planks. Check
that the frame is level from side-to-side. Add or
remove blocking as required to level the frame.
5. Place chocks in front of and behind the tires to
prevent motorhome movement.
6. Check that the frame is not twisted by checking
that all doors, drawers, etc. open and close
easily. Adjust blocking to eliminate twisting.
7. Attach and connect all utilities as appropriate.
8. Reverse the above procedure when preparing to
leave.
LEVELLED