5.2
Safety notes on installation
Sharp edges, sharp corners and thin sheet metal
parts
CAUTION!
Danger of injury at sharp edges, sharp corners
and thin sheet metal parts!
Sharp edges, sharp corners and thin sheet metal
parts may cause cuts or grazes.
– Be careful when carrying out any work.
– Wear protective gloves, safety shoes and a hard
hat.
5.3
General installation information
NOTICE!
Damage to the fire damper
– Protect the fire damper from contamination and
damage.
– Cover openings and release mechanism (e.g.
with plastic foil) to protect them from mortar and
dripping water.
– Do not remove the transport and installation pro-
tection (if any) until installation is complete.
Please note:
Operating components, electric actuator, and
inspection access must remain accessible for
inspection and maintenance work.
Loads imposed on the casing may impair the func-
tion of the fire damper. The fire damper must hence
be installed without exercising any tension.
Mortar-based installation: The perimeter gap »s
« must be large enough such that mortar can be
filled in even in case of thicker walls.
Before installation: Perform a functional test, then
close the fire damper.
Ä
52
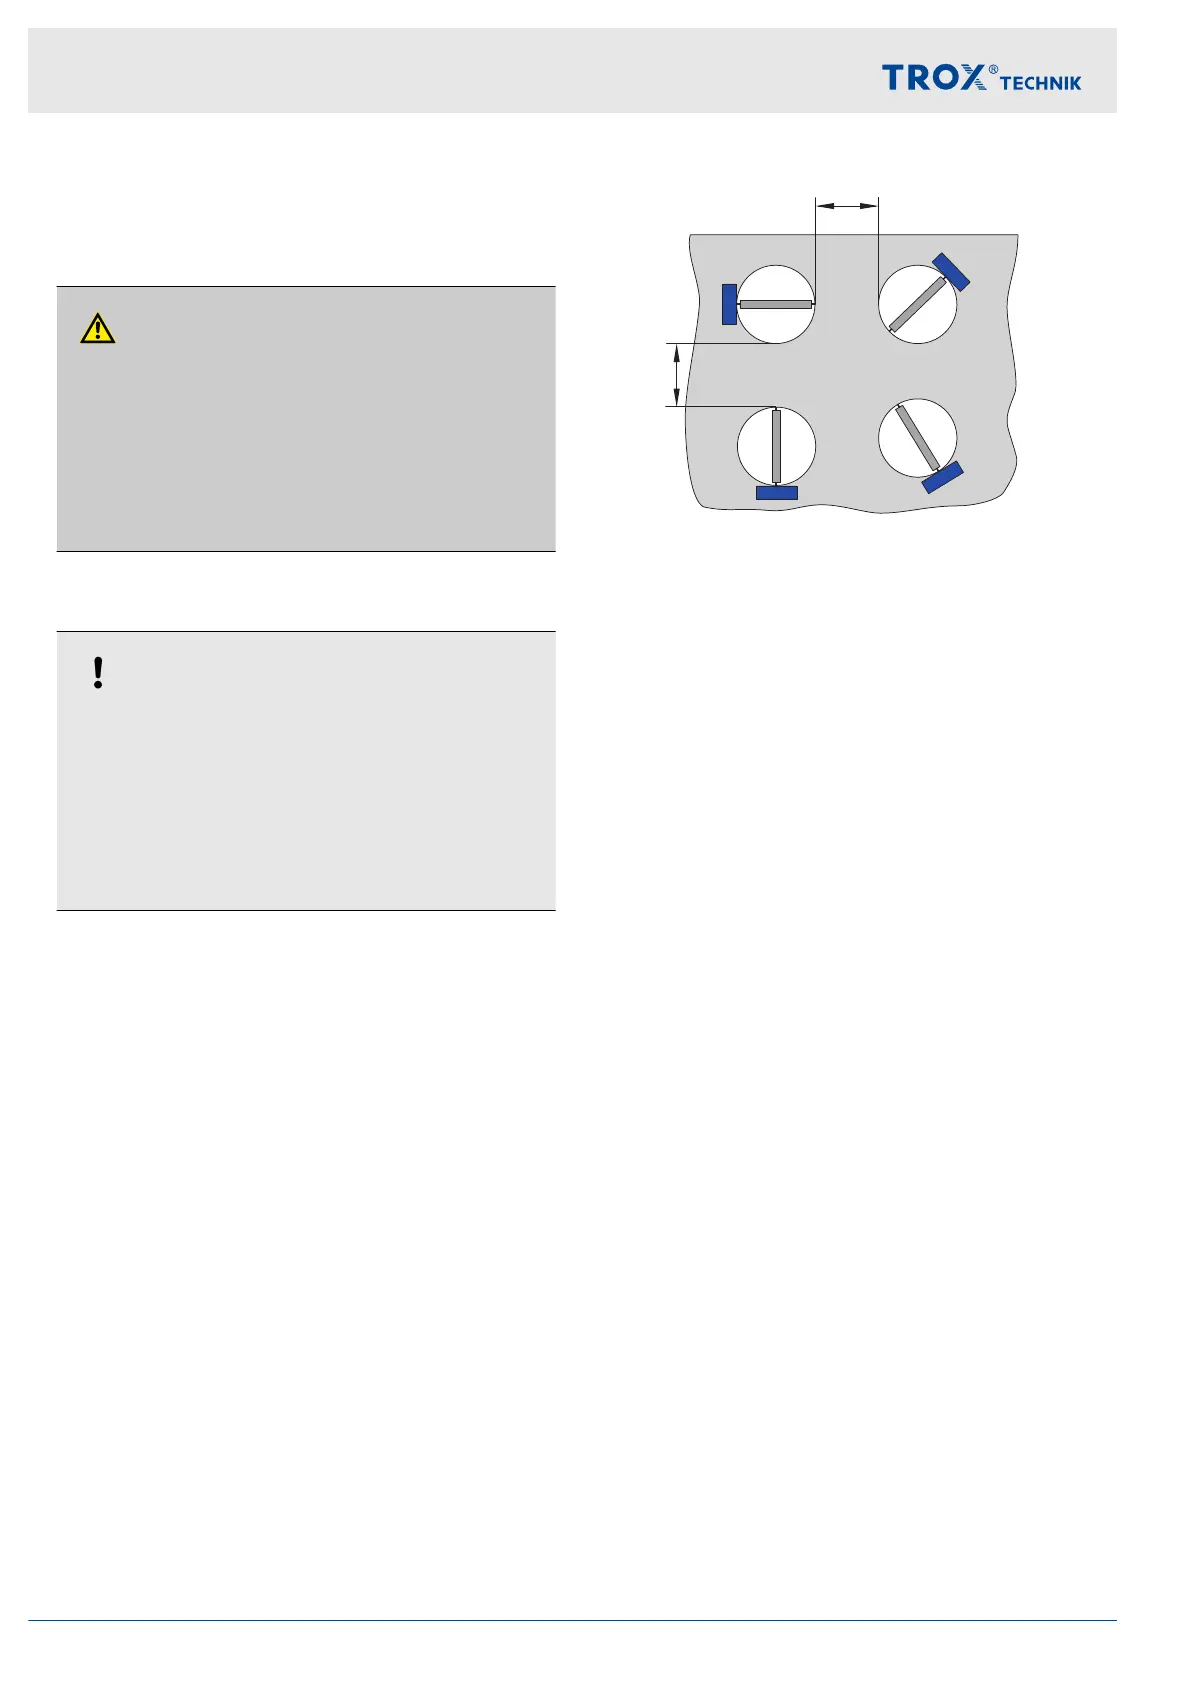
Installation position
The fire damper can be installed with the damper blade
shaft in any position (0 to 360°)(Fig. 6). The position of
the release mechanism is not critical but the mechanism
must remain accessible for maintenance.
Fig. 6: Installation positions and distances
a Distance between two fire dampers. The distance
depends on the installation situation and is given in
the installation details.
Acceptable mortars for mortar-based installation
In case of mortar-based installation, the open spaces
between the fire damper casing and the wall or ceiling
slab must be closed off with mortar. Entrapped air is to
be avoided. The mortar bed depth should be equal to
the thickness of the wall but must be at least 100 mm.
The following mortars are acceptable:
DIN 1053: Groups II, IIa, III, IIIa; fire protection
mortar of groups II, III
EN 998-2: Classes M 2.5 to M 10 or fire protection
mortar of classes M 2.5 to M 10
Equivalent mortars that meet the requirements of
the above standards, gypsum mortar or concrete
Acceptable fire batt systems
The following fire batt systems may be used:
Hilti fire batt system
Firestop board CFS-CT B 1S 140/50
Fire protection coating CFS-CT
Fire protection sealant CFS-S ACR
HENSEL fire batt system
Mineral wool slab ROCKWOOL Hardrock 40
Fire protection coating
HENSOMASTIK 5 KS Farbe (coating)
Fire protection sealant
HENSOMASTIK 5 KS Spachtel (sealant)
5.3.1
After installation
Clean the fire damper.
Remove transport and installation protection, if any.
In case of mortar-based installation this protection
must not be removed until the mortar has hardened.
Test the function of the fire damper.
Installation
General installation information > After installation
Fire damper Type FKRS-EU14