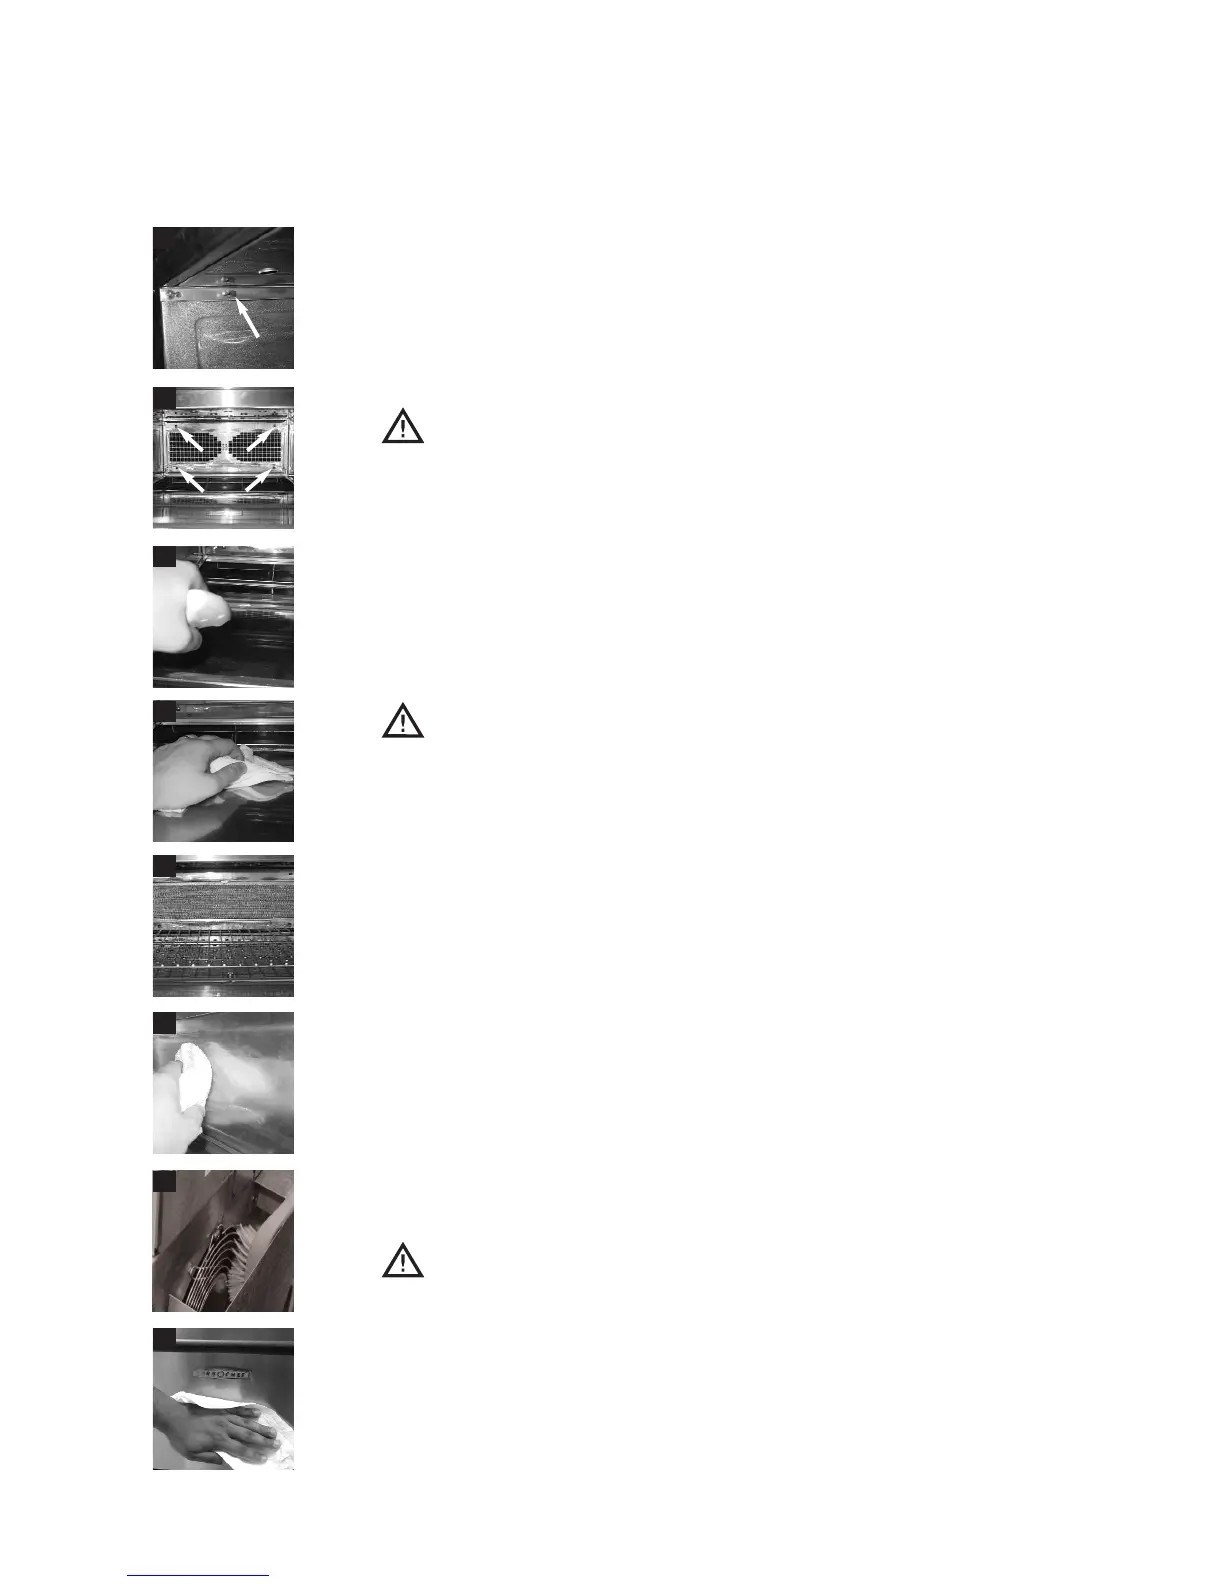
Step 6: Remove the Upper Jetplate.
o
R
emo
ve both upper support rails by pulling the peg (Figure 6a).
o
Remove the upper jetplate. If additional clearance is required, remove the
air div
erter using a Phillips screwdriver (Figure 6b).
o
W
ash, rinse, sanitiz
e, and dry the upper jetplate and support rails.
Step 7: Clean the Cook Chamber.
CAUTION: DO NOT spray Oven Cleaner directly on the back
o
v
en wall. D
oing so may damage critical oven components,
resulting in a non-warranty service call.
o
Spray Oven Cleaner to break up stubborn stains and allow it to penetrate
for five minutes.
o
Scrub with a nylon scrub pad.
o
Clean the cook chamber thoroughly with a clean damp towel.
S
tep 8: Dry the Cook Chamber.
o
U
sing a clean dry towel, thoroughly dry the cook chamber.
CAUTION: DO NOT operate the oven with water, cleaner, or
debris in the bottom of the cook chamber.
Step 9: Reinstall all Clean Parts.
o
R
einstall in the following order:
1. Air div
erter (if removed)
2. U
pper jetplate
3. U
pper suppor
t rails
4. Bottom jetplate
5. Lower support rails
6. Grease filter and bracket
7. Oven rack
S
tep 10: Apply Oven Guard.
o
F
ollow instructions on the bottle.
S
tep 11: Clean the Cooling Fan Housing
o
Using a dry soft-bristle brush, clean the rear cooling fan housing.
Step 12: Wipe the Oven Exterior with a Clean Damp Towel.
CA
UTION: DO NO
T spray chemicals into any openings, such as
the louv
ers on the side panels or the cooling fan openings on the
back of the oven. Doing so can damage critical oven components,
resulting in a non-warranty service call.
6a
7
8
9
6b
12
10
11
11
OVEN MAINTENANCE