____________________________________________________________________________________________
Page 12/63 UltraGauge™ EM User Manual www.ultra-gauge.com
OBD-II
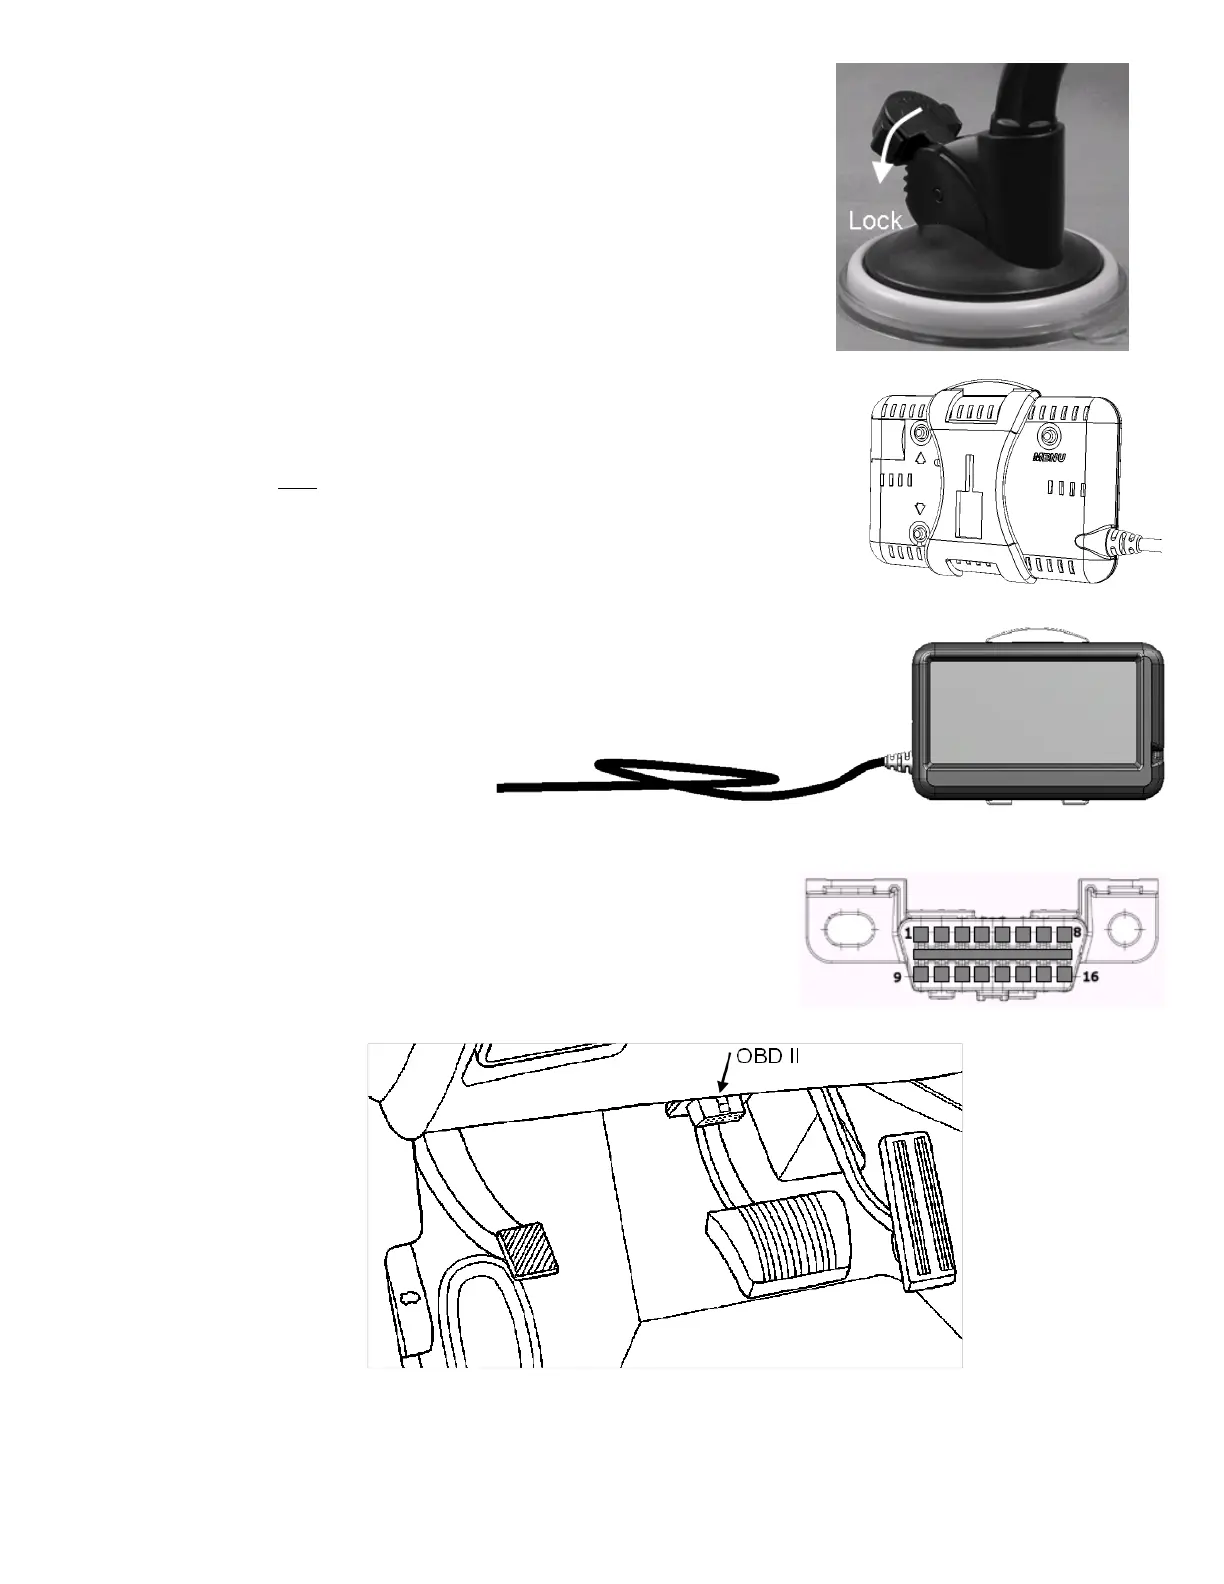
With the Windshield Mount’s release arm fully released, press the silicon
base firmly against the windshield, and press the Windshield mount’s
locking arm. It will “click” as it is pressed.
When it has reached the end of its travel it will become resistant to further
movement. Do not attempt to force the locking arm as only a few “clicks”
are necessary and excess force may damage the mount. The windshield
mount should now be firmly attached to the windshield. If not, it is likely
caused by the silicon base not being placed fully flat against the windshield.
Release the locking arm as described above and repeat.
Attach the Bracket to the windshield mount by aligning the large rectangular
opening of the bracket with the matching rectangular structure on the
windshield mount. Slide down to attach. Do not force. Slide until significant
resistance is felt. Note that it may be necessary to rotate the windshield
mount’s head 180 degrees.
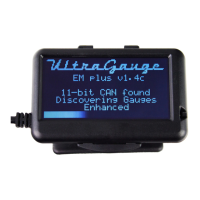
Attach the mounting bracket to UltraGauge such that the bracket’s release arm
is at the top as shown in this diagram.
The windshield mount also includes a locking ring which should be only loosely tightened to lock the swivel’s position.
1. Remove and save the twist tie from
the cable. Now that UltraGauge is
mounted, form an 8” diameter loop
with the OBD-II cable near
UltraGauge. This loop will allow
UltraGauge to be removed from the
mount and configured rather than
attempting to configure UltraGauge
while it is held in the mount.
2. Locate the vehicle’s OBD-II connector. This connector is typically found
above the foot controls and below the steering column. See the diagram
below. In rare cases, the connector may be found in a similar location on
the passenger side or even in the vehicle’s console. To determine where
the OBD-II connector is located for your vehicle, please use the following
resource: https://obdclearinghouse.com/#
If your vehicle is not listed, check other like model years.
3. Once the OBD-II connector is located, route the OBD-II cable so that it does not block or interfere with foot controls. The
UltraGauge connector is a right-angle connector. This design limits the connector from protruding into the foot controls