____________________________________________________________________________________________
Page 13/63 UltraGauge™ EM User Manual www.ultra-gauge.com
area. Tuck the cable into gaps between the dash and surrounding structures. Route the cable under the dash such that it
will not hang down into the foot control area. Care should be taken not to route the cable near moving objects, such as
the hood release, emergency brake, brake release, foot controls and associated mechanisms. If appropriate, use the
twist tie to secure any excess cable.
4. Set the ignition to the RUN position, and plug the cable into the vehicle’s OBD-II connector.
Vertical and Horizontal mounts.
The surface to which the fastener is attached must be clean, dry, and oil and grease free. Clean the surface, even if it appears
clean
Apply only after the surface and the adhesive have reached a temperature range of 70F to 90F.
Avoid leaving the adhesive exposed for longer than 3 minutes after removing the protective backing.
The adhesive is pressure sensitive. Apply roughly 5lbs of force per square inch for 5 seconds. Work the surface to ensure all
areas of the adhesive are activated.
After application, and for maximum adhesion, allow the adhesive to set for 1 hour before use.
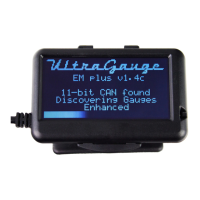
When attaching the UltraGauge mounting bracket to the mount head, it is not necessary to fully seat the bracket. Slide the
bracket onto the "T" notch until the bracket will no longer slide easily.
Once the bracket is in place, UltraGauge can be snapped into the bracket
.
Once removed from its protective bag, optional mounts cannot be returned for a refund. Because the adhesive performance is
customer installation dependent, the adhesive has no warranty.
Please see the mounting page online for additional details:
http://ultra-gauge.com/ultragauge/support/Mounting_Options.html