8000026412_01 Air/flue pipe installation manual 35
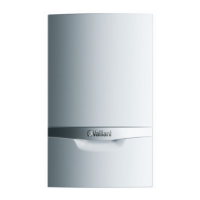
2. Slide the connection elbow onto the terminal piece until
you hear it click into place.
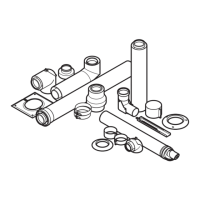
3. Set the variable terminal to the required position.
–
If required, the variable terminal can be rotated 45°
anti-clockwise or clockwise. These setting options
mean that the flue system can be further optimised.
4. Install the horizontal wall duct as described
(→ Section 5.10) or (→ Section 5.11).
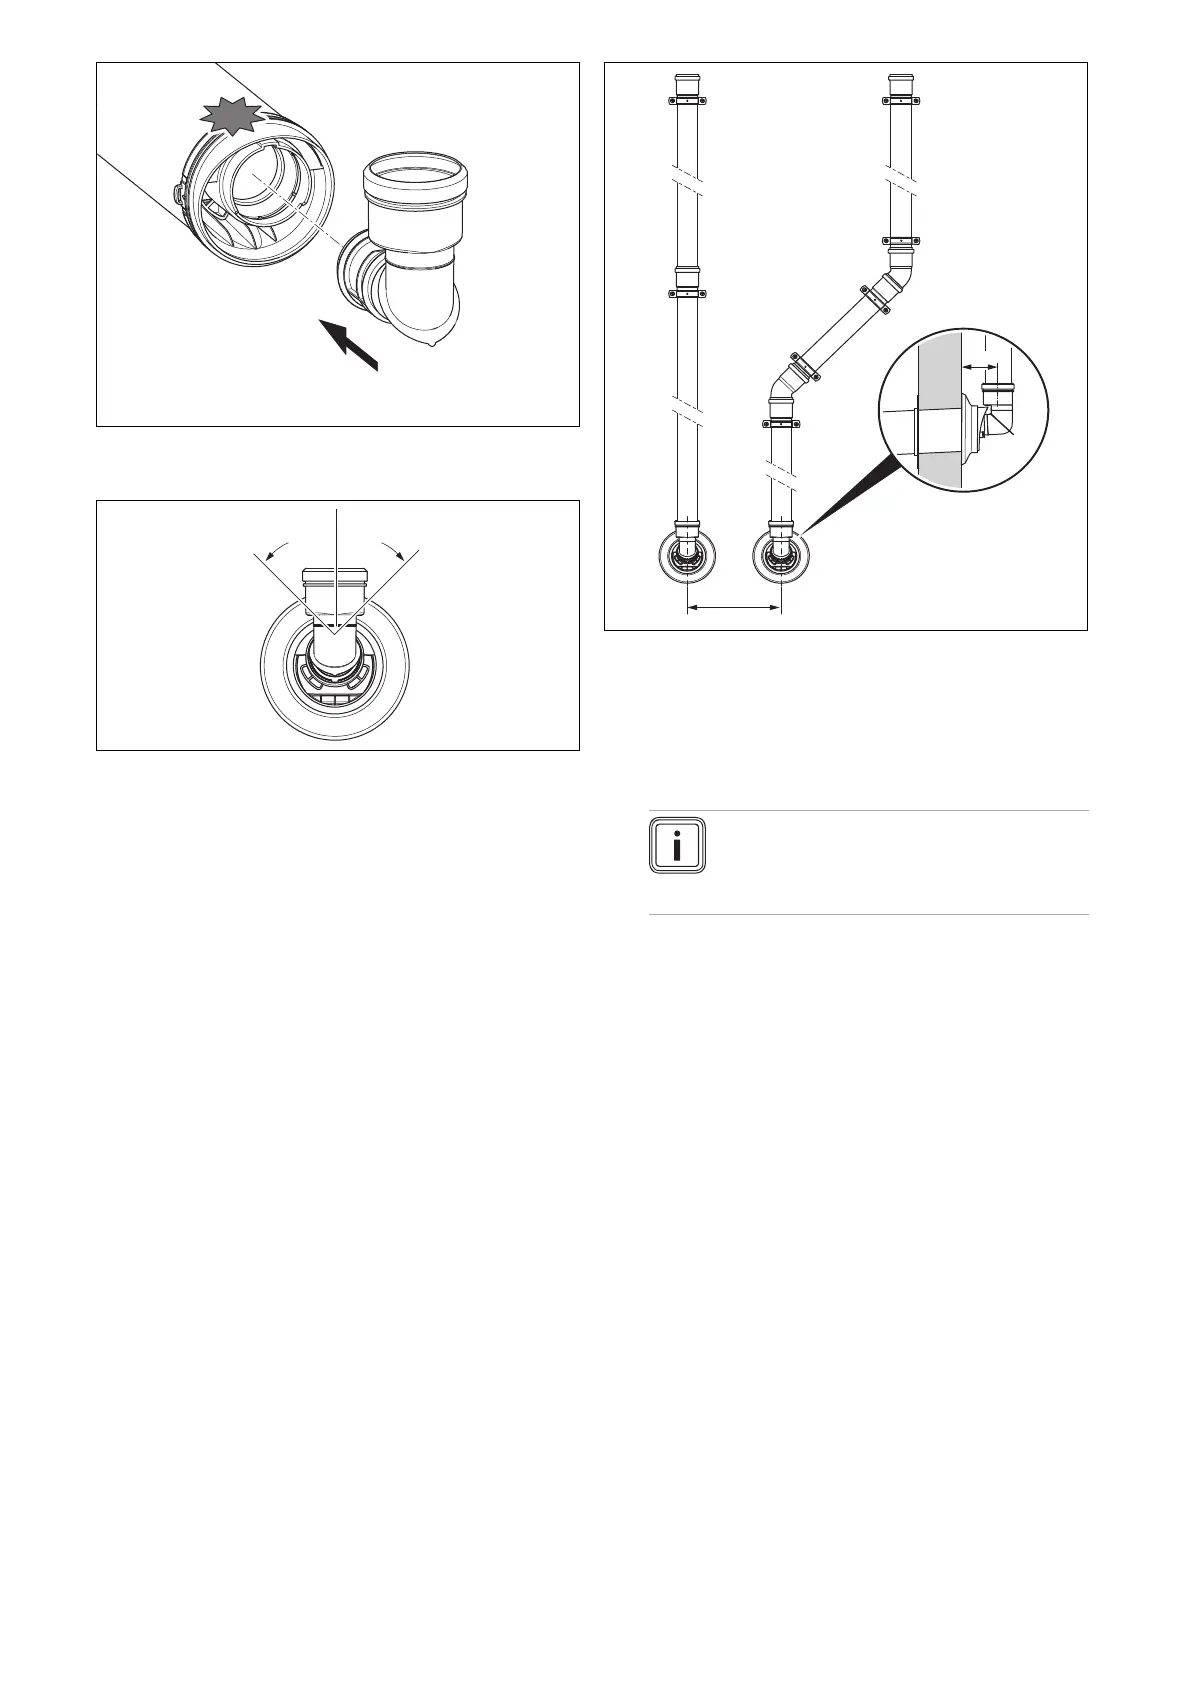
5.14.3.4 Installing extensions
1. Install the flue system from the wall connector to the
flue outlet.
– Start with the lowest extension.
– Allow expansion space of 1 cm in each sleeve.
– Ensure that all pipe joints are absolutely leak-tight.
– Maintain a minimum clearance of 0.5 mm between
the flue gas terminal and the air inlet.
2. Secure the extensions to the wall using the pipe
clamps.
– Use one pipe clamp for each extension directly
beside the sleeve.
– Upstream of each elbow, install another pipe clamp
on the extension.
Note
If all flue gas terminals are at least 1 m away
from the air inlets, the distance (A) between
two wall ducts must be less than 300 mm.