_________________________________________________________________________________
VAISALA _________________________________________________________________________ 5
List of Figures
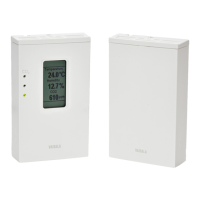
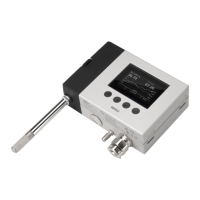
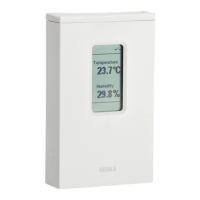
Figure 1 GMW90 with Visible Display and Indicator LEDs .................... 12
Figure 2 Transmitter Parts - Outside ...................................................... 15
Figure 3 Opening the Transmitter........................................................... 16
Figure 4 Transmitter Parts – Inside ........................................................ 17
Figure 5 Decorative Cover ...................................................................... 18
Figure 6 DIP Switch Settings of Analog Output Models ......................... 20
Figure 7 DIP Switch Settings of Digital Output Models .......................... 22
Figure 8 Example of Transmitter Addressing ......................................... 23
Figure 9 Selecting Transmitter Location ................................................. 24
Figure 10 Installing the Mounting Base .................................................... 25
Figure 11 Wiring from Behind (Recommended) ....................................... 26
Figure 12 Wiring from Above .................................................................... 26
Figure 13 Wiring GMW93R/RA ................................................................ 27
Figure 14 Alternate Wiring for GMW93R/RA ............................................ 27
Figure 15 Wiring GMW93 ......................................................................... 27
Figure 16 Wiring GMW94R ...................................................................... 28
Figure 17 Wiring GMW94 ......................................................................... 28
Figure 18 Wiring GMW95 ......................................................................... 29
Figure 19 Several Transmitters on Same RS-485 Line............................ 29
Figure 20 Connecting a Common AC Power Supply ............................... 30
Figure 21 GMW95R Startup Screens ....................................................... 31
Figure 22 Measurement Screen – Normal Operation .............................. 32
Figure 23 Measurement Screen – Problem With Humidity
Measurement ........................................................................... 32
Figure 24 PuTTY Terminal Application..................................................... 36
Figure 25 Effect of Pressure on CO
2
Reading.......................................... 66
Figure 26 Trimmer Centering Screen ....................................................... 67
Figure 27 Adjustment Screen ................................................................... 67
Figure 28 Disconnecting the GM10 Module ............................................. 70
Figure 29 Foam Pipe Inside GMW90 ....................................................... 71
Figure 30 Replacing the HTM10 Module .................................................. 72
Figure 31 DIP Switch Factory Reset (GMW93/94) ................................... 77
Figure 32 DIP Switch Factory Reset (GMW95) ........................................ 77
Figure 33 GMW90 Series Dimensions ..................................................... 83
Figure 34 Dimensions of the Mounting Base ........................................... 83
 Loading...
