38
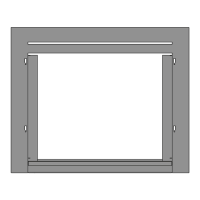
Section Views
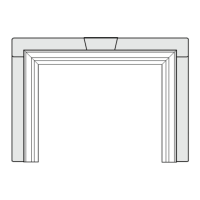
Window frame
Bottom railing
Installation
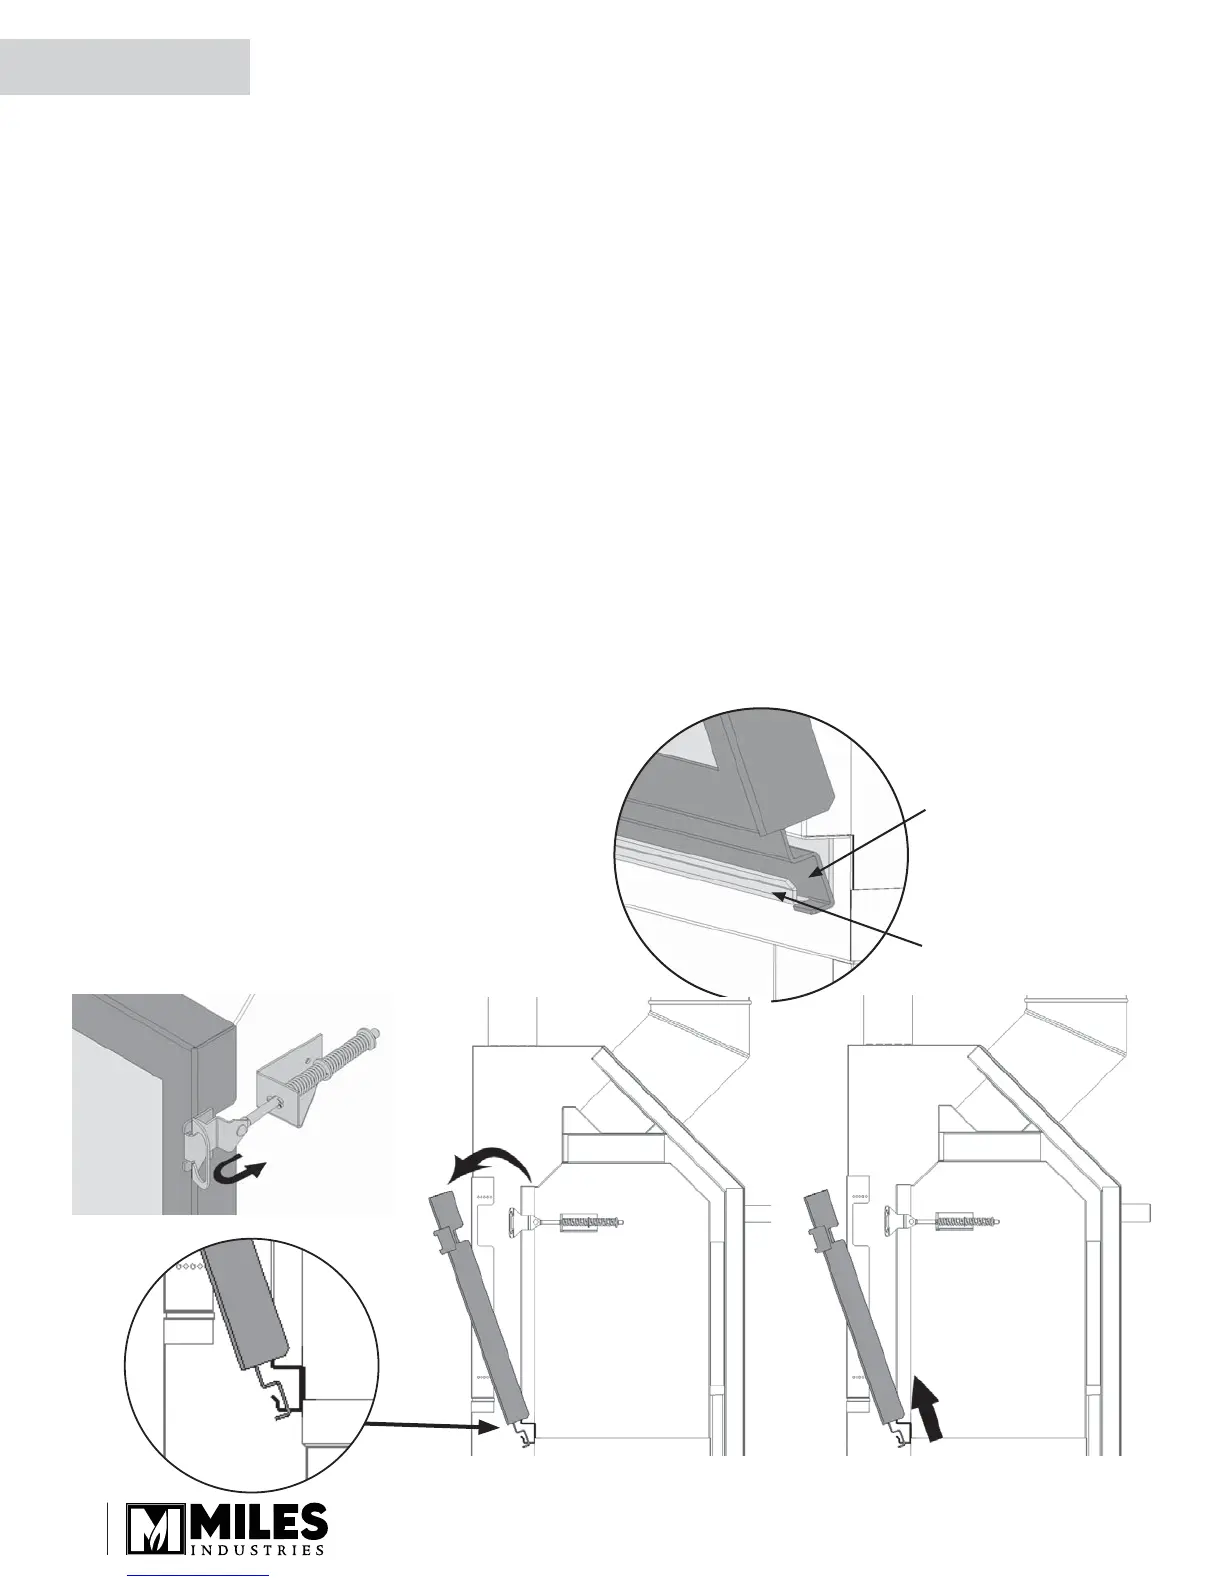
Remove Window
The window is held in place by a spring-loaded lever on
each side.
1. To remove the window, locate the levers on each
side of the window towards the top. Using your
fi nger, pull the lever towards you and unhook it from
the window frame bracket.
2. Gently pull the top of the window outward.
3. Lift the window out of its bottom railing and set it
aside in a safe place to avoid damage.
Cracking wall fi nishes
If a clean fi nish with no tile, etc. is desired, joints in
the cement board and the transition to gypsum board
will require special attention if future cracking is to be
controlled. Be aware that temperatures on the non-
combustible wall surface above the appliance can
exceed 250°F.
Below are some tips on how to best avoid any
cracking:
• Allow materials to dry thoroughly before fi nishing
the wall. Cement board has the ability to absorb up
to 30 percent of its weight in water and may shrink
as much as 1/8” over a 48” length when drying from
a saturated condition. Running the fi replace before
fi nal fi nishing will help drive out moisture.
• Always pre-drill screw holes through cement board
and use screws with self-milling head.
• Always use tape over joints.
• Behind joints, double up studs or use studs “on the
fl at” to add extra support to the joint. Adhesive on
the backside of wall board behind any joints can
help control differential movement.
• Use multiple, thinner coats of joint compound and
allow to dry thoroughly between coats.
• Ensure framing materials are dry.
• After fi nishing the wall, introduce heat gradually to
slowly dry any excess moisture rather than drying
too fast.
• Avoid notching cement board or tiles around corners
of window opening and instead provide a joint that
intersects the corner.
QUALIFIED
INSTALLER
 Loading...