35
Fold Lines
Only qualifi ed licensed or trained personnel
should install this appliance.
Installation
Unpack the Appliance
Beware of sharp edges! Wear gloves!
1. Remove the cardboard wrapping and the wood
pallet from the appliance and discard.
2. Unpack any loose items from around the appliance.
3. Verify that you have all the components
required for the installation, including:
- approved non combustible cement board;
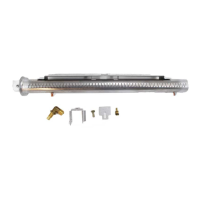
- liners and fuel bed (in separate carton);
- trim kit with barrier screen;
- venting components and accessories;
- electrical components if installing optional
decorative light wall switch or blower.
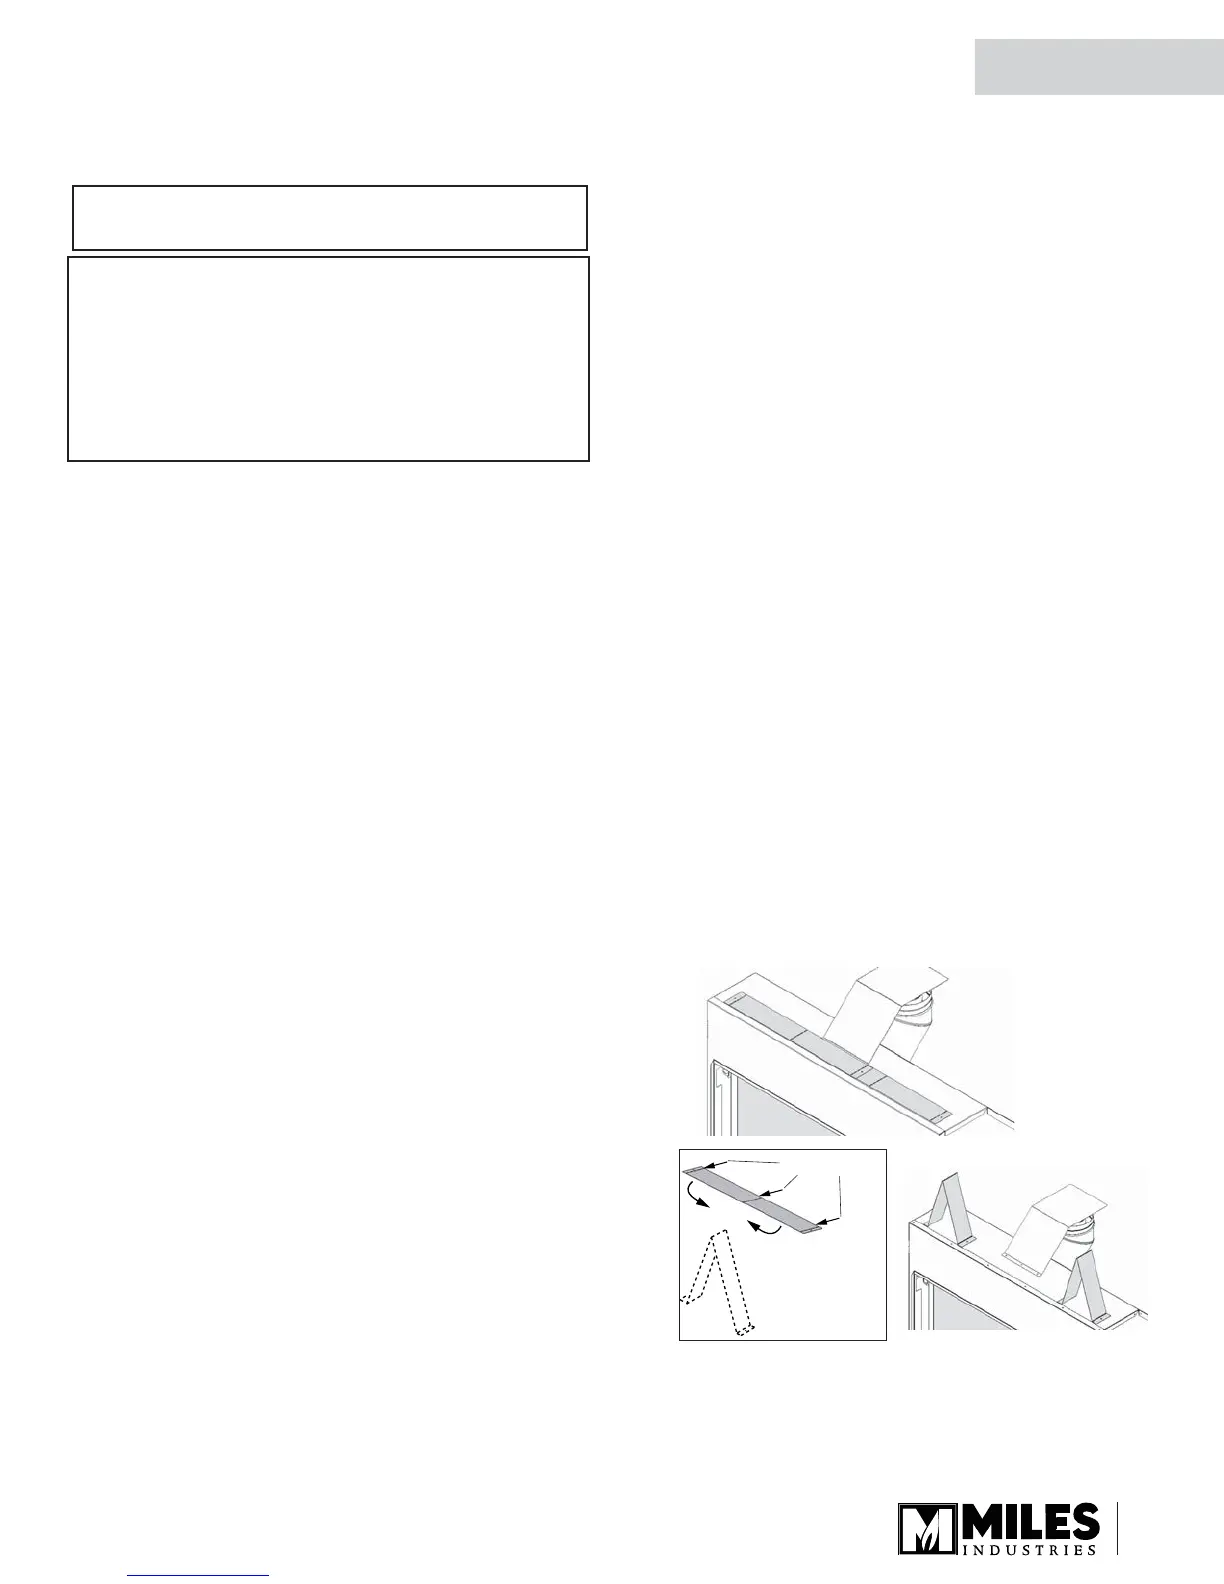
Install the Standoffs
1. The standoffs are supplied fl at on the fi rebox and
fi xed at one end. Bend them as shown and fi x the
loose end to the top of the fi rebox.
2. Remove the 4 screws retaining the engine to its
pallet.
Installer—READ THIS FIRST
1. YOU NEED TO KNOW FROM THE
HOMEOWNER:
- The height of the unit and hearth if used;
- The thickness and type of the wall fi nish
around the fi rebox opening;
- What accessories (trim, decorative lighting,
etc.) will be installed with this fi replace;
- The venting confi guration.
2. Unpack the appliance, removing all items packed
inside and around the appliance.
3. Check that you have everything, using the Pack
Content sheet. Also, check that you have:
◊ a fuel bed (packed separately)
◊ a set of liners (packed separately)
4. Finish the framing.
5. Fit the appliance into framing.
6. Fix the appliance to the framing.
7. Remove the window of the appliance.
8. Install the venting system and tape vent pipe joints.
9. Position the restrictor.
10. Connect the electrical wiring for optional electric
accessories if used.
11. Install the optional electric accessories if used.
12. Connect and test the gas supply.
13. Install the liners.
14. Install the middle platform supports.
15. Install the fuel bed.
16. Refi t the window and the hot glass safety plate
if removed.
17. Install the control wall switch kit.
18. Initialize the remote control system.
19. Verify the operation and adjust aeration settings.
20. Install the remote control handset wall holder.
21. Instruct the homeowner on the operation and
maintenance of the fi replace.
22. Finish the wall around the fi replace.
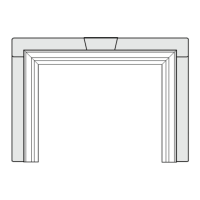
23. Install the surround trim and barrier screen.
Installation Planning
QUALIFIED
INSTALLER
 Loading...