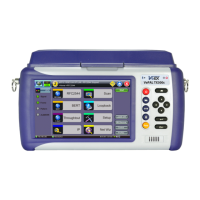
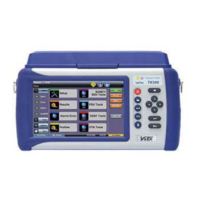
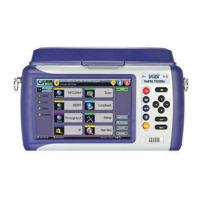
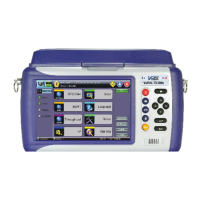
Options Enabled (in the Test Set)
Up-to-date list of licenses assigned
Permanent = Purchased, owned (users can still share permanent licenses by releasing the option from one test set and
assign it to another)
Leased = Rented, temporary
Displays remaining time (Days and Hours)
Countdown starts upon first assignment
Both permanent & leased can be shared
Options Available (in the Cloud)
Lists all options, permanent or leased, currently available in the company’s or group’s VeExpress account
Users can check availability before requesting assignment of new function(s) to their VeExpress Managers
Software Upgrade
Checks if newer version is available
Go back to TOC
5.3.2 Software Upgrade Procedure – Full Version
1. Open the Software Upgrade tab.
Larger Full Upgrade package is shown if the test set has not been updated for a while, when major new features are
introduced or an OS update is required
2. Attach the DC charger to the test set.
3. Insert a FAT32 USB Memory Stick into the left-side USB port (>300MB free).
4. Confirm IP connection (IP address).
5. Check the new software version box .
6. Tap on the Download button.
1. Wait until the download process finishes. Install package is in the memory stick.
2. Power the test set OFF.
3. Leave the USB memory stick attached.
7. Initiate Software Upgrade process.
1. Simultaneously press the App, and Power buttons, until it beeps.
2. Let the upgrade process finish (it could take a few minutes).
3. The test set reboots itself at the end.
8. The test set is now up-to-date.
Go back to TOC
TX300s_Platform_Manual_RevB00