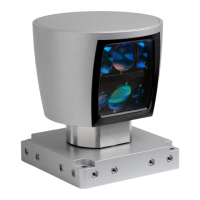
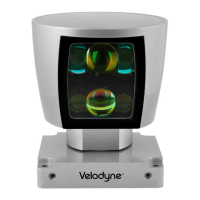
High Definition LiDAR Sensor
Velodyne LiDAR, Inc.
©
2019
Installation
The unit is simple to install because the sensor has multiple mounting options and uses standard wiring
connectors.
Mounting
The sensor base provides the following mounting options:
.
Side and/or front mount
.
Top and/or bottom mount
The sensor can be mechanically mounted at any angle with respect to its base. Vertical mounting is
recommended for navigation applications. Refer to Appendix A for mechanical drawings with complete
dimensions and sensor mounting suggestions.
.
For all mounting options, mount the sensor to withstand vibration and shock without risk of
detachment.
.
The sensor should be vibration isolation mounted from the vehicle frame.
.
Mounting location may require a protective shield around the rotating unit to block debris from
hitting the motor area.
.
Allow clearance behind the connector side of the unit, so there is room to install and remove
the cables. (See drawing in Appendix A.)
.
The sensor is weatherproofed to withstand wind, rain and other adverse weather conditions.
The spinning nature of the sensor helps it shed excess water from the front window that could
hamper
performance.
Wiring
Cables are not provided. The end-user needs to fabricate cables with the mating connectors to those on
the sensor. Refer to the wiring diagram in Appendix B.
Power
THE SENSOR IS RATED FOR 10 - 32 VOLTS DC. Any voltage applied over 32 VDC may damage the
sensor even though the sensor does have over voltage protection.
NOTE: The sensor doesn’t have a power switch. The sensor is operational whenever power is applied.
Lockout Circuit
The sensor has a lockout circuit that prevents its lasers from firing until it achieves a preset operational
RPM.
Ethernet
M12 D-CODED connector is provided on the unit. Velodyne recommends using a category 6 cable
(shielded, twisted pair) for the Ethernet cable.
NOTE: The sensor is only compatible with network cards that have either MDI or AUTO MDIX capability.
Serial Interface RS-232
The serial interface is incorporated into the main connector, a standard Deutsch connector. The RS-232
interface is used to apply RS-232 serial commands as well as apply firmware updates.
 Loading...