34
0900‑5017‑ETEE REV‑05
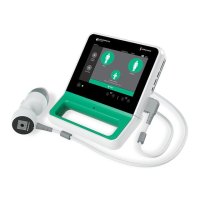
USING THE DEVICE
Prior to using the device, set up the device according to the instructions in the previous chapter, and verify
the setup by completing Step 1 through Step 4 of the procedure Perform a Functional Check on page33.
Please read the Hoiatused ja ettevaatusabinõud section before performing the following tasks.
This chapter consists of the following:
• Prepare the System
• Use a USB Pulse Oximeter
• Adjust Video Layout
• Rotate the Display
• Record Video or Take a Snapshot
• Use the Gallery
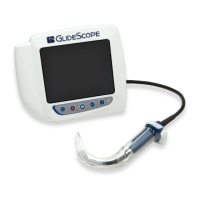
PROcEDURE 1. PREPARE THE SYSTEM
In this procedure, you select and attach the appropriate video and USB accessories for the patient, turn the
system on, and verify that the system is functioning properly. For a list of all compatible scopes, see the
GlideScope Video Laryngoscopes Operations & Maintenance Manual (part number 0900‑4940) and the
GlideScope BFlex Single‑Use Bronchoscopes Operations & Maintenance Manual (part number 0900‑4939).
1. If you are using a reusable scope, ensure that each component has been properly cleaned, disinfected,
or sterilized according to the guidance provided in the GlideScope Video Laryngoscopes Operations &
Maintenance Manual (part number 0900‑4940).
2. Using the information in the GlideScope Video Laryngoscopes Operations & Maintenance Manual (part
number 0900‑4940) or the GlideScope BFlex Single‑Use Bronchoscopes Operations & Maintenance
Manual (part number 0900‑4939), in combination with a clinical assessment of the patient and the
experience and judgment of the clinician, select the scope that is appropriate for the patient and
procedure.
3. Attach the chosen scope’s video cable to the monitor, according to the instructions in Attach the Video
Cable and Scope on page29.
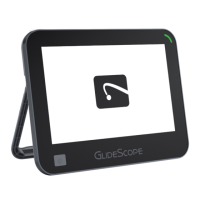
4. Press the Power button. The video monitor turns on.
Note: If the monitor locks up or becomes unresponsive for any reason, press and hold the Power button
for 10seconds to reboot the system.
5. Ensure that the battery is sufficiently charged. If necessary, connect the monitor directly to power.
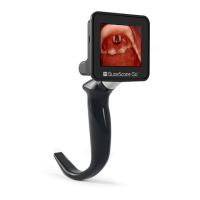
6. On the monitor screen, verify that the image displayed is from the scope’s camera. In the image from
certain video laryngoscopes, a small portion of the blade may be visible on the upper left corner or top
of the monitor screen.