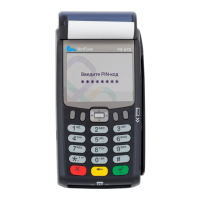
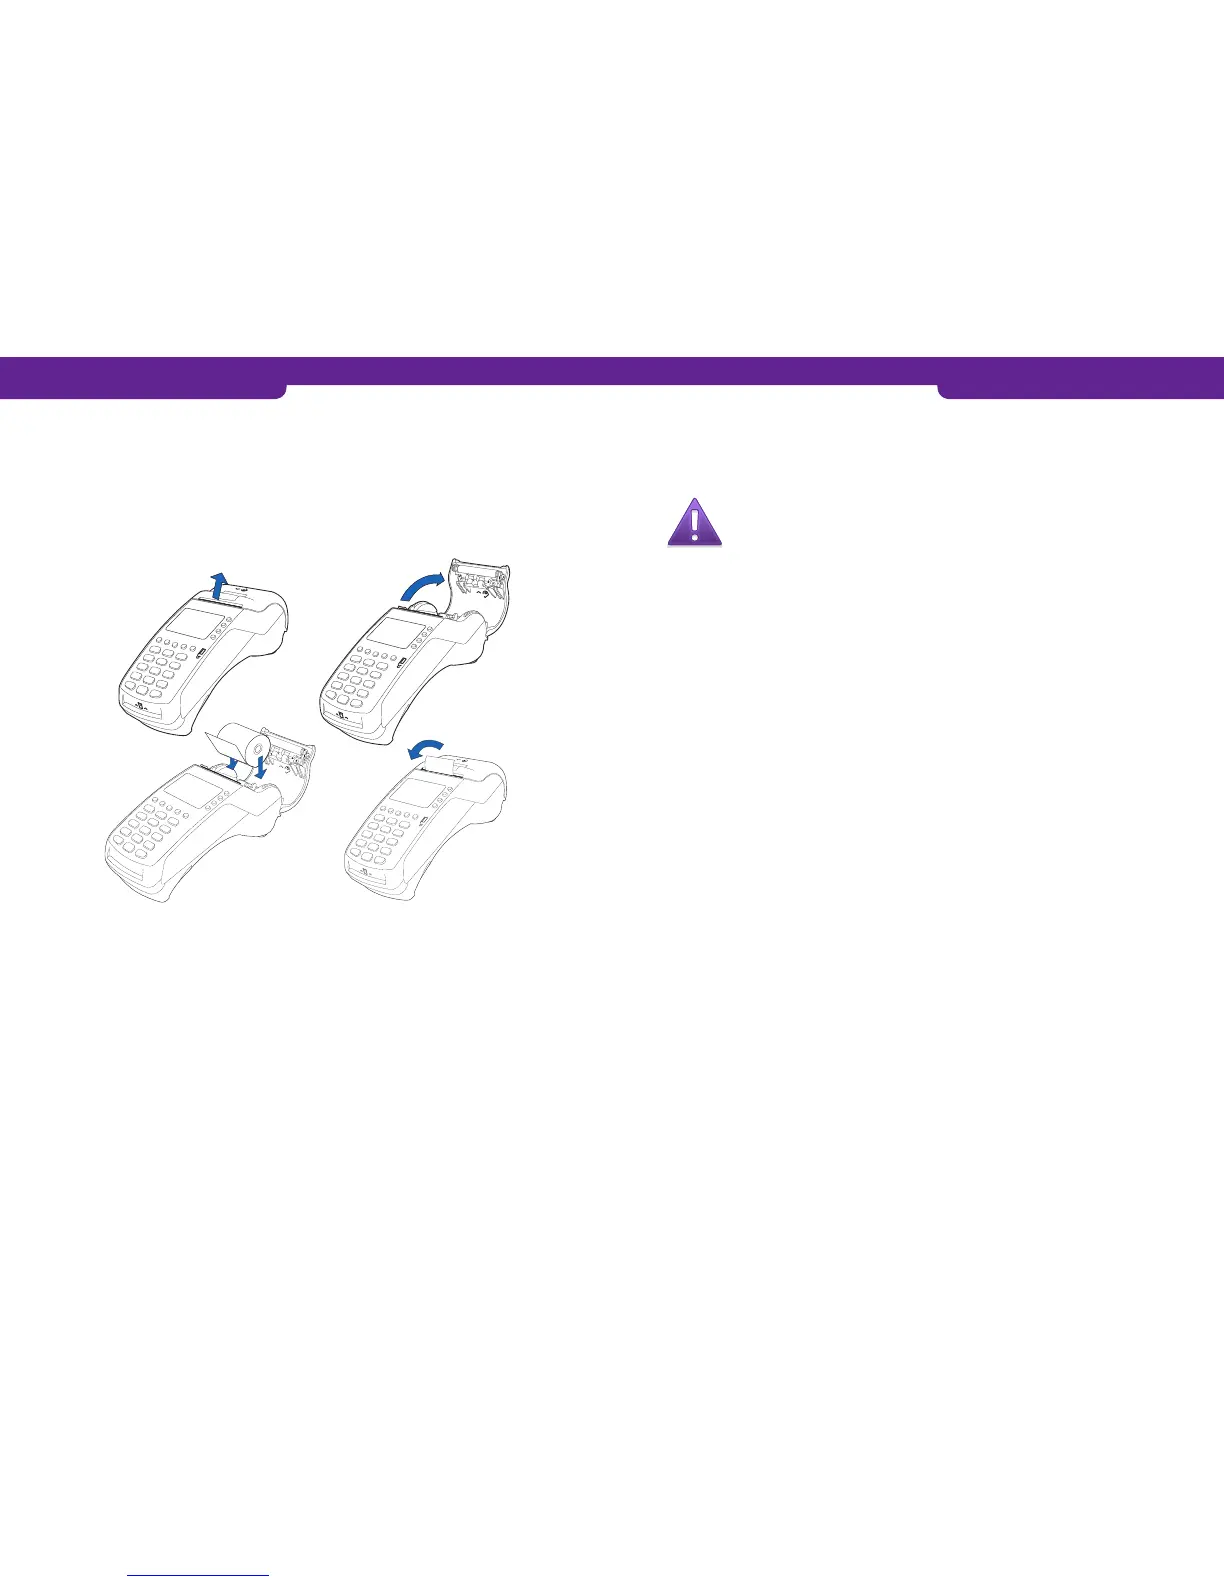
1.6 Changing the paper
1. Pull the printer cover’s eject button upwards, so that the cover opens.
2. Remove the old paper roll from the printer tray.
3. Place the new paper roll such that the paper moves from the bottom of the roll to-
wards the front edge.
4. Pull the loose end of the paper past the metal teeth to extend outside.
5. Close the printer cover.
6. The terminal states ”PAPER INSERTED PRESS ANY KEY”. Press any key to continue.
1.7 Using the menus
You can navigate in the menus with the LILA1 and LILA2 buttons. To accept a func-
tion, press the Enter button. You can get back to a previous menu with the Cancel but-
ton. To return to the main menu, press Cancel a few times. To choose an option in the
menus, use the F1-F4 buttons.
1.8 Letters and special characters
To insert letters and special characters, press the key with the desired character once,
and after that press the ALPHA button until the appropriate character appears. To
switch capital letters into lower case letters, press LILA3.
1 = Q Z . 2 = A B C 3 = D E F 4 = G H I 5 = J K L
6 = M N O 7 = P R S 8 = T U V 9 = W X Y * = , ‘ “
0 = - space + # = ! : ; @ = & / \ % $ _
1.9 Terminal start-up and shutdown
The terminal is switched on by pressing the Enter key for a while or by connecting it
to the power cord. To shut down the terminal, press the Cancel key until the terminal
shuts down.
NOTE! The terminal will not shut down, if the power cord is con-
nected.
1.10 Testing the connection
Press LILA 1, Enter and choose SEND BATCH F2. The screen states DIALING. If the
terminal connects successfully, the text CONNECTED appears on the screen. A white
bar and the text RECEIVING are then displayed on the screen. The bar turns gradually
black as the batch sending progresses. The terminal downloads the blacklist and oth-
er required card information files from the bank.
After this, the terminal is ready for use.
If the blacklist has not been downloaded to the terminal’s memory, you can test the
connection by switching on the terminal.
The screen states BLACKLIST MISSING UPDATE THE BLACKLIST? Press Enter, and
the terminal connects to the bank and downloads the blacklist and other required card
information files.
If the connection is not working, see section 6 TROUBLESHOOTING for further infor-
mation.
1.11 PA-DSS standard
The purpose of the PA-DSS standard is to help software suppliers develop such pay-
ment solutions according to the PCI-DSS requirements that do not save forbidden
card information such as the CVV2 or the PIN code.
Companies must use such solutions for card payment processing that are approved
according to the PCI-DSS standard.
For the latest version of the Point PA-DSS Implementation Guide, go to
http://www.point.fi/manuals
10 11
 Loading...