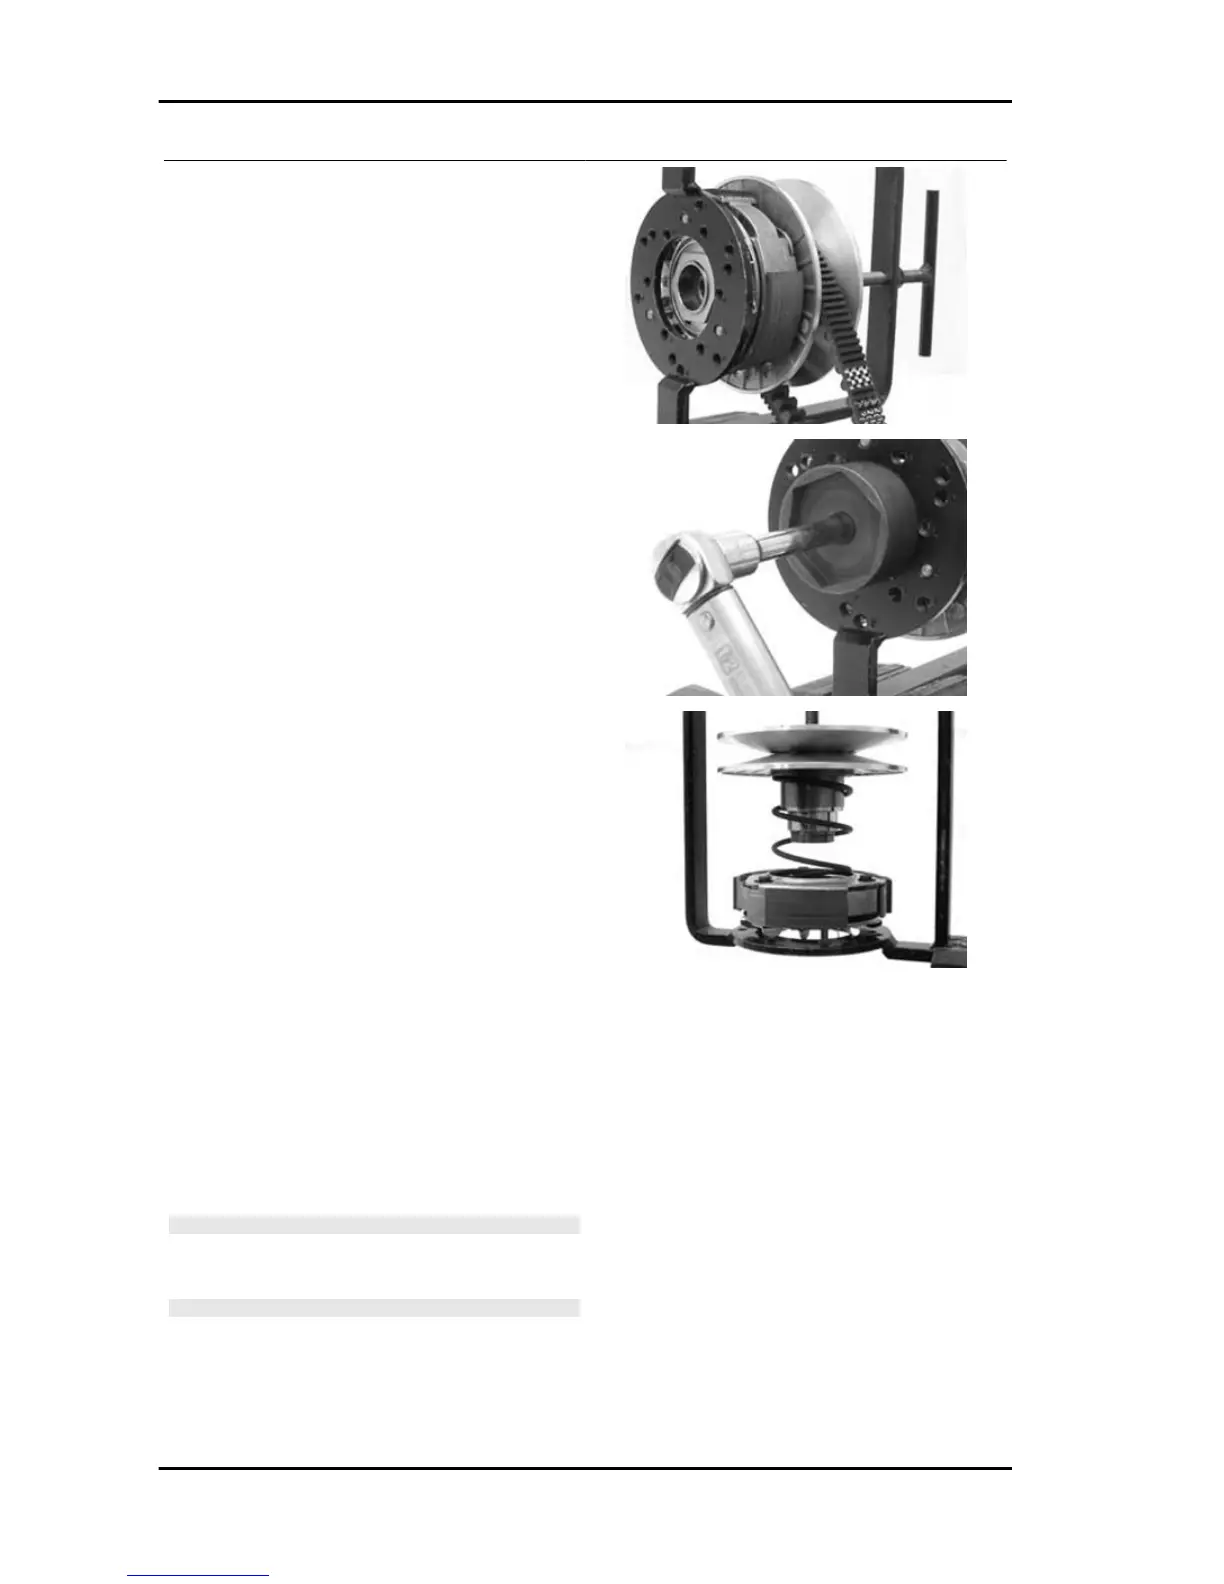
- Support the driven pulley spring compressor spe-
cific tool with the control screw in vertical axis.
- Arrange the tool with the medium length pins
screwed in position "C" on the inside.
- Introduce the adapter ring No. 11 with the cham-
fering facing upwards.
- Insert the clutch on the adapter ring.
- Lubricate the end of the spring that abuts against
the servo-system closing collar.
- Insert the spring with its plastic holder in contact
with the clutch.
- Insert the driving belt into the pulley unit accord-
ing to their direction of rotation.
- Insert the pulley unit with the belt into the tool.
- Slightly preload the spring.
- Make sure that the clutch is perfectly inserted into
the adapter ring before proceeding to tighten the
clutch nut.
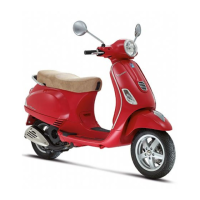
- Place the tool in the clamp with the control screw
on the horizontal axis.
- Fully preload the spring.
- Apply the clutch fixing nut and tighten it to the
prescribed torque using the special 46x55 wrench.
- Loosen the tool clamp and insert the belt accord-
ing to its direction of rotation.
- Lock the driven pulley again using the specific
tool.
- Preload the clutch return spring with a traction/
rotation combined action and place the belt in the
smaller diameter rolling position.
- Remove the driven pulley /belt unit from the tool.
N.B.
DURING THE SPRING PRELOADING PHASE, BE CARE-
FUL NOT TO DAMAGE THE PLASTIC SPRING STOP AND
THE BUSHING THREADING.
N.B.
FOR DESIGN REASONS, THE NUT IS SLIGHTLY ASYM-
METRIC; THE FLATTEST SURFACE SHOULD BE MOUN-
TED IN CONTACT WITH THE CLUTCH.
Specific tooling
Engine Vespa LX 125 - 150 i.e.
ENG - 100

 Loading...