C
Christopher WilsonSep 10, 2025
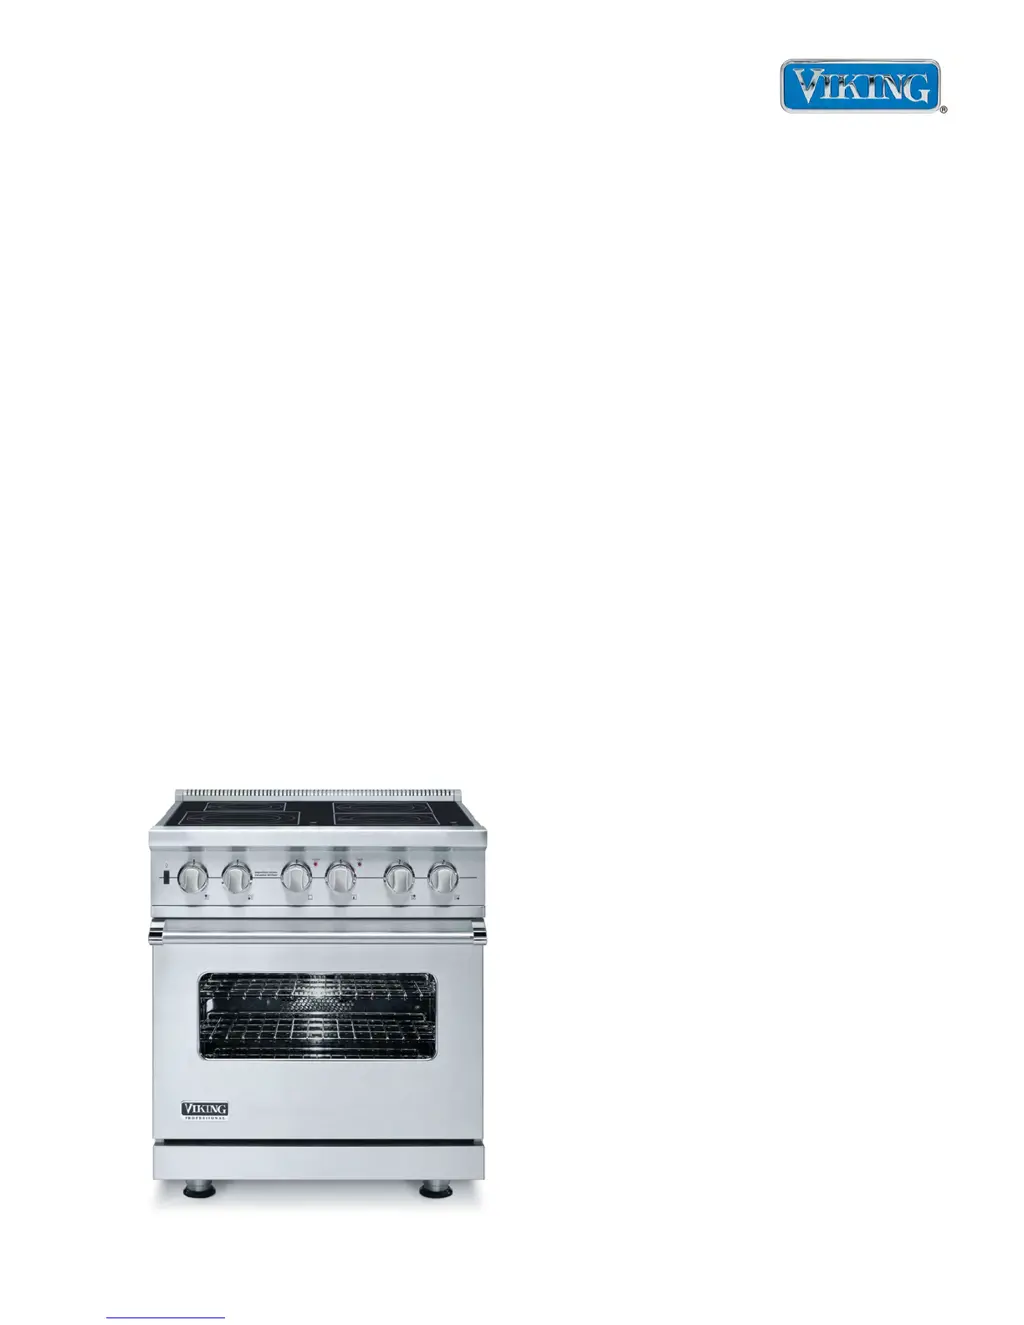
What to do if one coil will not energize (indicator light not blinking) on my Viking VISC530 Ranges?
- KKathy VasquezSep 12, 2025
If one coil on your Viking Ranges is not energizing and the indicator light is not blinking, the issue might be with the switch, cable, interface board, generator, indicator, or power connection. Verify the switch is working, the cable is connected and not open, check the interface board, check the power and filter board, check the indicator, and check the terminal block.