162 VISIONEER NETSCAN 4000 USER’S GUIDE
4. There is no default password set when the scanner is shipped from the
manufacturer. If a password has not be defined by a system
administrator, simply click on Login to access the Address Book
Manager configuration screen.
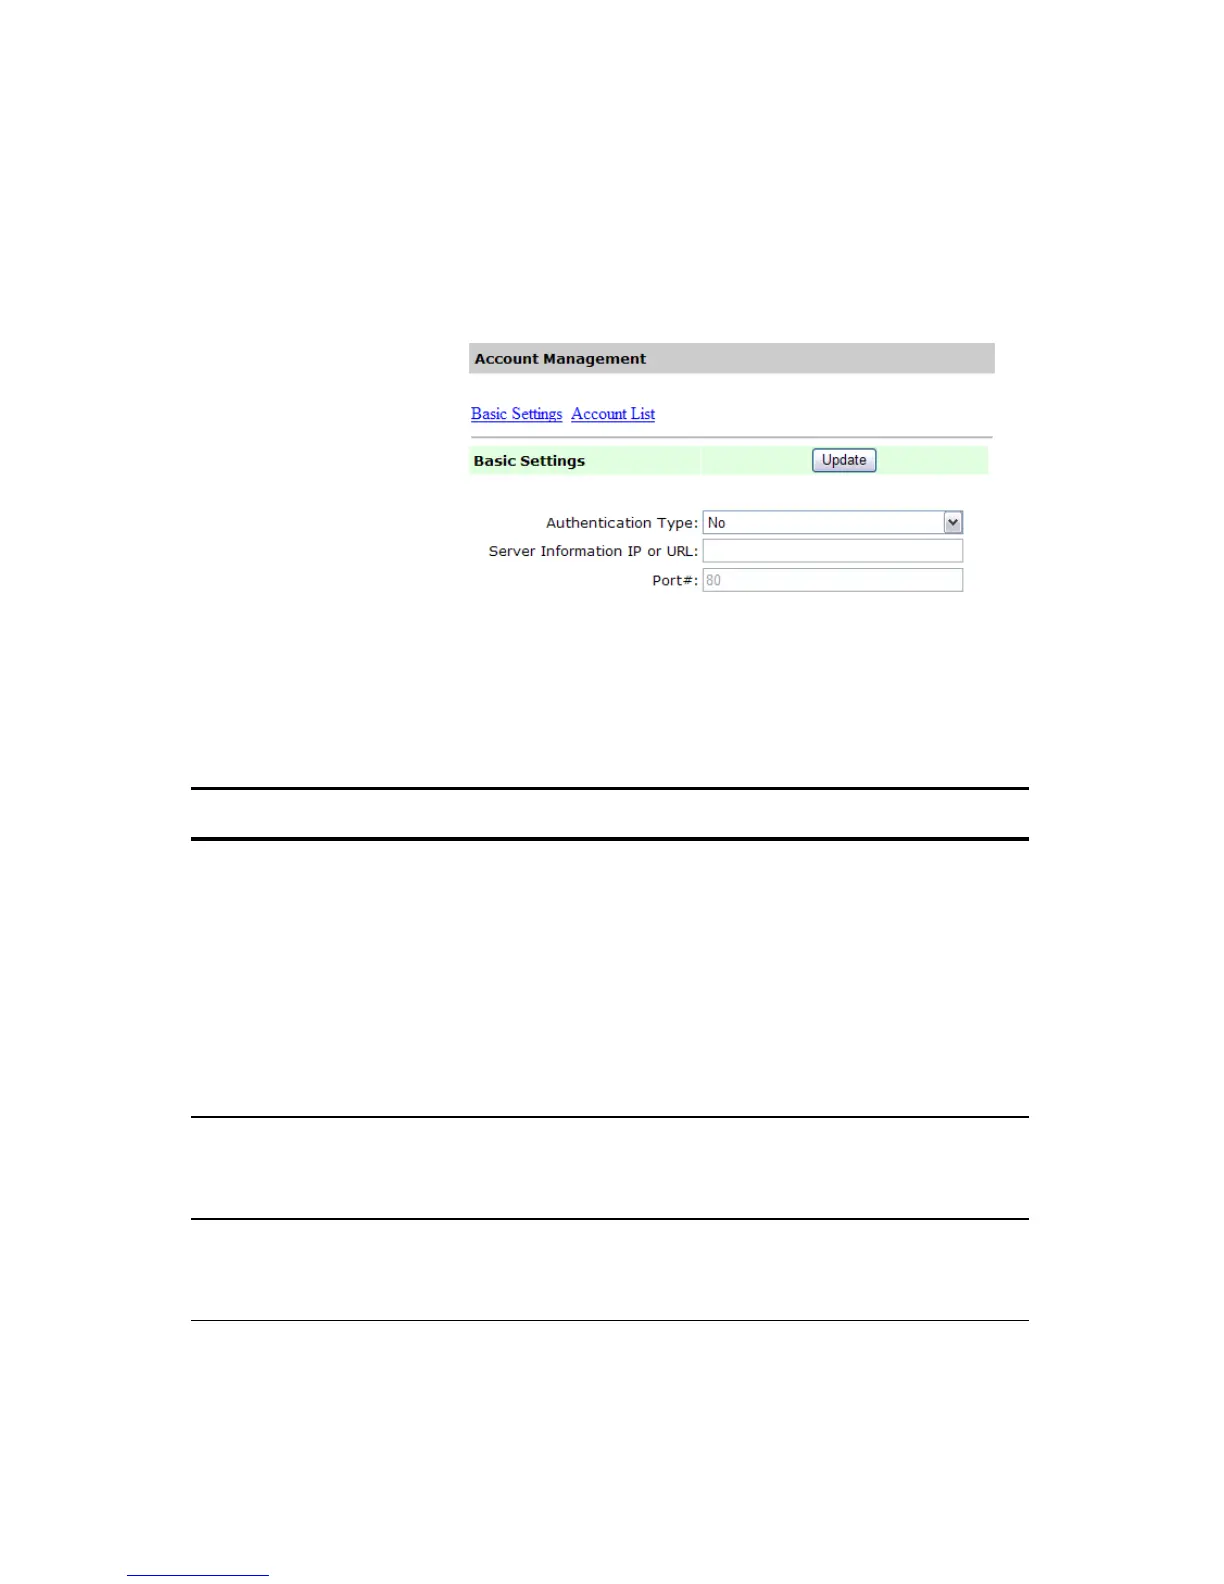
5. In the Basic Settings tab, select your security type and then enter the
server’s URL in the Server URL field, type in your server port in the
Port field. Finally click Update to save your settings. You may refer to
the following table for the details of each setting:
Basic Settings :
Item Description
Type Choose your preferred authentication type for account
management.
Choices: None, Local, HTTP, LDAP, SMTP
“None” means no account management will be applied.
“Local” means using the scanner as the authentication type, and
the name and password entered in the Account management are
saved in the scanner memory.
HTTP, LDAP, or SMTP means using an HTTP, LDAP, or SMTP
server as the authentication type.
Server
Information IP
or URL
Assign the URL of the authenticating SMTP, HTTP or LDAP
server. Touch anywhere on the URL field to bring up the soft
keyboard to enter the text.
Port # Enter the port number if you choose HTTP, LDAP, or SMTP as
your authenticating server. Default value: http:80, CIFS:139,
https:443

 Loading...