30
Control 150 M
GB
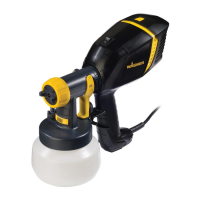
Cleaning the spray gun components
1) Perform Pressure Relief Procedure, page 25.
2)
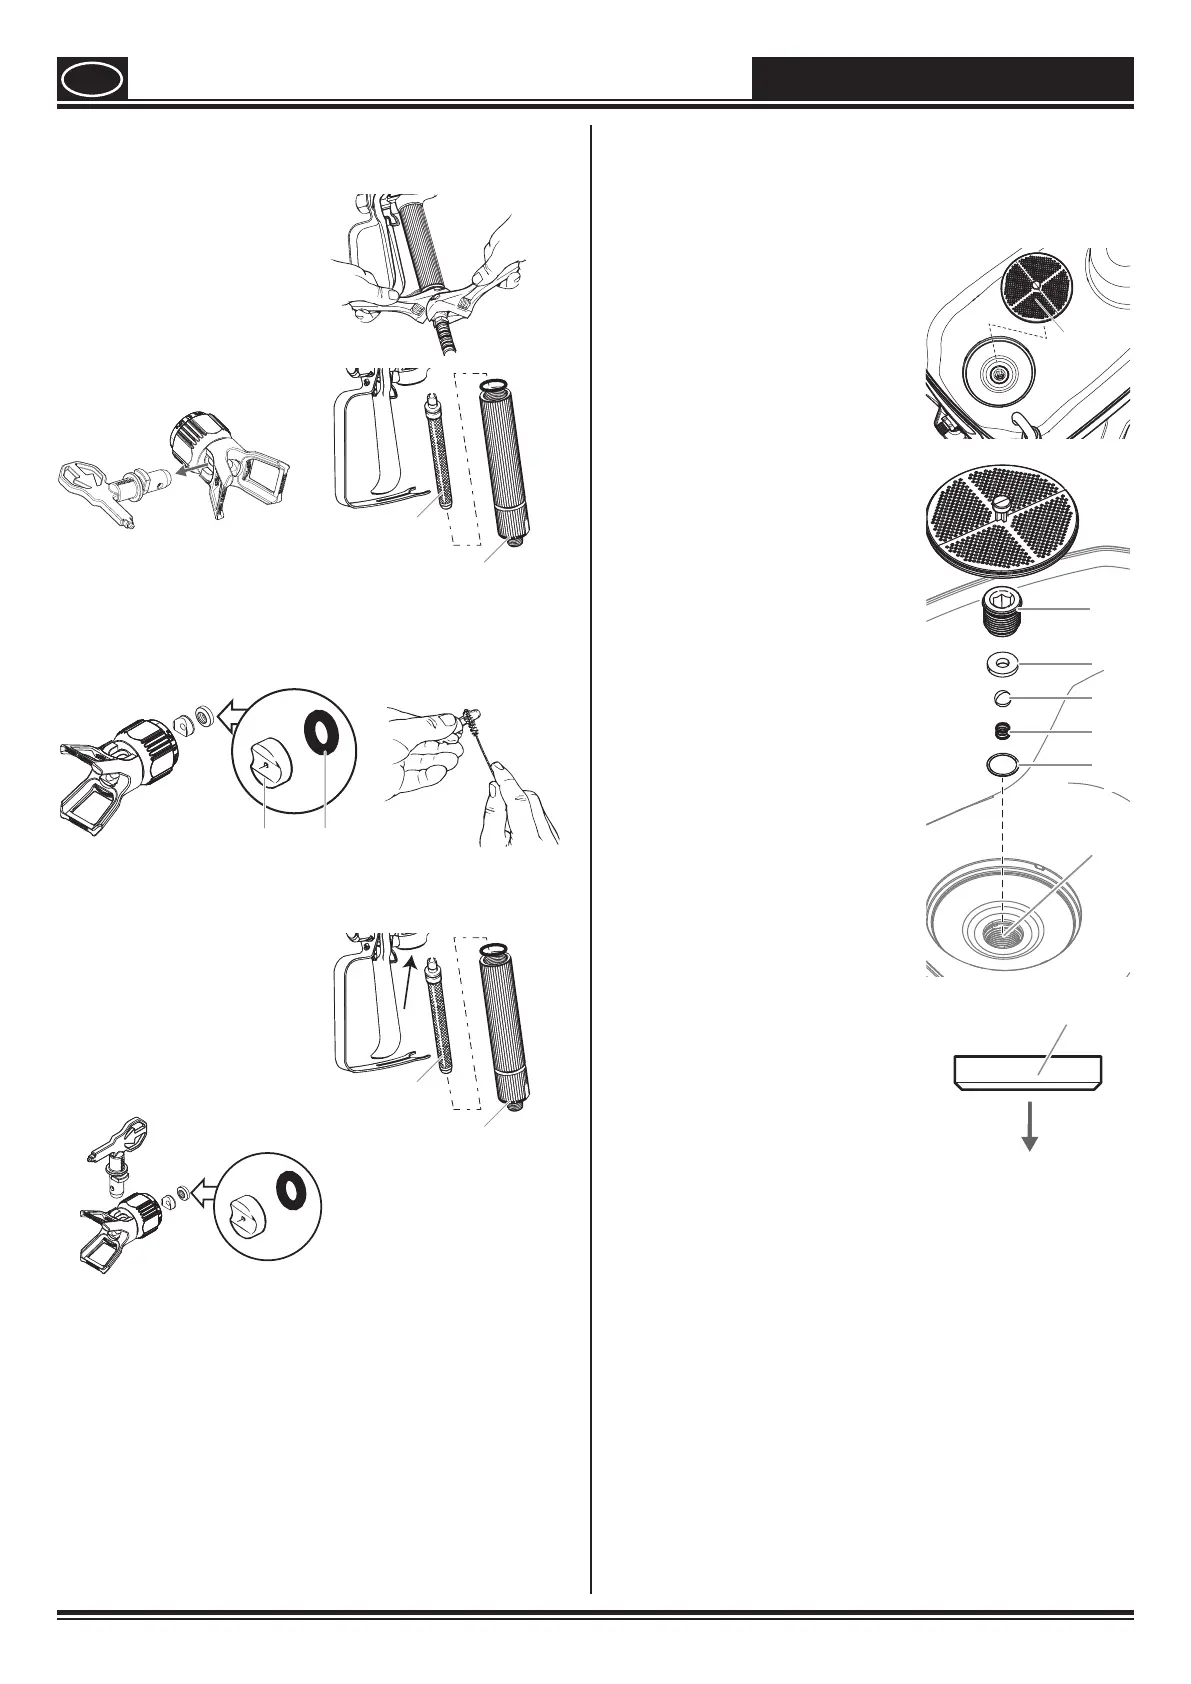
Remove spray gun from the
paint hose using adjustable
wrenches.
3)
Remove lter from spray gun
(refer to Unclogging the
Spray Gun Filter, page 28).
4) Remove spray tip from spray
guard assembly.
Housing
Filter
5) Clean spray tip and lter with a soft-bristled brush and
the appropriate cleaning solution. Be sure to remove and
clean the washer and saddle seat located in the rear of
the spray tip assembly.
WasherSaddle seat
6)
Pour a few drops of household oil inside the gun housing
(see area indicated below by arrow).
7) Reassemble spray gun:
•
Insert gun lter with the
tapered end rst and screw
down closure with spring.
•
Install spray tip, saddle seat
and washer, and replace spray
guard assembly.
Housing
Filter
8) Thread the paint hose back onto the spray gun. Tighten
with a wrench.
IMPORTANT!
If you cleaned your pump, it is recommended that you
ush the pump again using warm, soapy water to prepare
it for storage. Repeat Flushing the Pump instructions.
Cleaning the inlet valve
Cleaning or servicing the inlet valve may be required
if the unit has priming problems. This may be caused
by improper cleaning and/or storage.
1)
Remove the inlet lter from
the bottom of the hopper.
Inlet
lter
2) Loosen and remove the inlet
valve housing (1) with an
Allen key (8 mm).
3) Remove the valve seat
(2), ball (3), spring (4)
and O-ring seal (5) with a
suitable tool (e.g. needle-
nose pliers, tweezers).
Tip: alternatively, turn the
device upside down with the
cover on and release the parts
by tapping on the underside of
the device.
4) Check all parts and the valve
area (6) in the container and
clean thoroughly. Replace
damaged parts.
5) Ensure the O-ring seal on the
inlet valve housing (1) is well
lubricated.
6) Replace all parts as shown in
the illustration. The conical
side of the inlet valve seat
(2) must point downwards.
7)
Securely re-tighten the inlet
valve housing (1) with an
Allen key (8 mm).
1
2
5
3
4
6
2
CLEANUP / MAINTENANCE