25
Control 150 M
GB
Preparing the paint
To avoid rapid blockage of the nozzle and lter, we
recommend stirring and sieving the paint well before
spraying. Follow the material manufacturer's instructions.
Select tip and gun lter
Use the proper gun lter based on the tip size being used.
Tip Size Paint Filter
311 For thin materials like acrylic
paints, primers, stains...
Red
515 For thick materials like
internal emulsions, latex
paints, hollow-space
sealants..., ...
white
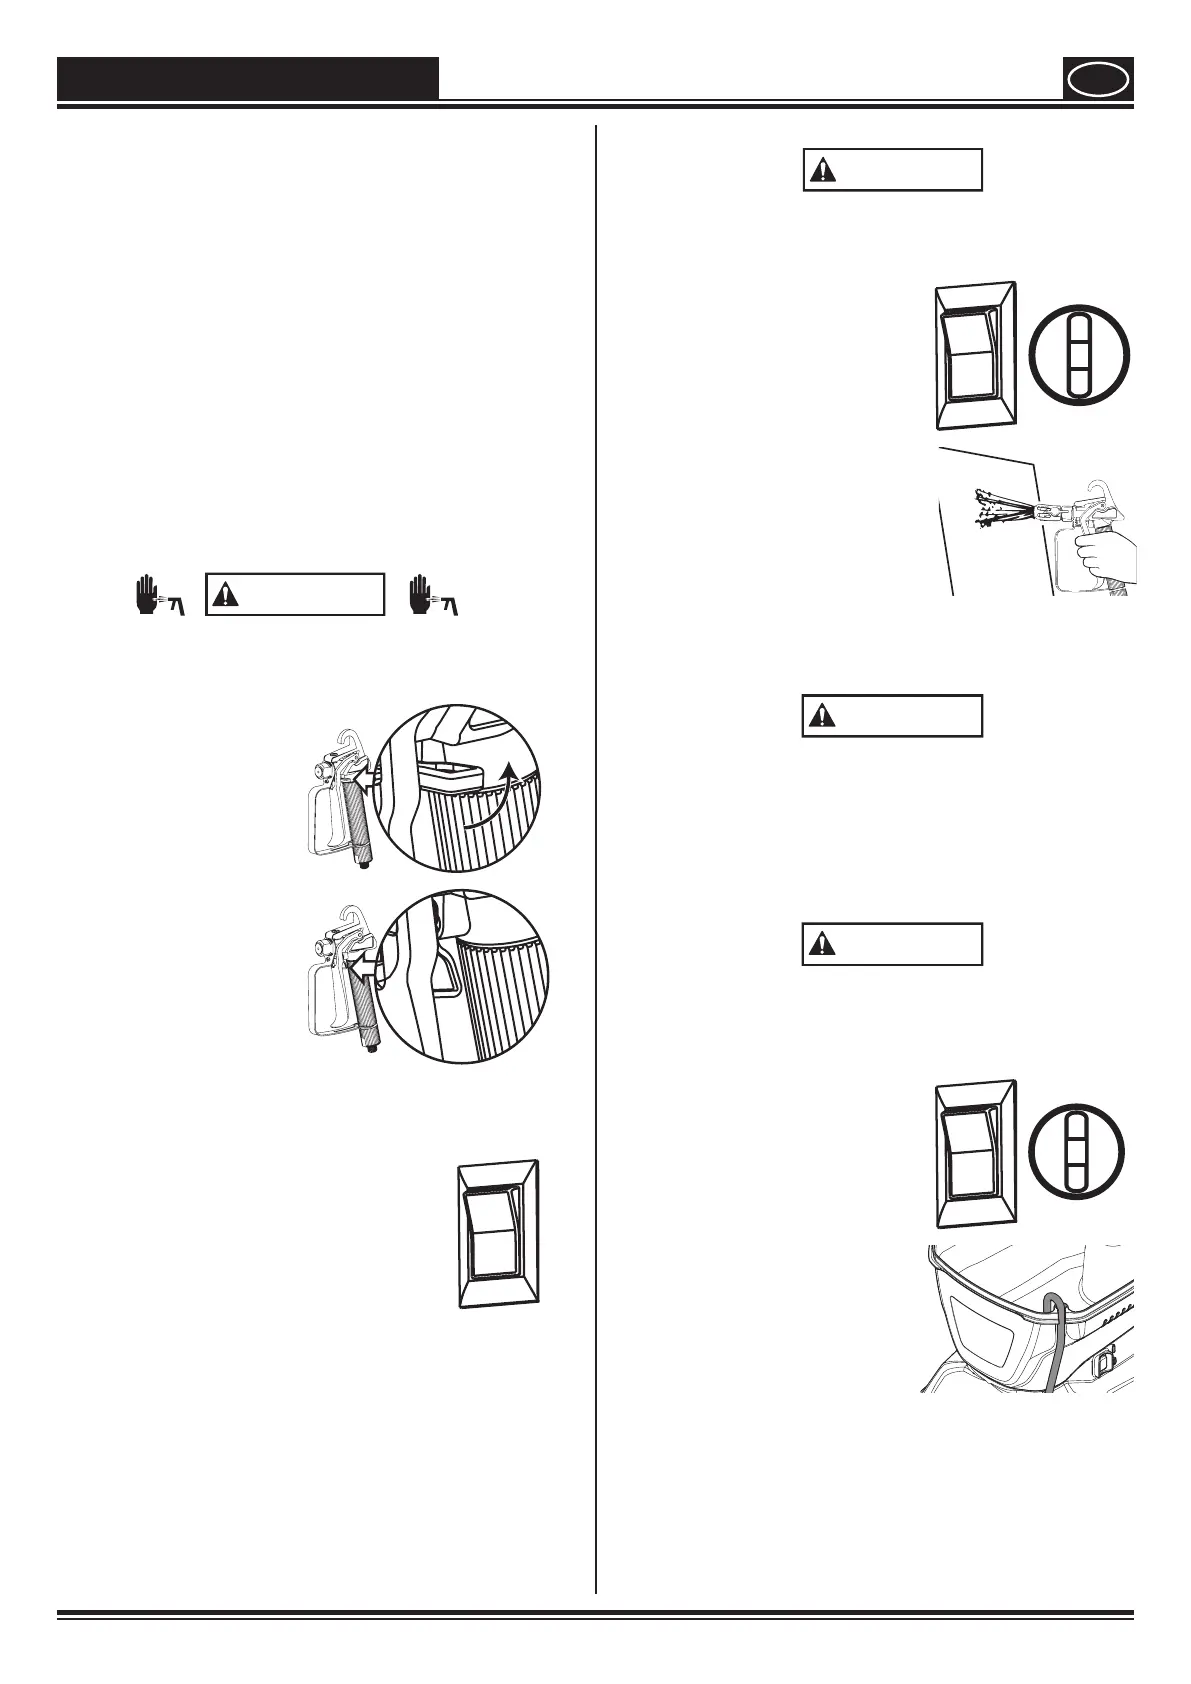
Locking and unlocking the gun
WARNING
Always lock the trigger o when attaching the spray tip
or when the spray gun is not in use.
Locking the gun
The gun is secured when the
trigger lock is at a 90° angle
(perpendicular) to the trigger
in either direction.
Unlocking the gun
To unlock the gun, turn the
trigger lock to be in line with
the trigger.
Plugging in the sprayer
1)
Check that the ON/OFF switch is in the OFF
postion.
O
2) The connection must be made by
correctly grounded plug socket.
Pressure relief procedure
WARNING
Be sure to follow the pressure relief procedure when
shutting the unit o FOR ANY PURPOSE. This procedure
is used to relieve pressure from the spray hose.
1)
Lock the spray gun o and
ip the ON/OFF switch to the
OFF position.
O
2) Turn the PRIME/SPRAY knob
to PRIME.
3) Unlock the spray gun and
then trigger it onto a scrap
piece of wood or cardboard.
4) Lock the spray gun.
Dry running
Operation without liquid leads to increased wear and
damages the pump.
Never allow the device to run dry for more than 30
seconds.
Relling the container / bleeding the pump
If the paint in the container runs out, it may be that air
is being aspirated into the system. When relling, the
pump must be bled as described below in order to avoid
dry running.
1) Switch the pump o
immediately.
2) Rell the container.
O
3) Turn the PRIME/SPRAY knob
to PRIME.
4) Switch the pump back on
and wait until the paint is
owing out of the return
hose.
5) Turn the PRIME/SPRAY
switch to the SPRAY
position and carry on
working.
Important information