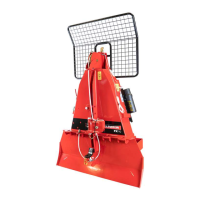
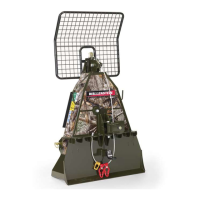
FX85, FX110, FX140
Skidding Winch
Transport
41
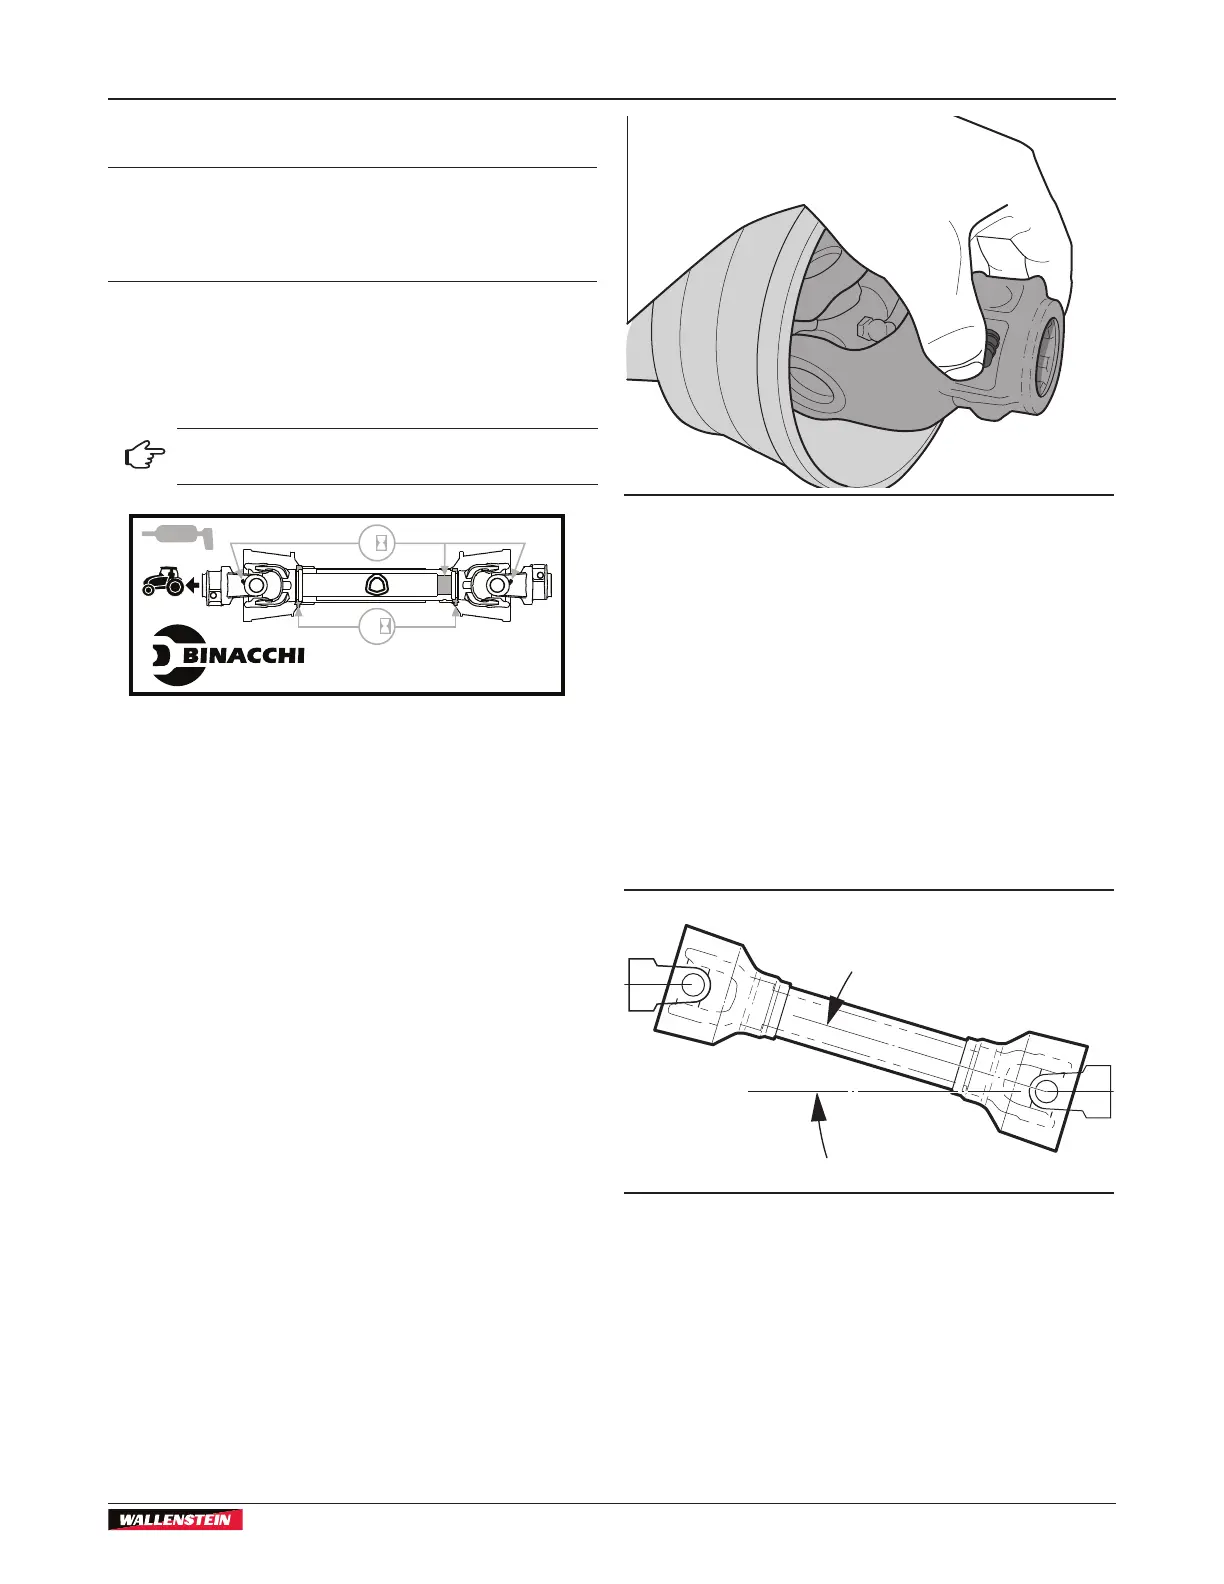
7.5 Install a PTO Shaft
IMPORTANT! Check the drive shaft alignment. During
operation, the working angle should not be greater than 15°
between the tractor and the machine. Misalignment can
cause premature wear and PTO shaft failure.
Make sure that the PTO shaft guard is in good condition and able
to turn freely, independent of the PTO shaft.
Make sure that the PTO yoke ends are clean. Add a small
amount of lubricant to the splines to help them slide on.
A label on the PTO guard shows the tractor-end of
the drive shaft.
Via Che Guevara, 38
42045 LUZZARA (RE) ITALY
50
8
01655
1. Attach the machine to the tractor three-point hitch.
For instructions, see Attach to a Tractor on page 34.
2. Lower the machine fully to the ground.
3. Disengage the tractor PTO.
4. Apply the tractor parking brake.
5. Stop the tractor engine and remove the ignition key.
6. Wait for the PTO to stop.
7. Attach the PTO shaft to the machine.
Press the lock-pin button and push the PTO shaft onto the
machine's input shaft. Make sure that you hear the click
when the lock pin engages.
8. With the lock-pin engaged, pull on the PTO shaft to make
sure that it is attached correctly.
9. Attach the safety chain that is on the PTO shaft guard to the
anchor point. Make the safety chain distance as short as
possible to prevent the PTO shaft guard from turning.
00866
Figure 48 – Lock-pin button
10. Attach the PTO shaft to the tractor driveline.
Press the lock-pin button and push the PTO shaft onto the
tractor's output shaft. Make sure that you hear the click
when the lock pin engages.
11. Do step 8 again.
12. Attach the safety chain that is on the PTO shaft guard to the
anchor point. Make the safety chain distance as short as
possible to prevent the PTO shaft guard from turning.
For more information, see Figure 36 on page 36.
13. Start the tractor and slowly lift the machine through the
working range. Make sure that the telescoping portion of
the PTO shaft does not reach its limit.
15°
01650
Figure 49 – Drive shaft alignment
14. Check the direction that the PTO shaft turns.
A label on the machine shows the correct direction.