Using Cura
6.5.1 Exporting your GCODE File:
Take note of the time and length required to print your 3D object. From the top menu, select
File > Save GCODE. You can now save your GCODE to your desired directory.
NOTE: Always reopen the GCODE le again in CURA to conrm that all slices of the model have
been included. This will open in the ‘layers’ view, if you want to see your object, select ‘normal’
view
6.6 Advanced Print Settings
Advanced print mode should not be used until you have gained sufcient experience with 3D
printing. In order to have more control of your slicing and GCODE generation, switch to advanced
print mode.
Enter advanced print mode by selecting Expert > Switch to full settings…
Loading a Prole
When you rst switch to Full Settings, Cura will revert to very generic settings. We recommend
using our tested proles that are available at www.wanhao3dprinter.com. You will want to
choose the prole that matches your lament and quality needs. Once downloaded, you can
load the le into Cura by selecting File > Open Prole. Choose your desired prole.
This will automatically update all of your settings for use with your print
er.
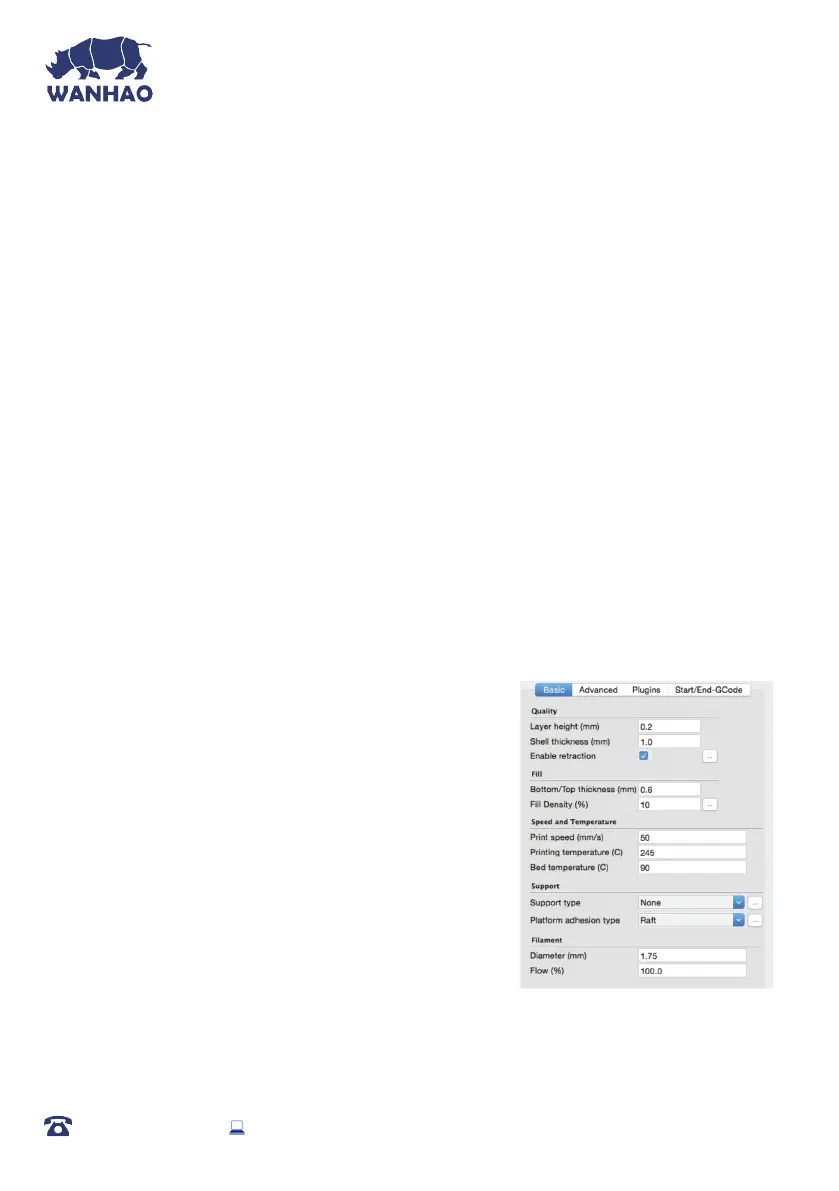
6.6.1 Basic Tab Options
QUALITY
Layer Height (mm)
The thickness of each printed layer is known as the Layer
Height. The smaller the layer height, the smoother curves
will appear. Larger layer heights are better for bridging and
overhangs. Smaller layer heights will also increase print
time, as it will take more layers to complete the object.
Shell Thickness (mm)
This denes the number of vertical walls that comprise the
outside of your model. We recommend keeping this set to
multiples of your nozzle width. Your WANHAO 3D Printer is equipped with a 0.4 mm nozzle.
AFTER SALES SUPPORT
86-571-23290996
support@wanhao3dprinter.com
Model : Duplicator I3 Plus
36