Securing screws (3)
O-ring
Connecting cables for differential aperture support
2. Disconnect the cable from the ion guide assembly that connects the ion guide assembly to
the differential aperture support.
3. Use the 2.5-mm hex wrench to unscrew and remove the 4 screws securing the differential
aperture support to the ion guide assembly.
4. Remove the differential aperture support with its circuit board.
Note: Do not remove the circuit board from the rear of the differential aperture.
5. Use the flat-blade screwdriver to unscrew and remove the 3 screws securing the
differential aperture from its support.
6. Inspect the O-ring for signs of deterioration or damage, and remove and replace the O-
ring, if necessary.
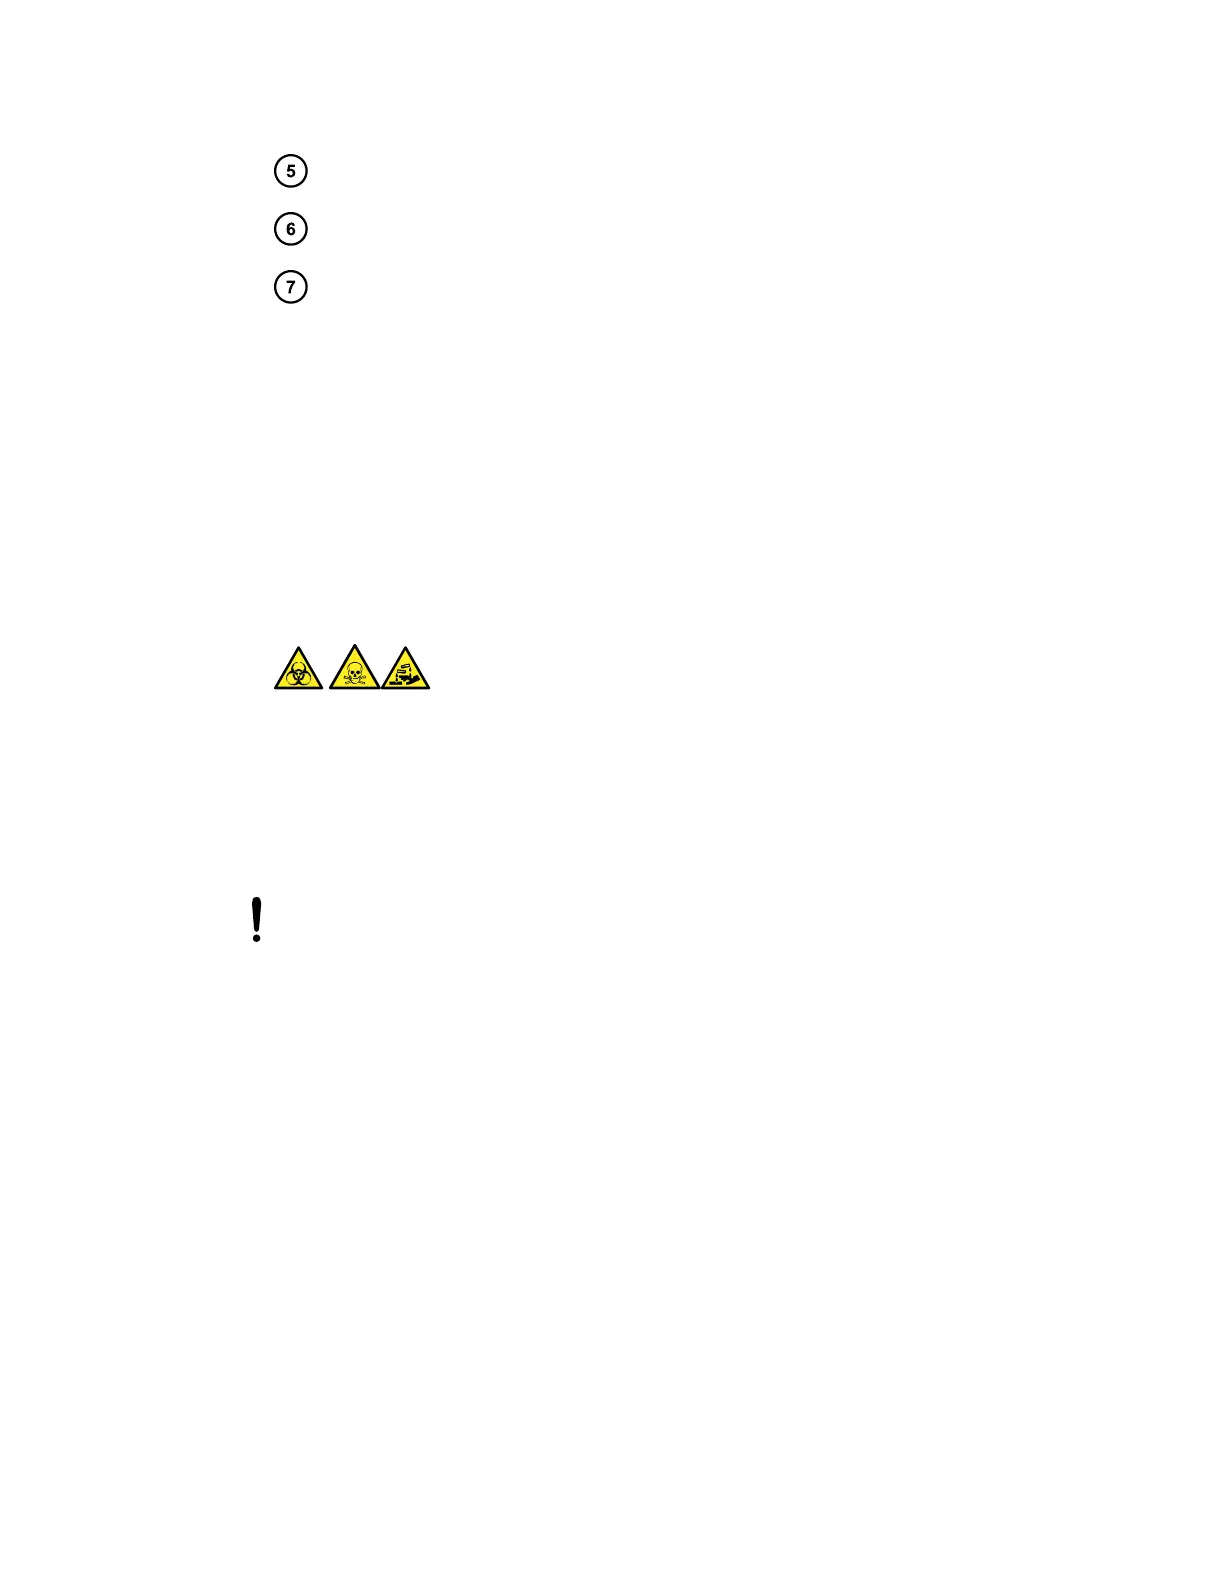
Warning: To avoid spreading contamination with biologically hazardous, toxic, and
corrosive materials, dispose of all waste materials according to local environmental
regulations.
4.14.4 Cleaning the differential aperture
Notice: To prevent damage to the differential aperture support and the inductors on its
circuit board, do not attempt to clean the differential aperture support or its circuit
board.
Required materials
• Chemical-resistant, powder-free gloves
• Appropriately sized glass vessels in which to completely immerse components when
cleaning. Use only glassware not previously cleaned with surfactants.
• Ultrasonic bath
• HPLC-grade deionized water
• Waters MS Cleaning Solution (186006846) or HPLC-grade (or better) 1:1 methanol/water
• HPLC-grade isopropyl alcohol
• Suitable holding container for storing the used cleaning solution
• Oil-free nitrogen gas or other oil-free, inert gas, suitable for drying
January 10, 2022, 715006200 Ver. 01 (previously released as Rev. A)
Page 110