21
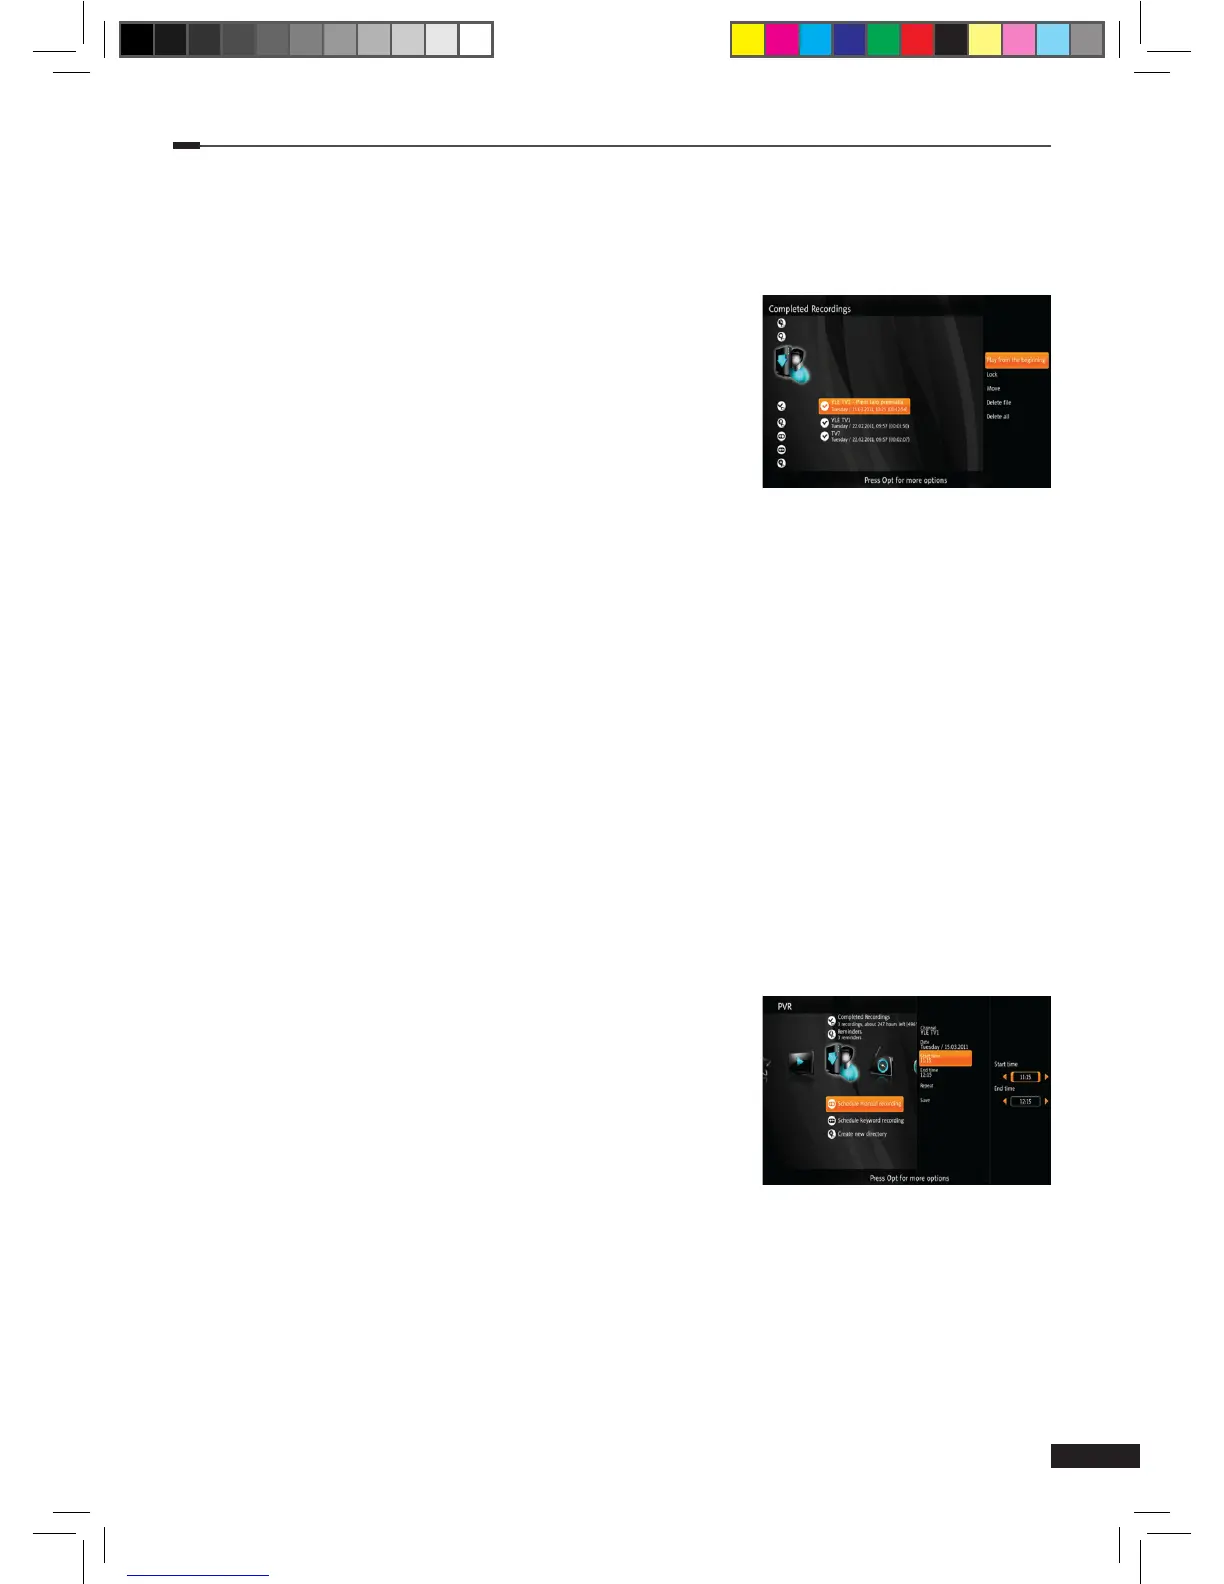
Completed recordings
This menu lists recordings that have completed.
1
Select Completed recordings using the Arrow (▲/▼) buttons on the PVR menu and
press the OK button to display the list of recordings.
2
Press the Option button to open more options.
(1) Continue: Resume watching a completed recording.
(2) Play from the beginning: Play a completed recording
from the beginning.
(3) Lock/Unlock: Locks or unlocks the selected recording.
Locked recordings cannot be deleted.
(4) Move: Move the selected recording to another folder.
(5) Delete le: Delete the selected recording.
(6) Delete all: Delete all completed recordings. (Only recordings in this folder are deleted.)
(7) More info: Display more information about the selected program.
Failed recordings
This menu lists recordings that have failed. A recording can fail, for example, when mains power
is lost during a recording. Keyword recordings can fail completely or partly if a conicting
recording is set at a later date.
Schedule manual recording
1
Press the Option button on the PVR menu. Select Schedule manual recording using the
Arrow (▲/▼) buttons and press the OK button to display recording options.
2
Use the Arrow (▲/▼) to select a setting and press the OK button to change it. Available
settings are listed below:
(1) Channel: Selecting this setting will open a channel selection list. Select a channel you wish to
record to record using the Arrow (▲/▼) buttons and press
the OK button.
(2) Date: Selecting this setting will open a calendar menu.
Use the Arrow (▲/▼) buttons to navigate to the desired
date and press the OK button to select it.
(3) Start time: Use the Arrow (◄/►) buttons to change
the start time in 5 minute steps. Numeric (0-9) button
can also be used to input the time. When done, press
the OK button to set the time.
(4) End time: Use the Arrow (◄/►) buttons to change the end time in 5 minute steps.
Numeric (0-9) buttons can also be used to input the time. When done, press the OK
button to set the time.
(5) Repeat: Use the Arrow (▲/▼) buttons to select a setting and press the OK button to
set it. Available settings are: Disabled, Daily, Weekly, Weekends, or Weekdays.
3
When all the settings are ready, select Save and press the OK button to save the manual
recording.
M_180_DNA_HD-T63CX_ENG_120322_jte.indd 21 2012-03-22 �� 2:41:27