22
Schedule keyword recording
1
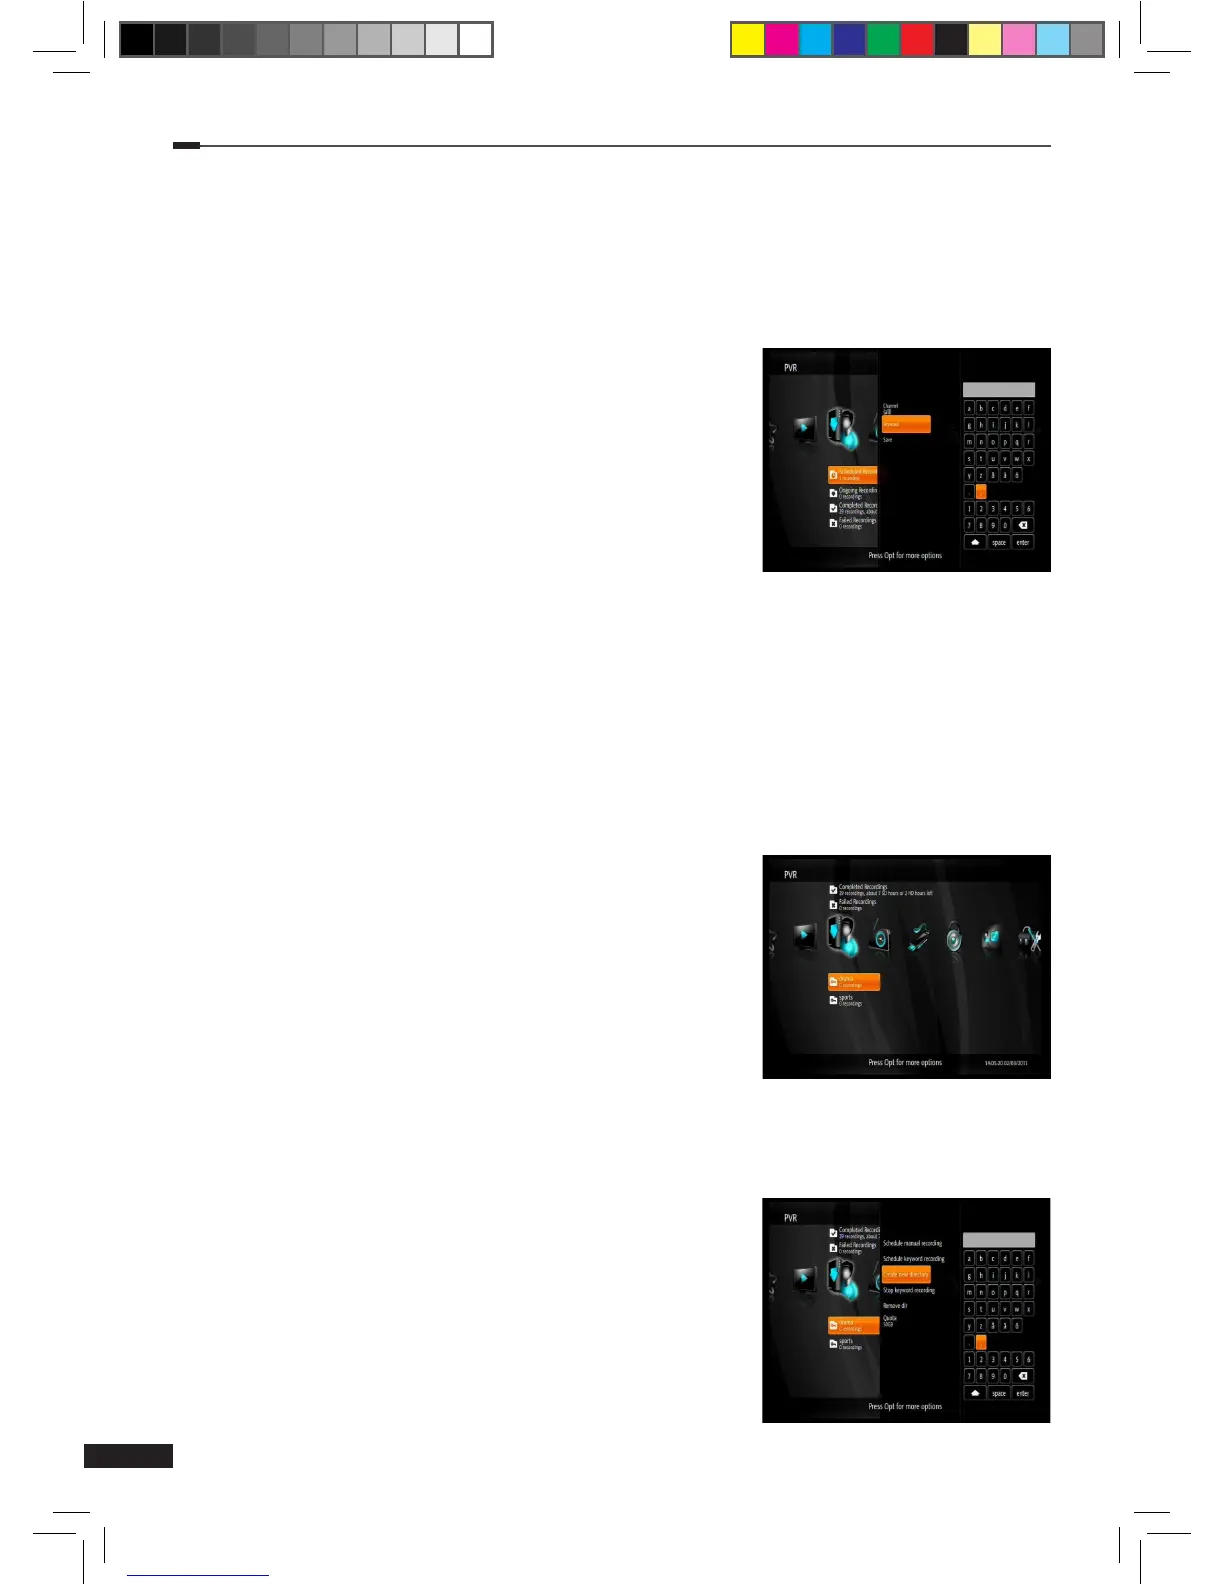
Press the Option button on the PVR menu. Select Schedule keyword recording using the
Arrow (▲/▼) buttons and press the OK button to display a list of recording settings.
2
Use the Arrow (▲/▼) buttons to select a setting and press the OK button to change it. Available
settings are listed below:
(1) Channel: By default the keyword recording applies
to any channel. When this setting is changed, the
keyword recording only applies to the selected channel.
Use the Arrow (▲/▼) buttons to select a channel and
press the OK button to set it.
(2) Keyword: Selecting this setting will open a virtual
keyboard for typing a keyword. Input a
keyword using
the Arrow (▲/▼/◄/►) and OK buttons.
Then select
enter and press the OK button to set it.
3
When all the settings are ready, select Save and press the OK button to save the keyword
recording. This will create a new folder named after the keyword on the PVR menu. All
recordings for this keyword recording can be found there.
Edit a keyword recording
1
Select the keyword recording you wish to edit using the Arrow (▲/▼) buttons on the PVR
menu and press the Option button to display a list of functions.
2
Use the Arrow (▲/▼) to select a function and press the OK button. Available functions are
listed below:
(1) Stop keyword recording: This function will stop the
selected keyword recording, but will not delete the
directory or any recordings.
(2) Remove dir: This function will delete the selected
directory and any recordings in it.
(3) Quota: This setting can be used to set a quota for the
keyword recording. Selecting this setting will open a
menu for adjusting the quota. Use Arrow (◄/►) or
Numeric (0-9) buttons to set the quota and press the OK button to set it.
Create new directory
1
Press the Option button on the PVR menu. Select Create
new directory using the Arrow (▲/▼) buttons and press
the OK button to display a virtual keyboard.
2
Input a name for the directory using the Arrow (▲/▼◄/►)
and OK buttons. Then select enter and press the OK
button to set it.
3
The new directory will appear on the PVR menu.
M_180_DNA_HD-T63CX_ENG_120322_jte.indd 22 2012-03-22 �� 2:41:27