27
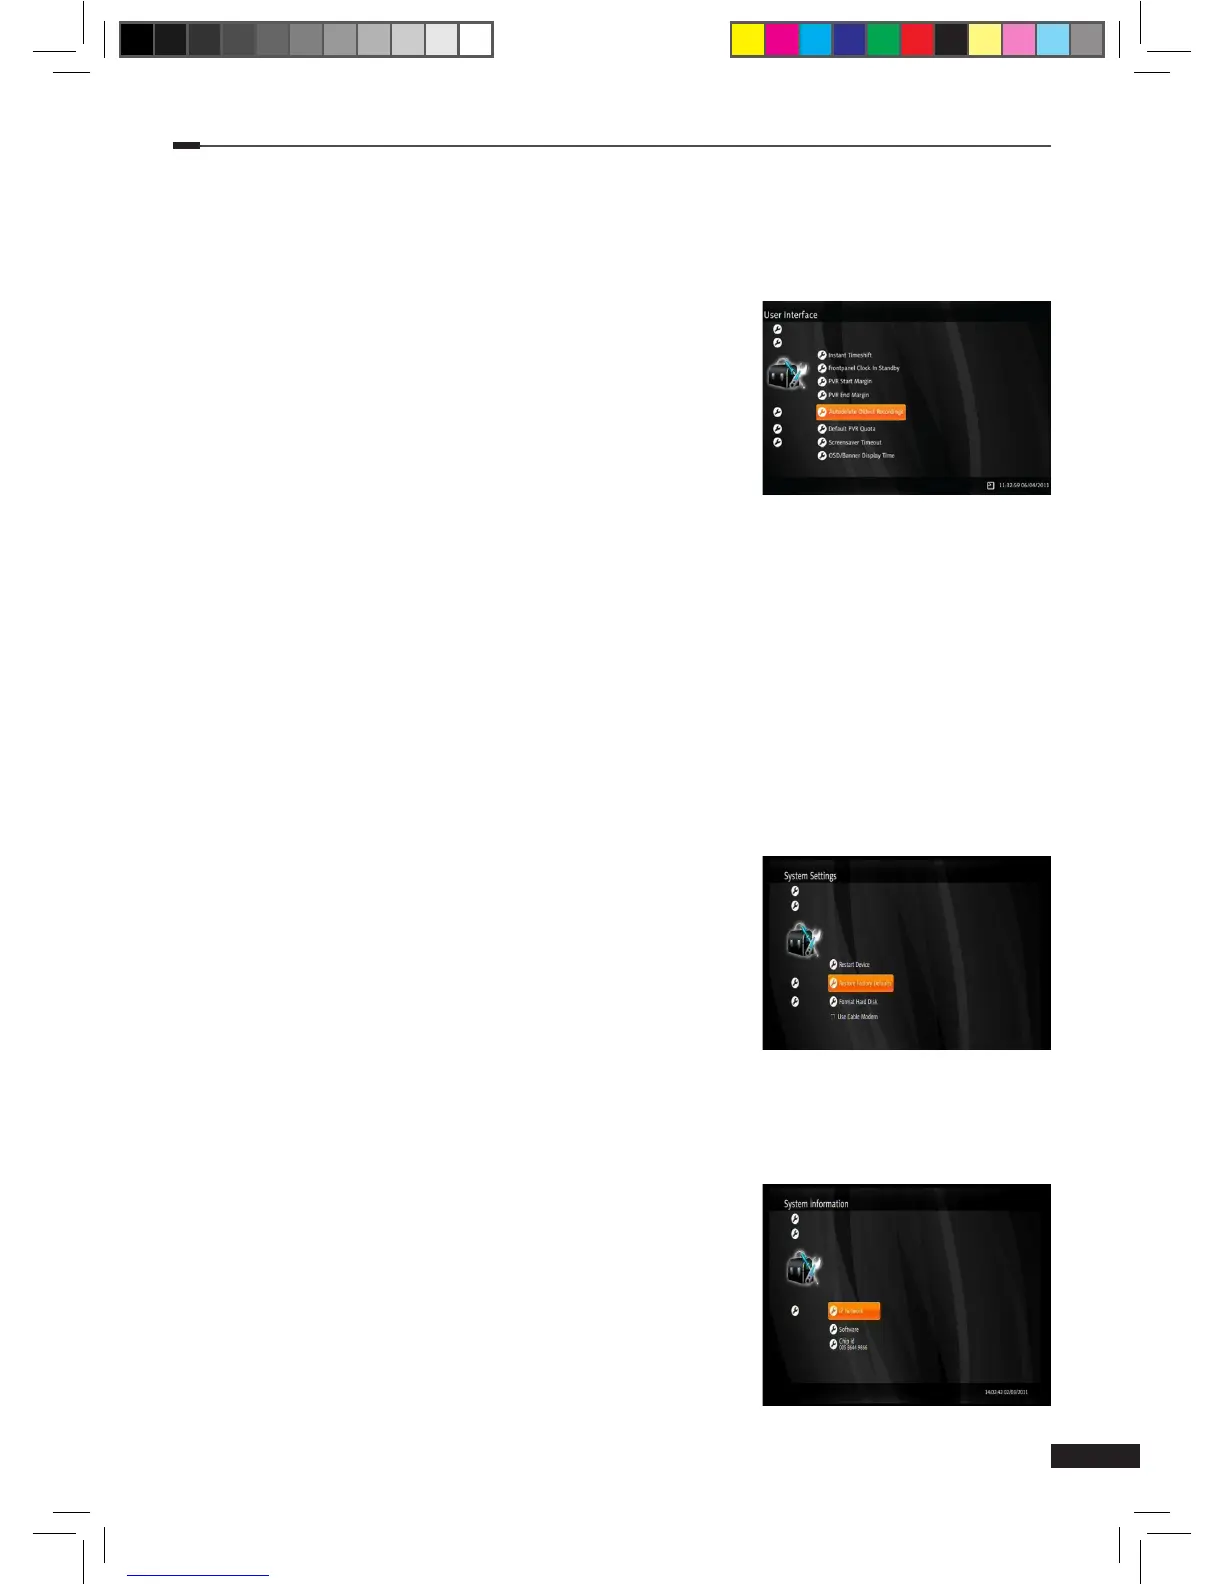
User Interface
1
Select User Interface using the Arrow (▲/▼) buttons on the menu and press the OK button.
2
Select a setting using the Arrow (▲/▼) buttons and press Conguration the OK button.
Available settings are listed below:
(1) Instant Timeshift: If you enable the instant timeshift,
the timeshift function will operate automatically.
(2) PVR Start Margin: This setting adjusts all scheduled
recordings to start earlier. (Disabled, 1, 2, 5, or 10 minutes)
(3) PVR End Margin: The time that is automatically added
to each recording after the program is expected to end.
(Disabled, 5, 10, 15, 20, or 30 minutes)
(4) Autodelete Oldest Recordings: If you enable this setting, the oldest recording in each
keyword recording will be automatically removed when its quota is exceeded.
(5) Default PVR Quota: This setting denes a default disk space quota for new keyword
recordings.(10GB, 20GB, 50GB, 100GB, 200GB, 500GB or Unlimited)
(6) Screensaver Timeout: If you don’t take any action, the screensaver screen will be
displayed after this timeout setting. (Disabled, 5, 10, or 15 minutes)
(7) OSD/Banner Display Time: When the OSD/Banner is shown it will be hidden after this
display time setting. (2, 5, 10, and 15 seconds)
System Settings
1
Select System Setting using the Arrow (▲/▼) buttons on the Conguration menu and
press the OK button.
2
Select an action using the Arrow (▲/▼) buttons and press
the OK button. Available actions are listed below:
(1) Restart Device: If you select Restart device and press
the OK button, the STB will reboot itself.
(2) Restore Factory Default: Reset back to the factory
default settings. PIN input is needed to execute this
action.
System information
1
Select System information using the Arrow (▲/▼) buttons on the Conguration menu and
press the OK button.
2
Select a setting using the Arrow (▲/▼) buttons and press
the OK button. Available settings are listed below:
(1) IP Network: Ethernet status, DNS1 and DNS2 can be
viewed with this option.
(2) Software: Firmware version, and Software Update
Check can be viewed with this
option.
(3) Chip id: Chip id of the device for chipset pairing.
M_180_DNA_HD-T63CX_ENG_120322_jte.indd 27 2012-03-22 �� 2:41:28